Category: Recipes

How to Dry Fresh Rosemary – Alecrim

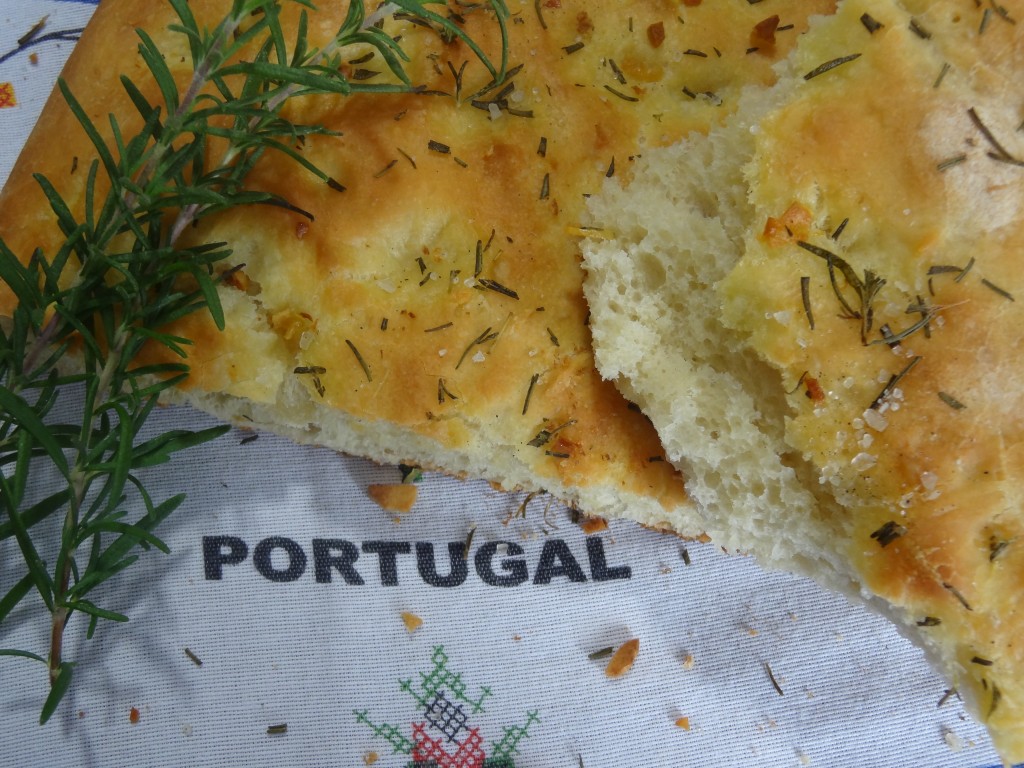
DSC06733Rosemary Garlic Foccacia

Enjoy rosemary all year long for your recipes. It’s easy to grow and dry in your own home.

Step 1.

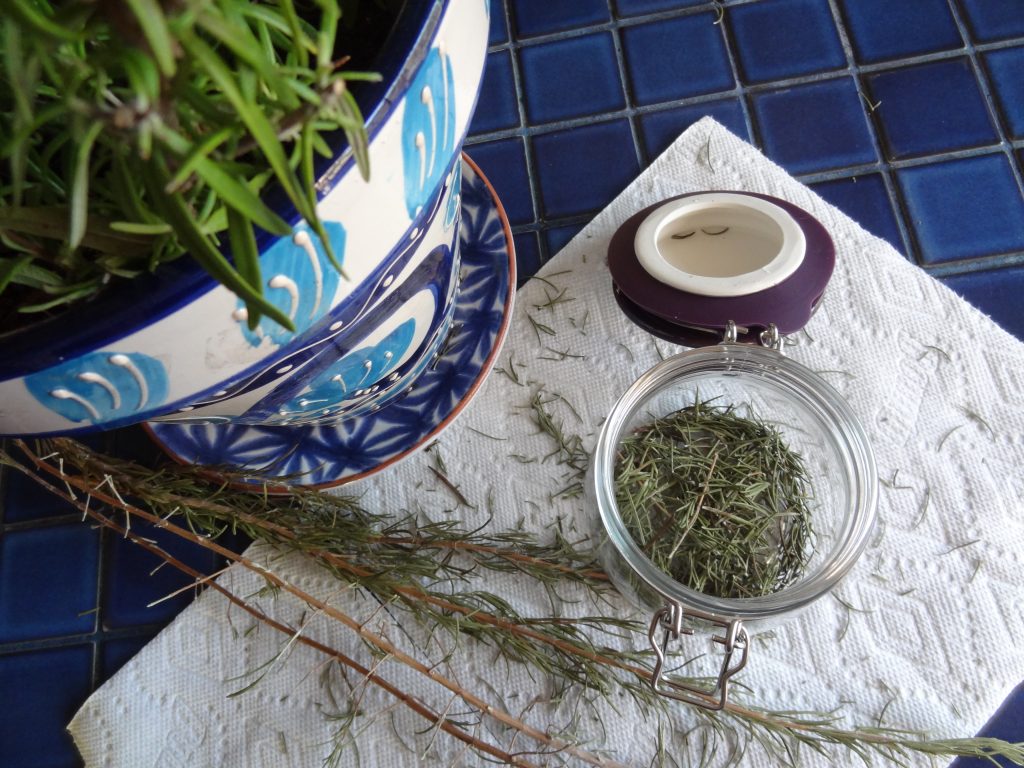
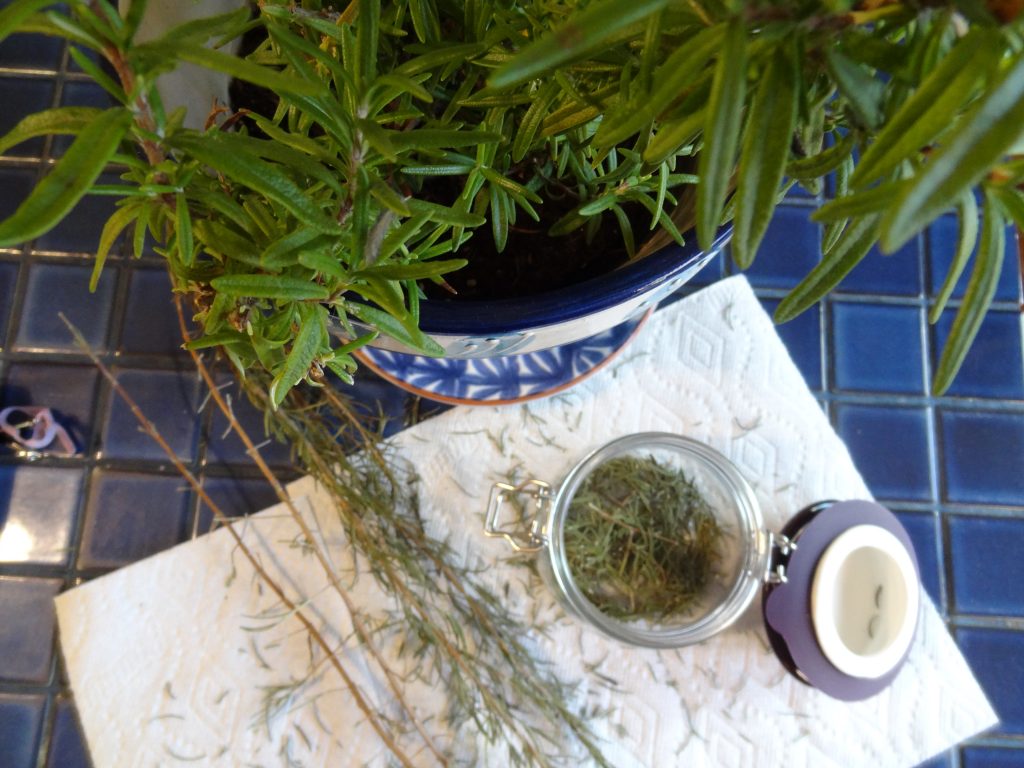
Cut rosemary stems from the plant.

Step 2.

Rinse and dry on paper towels.

Step 3.

Tie the stems together in a bunch and hang upside down in a dry place for about 2 weeks to completely dry.

Step 4.

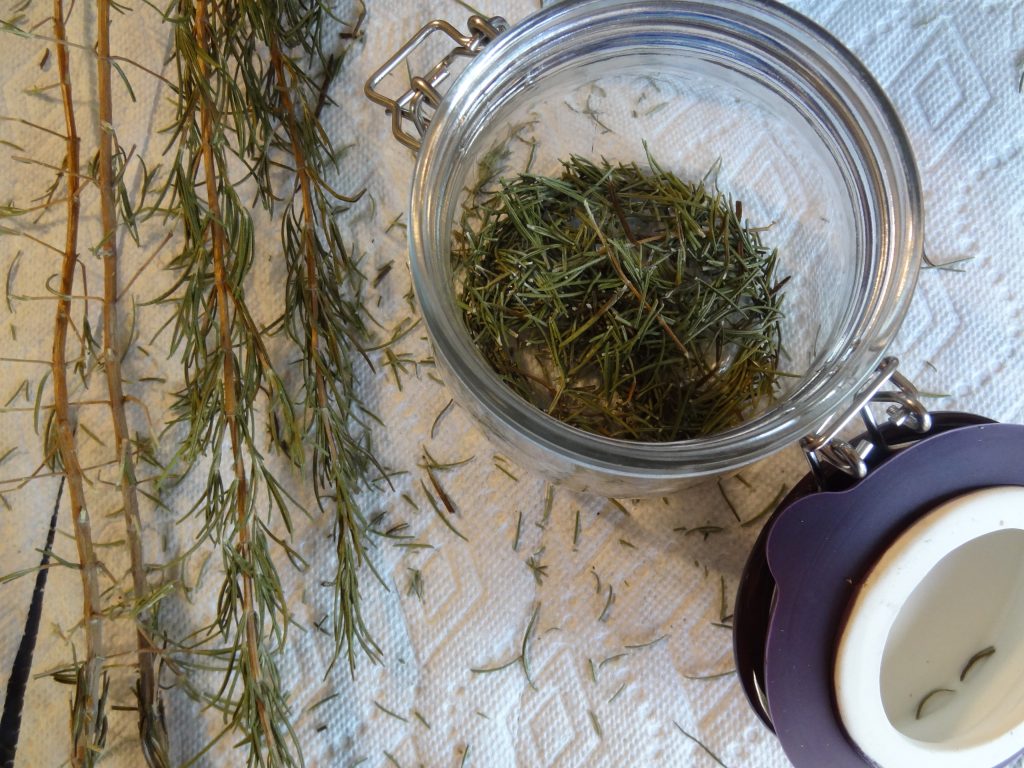
When the sprigs are totally dry, remove the needles and place in an airtight jar or mason jar.

DSC06729 DSC06728 How


Traveling Spoon – Looking for New Hosts in Portugal

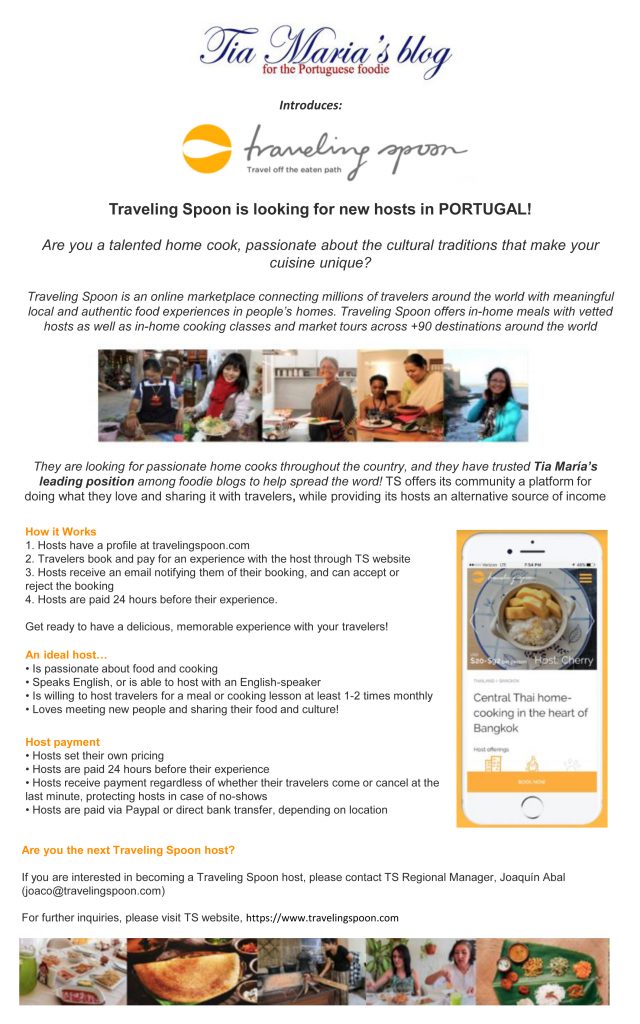
Traveling Spoon is looking for new hosts in PORTUGAL!

traveling spoon logo

Contact Regional Manger; Joaquin Abal –  joaco@travelingspoon.com

traveling spoon

Presentación de PowerPoint

What is Traveling Spoon?

Traveling Spoon is an online marketplace connecting millions of travelers around the world with meaningful local and authentic food experiences in people’s homes. It has recently been featured in Forbes Magazine as the next generation of Culinary Tourism!

Are you a talented home cook, passionate about the cultural traditions that make your cuisine unique? Traveling Spoon offers in-home meals with vetted hosts as well as in-home cooking classes and market tours across +90 destinations around the world They are looking for passionate home cooks throughout the country, and they have trusted Tia María’s leading position among foodie blogs to help spread the word! TS offers its community a platform for doing what they love and sharing it with travelers, while providing its hosts an alternative source of income.

100% of hosts are personally vetted! We find the best home cooks around the world so you can immerse yourself in meaningful food experiences and cultural traditions passed down through generations.

Founders Aashi Vel, and Steph Lawrence want to connect travelers with local, vetted hosts to share the joy of a homemade meal in their home and learn about their cultural and culinary traditions passed down through generations.

traveling spoon founders“Our mission is to find you the most meaningful and memorable cultural experiences” Steph & Aashi
Aashi Vel

Aashi ( left ) is a food and travel enthusiast with a deep passion for creative problem-solving, product innovation and foraging. An industrial designer and patent holder, Aashi has designed several award-winning products. She is a magna cum laude graduate of the Savannah College of Art & Design and received her MBA from UC Berkeley.

Steph Lawrence

Steph ( right ) deeply loves cheese, travel, and learning new cuisines and culinary traditions from around the world. A former marketing consultant, Steph has worked with Alice Waters and the Chez Panisse Foundation, Allison Rockefeller and others to drive marketing and business strategy. She is a cum laude graduate of Dartmouth College and received her MBA with honors from UC Berkeley.


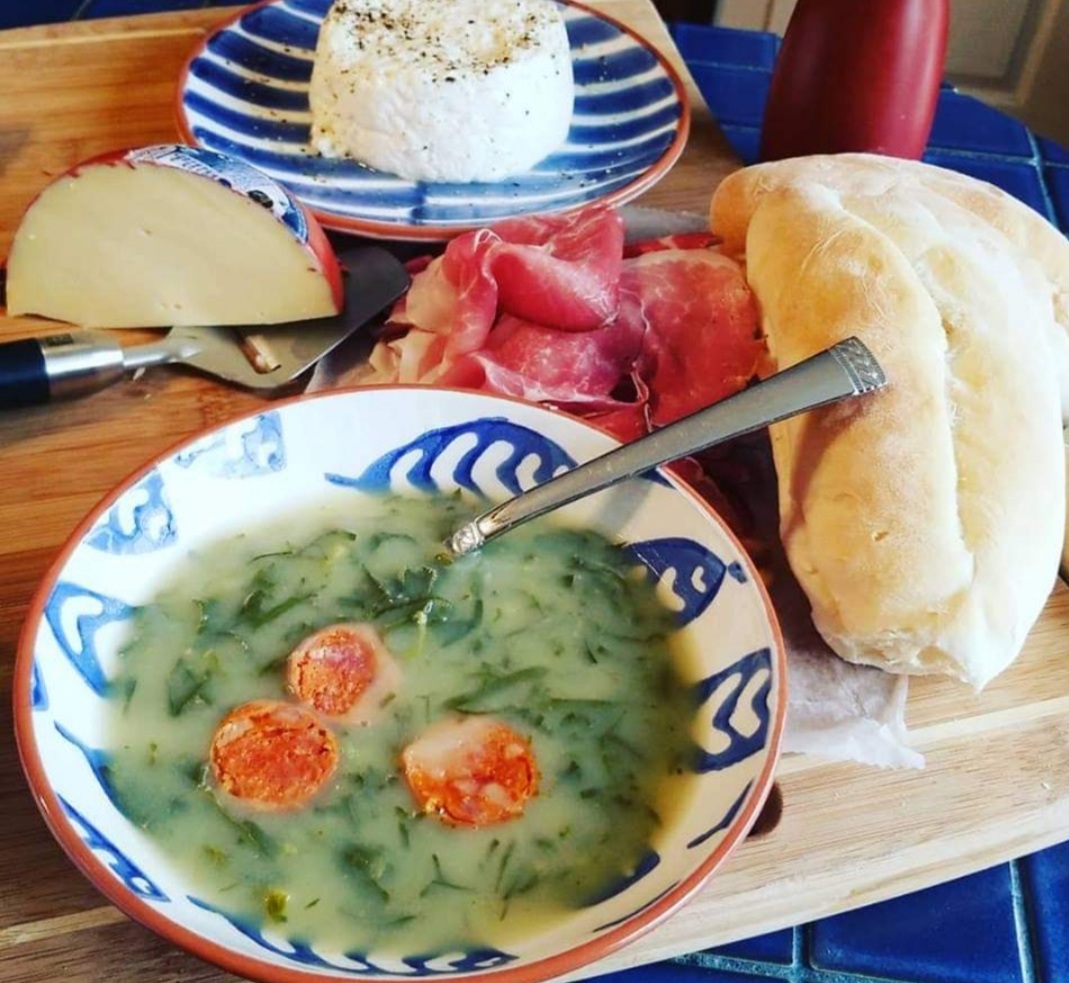
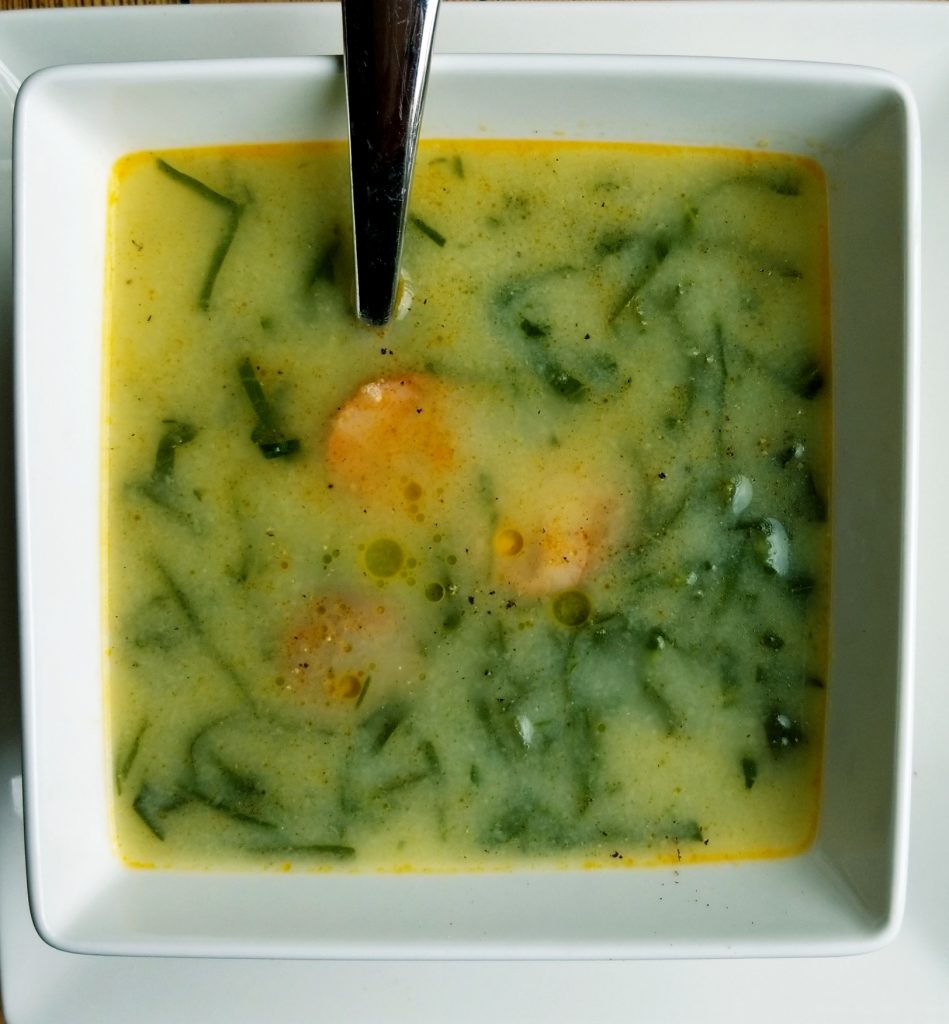
Caldo Verde – Kale – Low Carb Soup


keto kale soup 2Order cookbooks here Lisbon Blue Shop

If you love Caldo Verde or Kale Soup like my son, you’ll love my new Keto Diet, low carb recipe for Caldo Verde. He’s on a low carb diet, so that means potatoes are out of his diet.

This recipe tastes pretty close to the original recipe for Caldo Verde here on my blog.  I substituted mashed cauliflower for the potatoes and it works! Give it a try and be sure to improvise with your own seasonings.


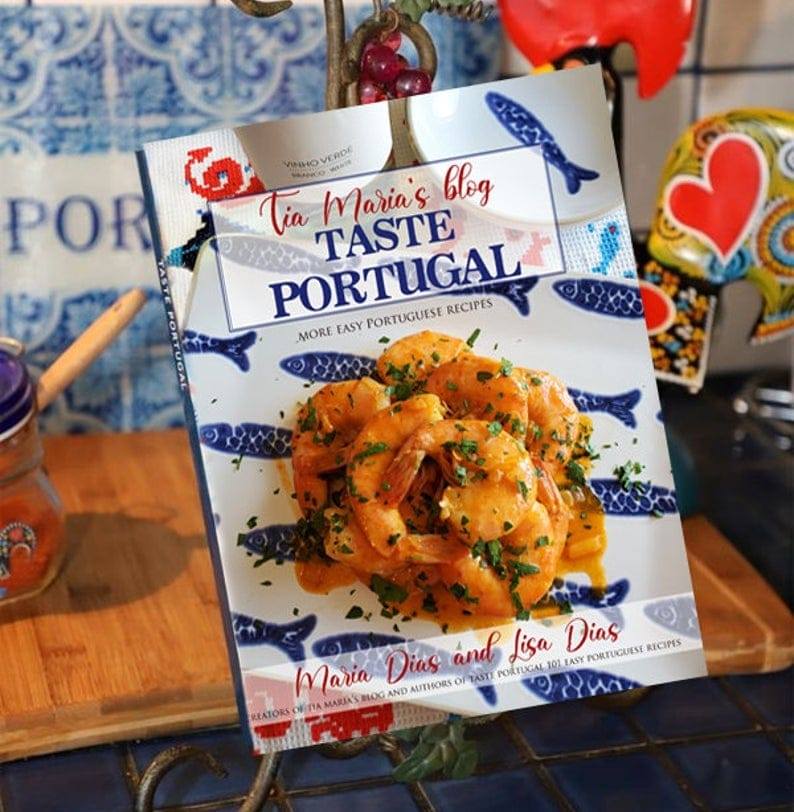
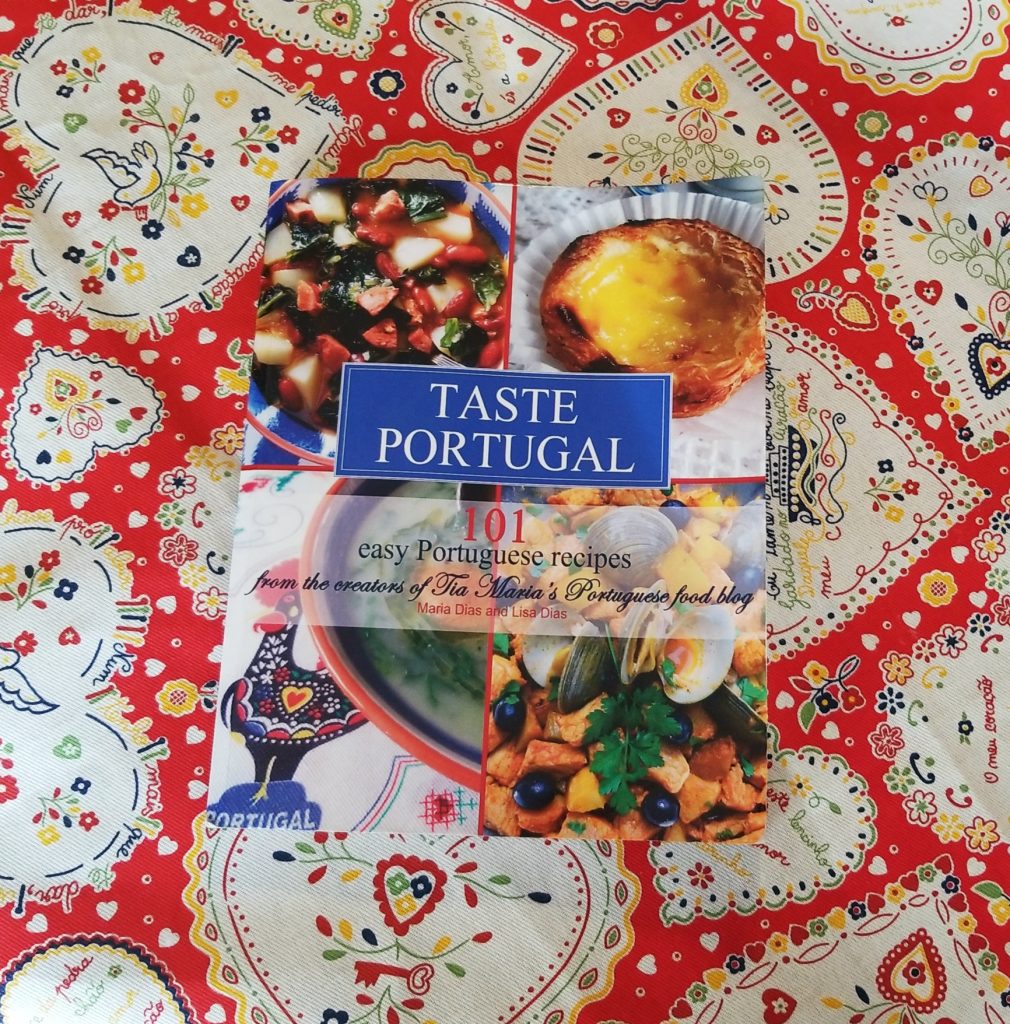
Find this delicious recipe in my TASTE PORTUGAL MORE EASY PORTUGUESE RECIPES

ORDER HERE

Ingredients:

3 (14 oz) packages of frozen cauliflower or (3 pounds fresh cauliflower)

1 large onion (chopped)

4 cups low sodium chicken broth

4 cups water

2 tablespoons olive oil or more

2 to 3 teaspoons salt

1 teaspoon fresh ground black pepper

1 teaspoon crushed garlic

1 bay leaf

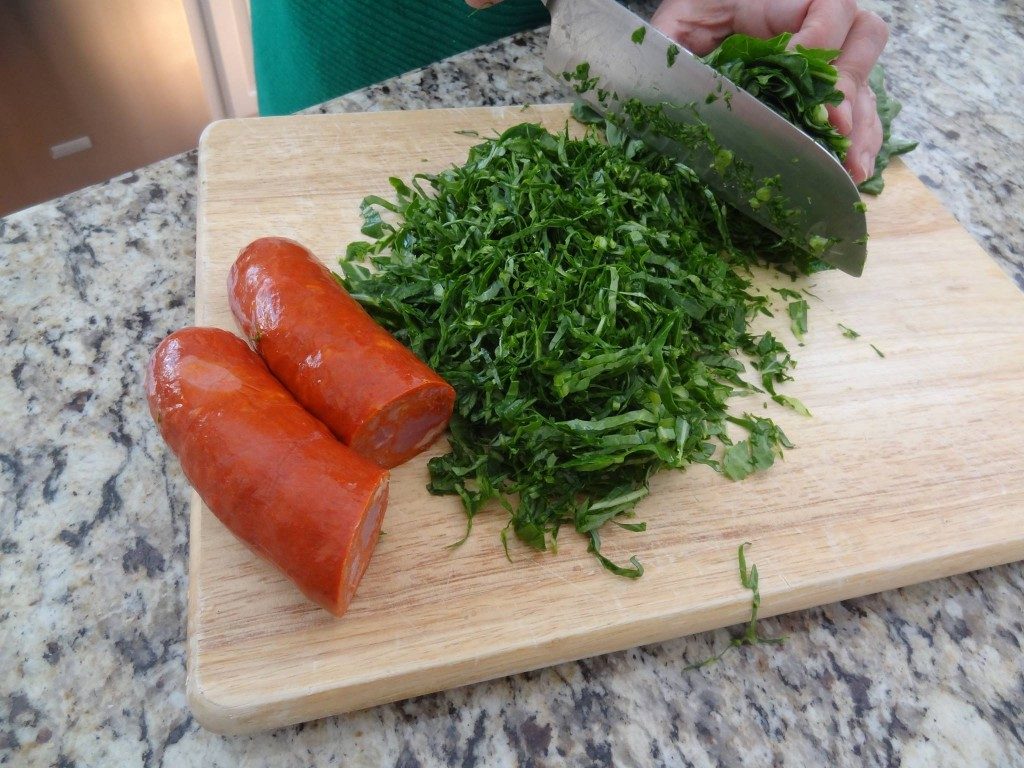
2 to 3 cups finely chifounade collard greens or kale

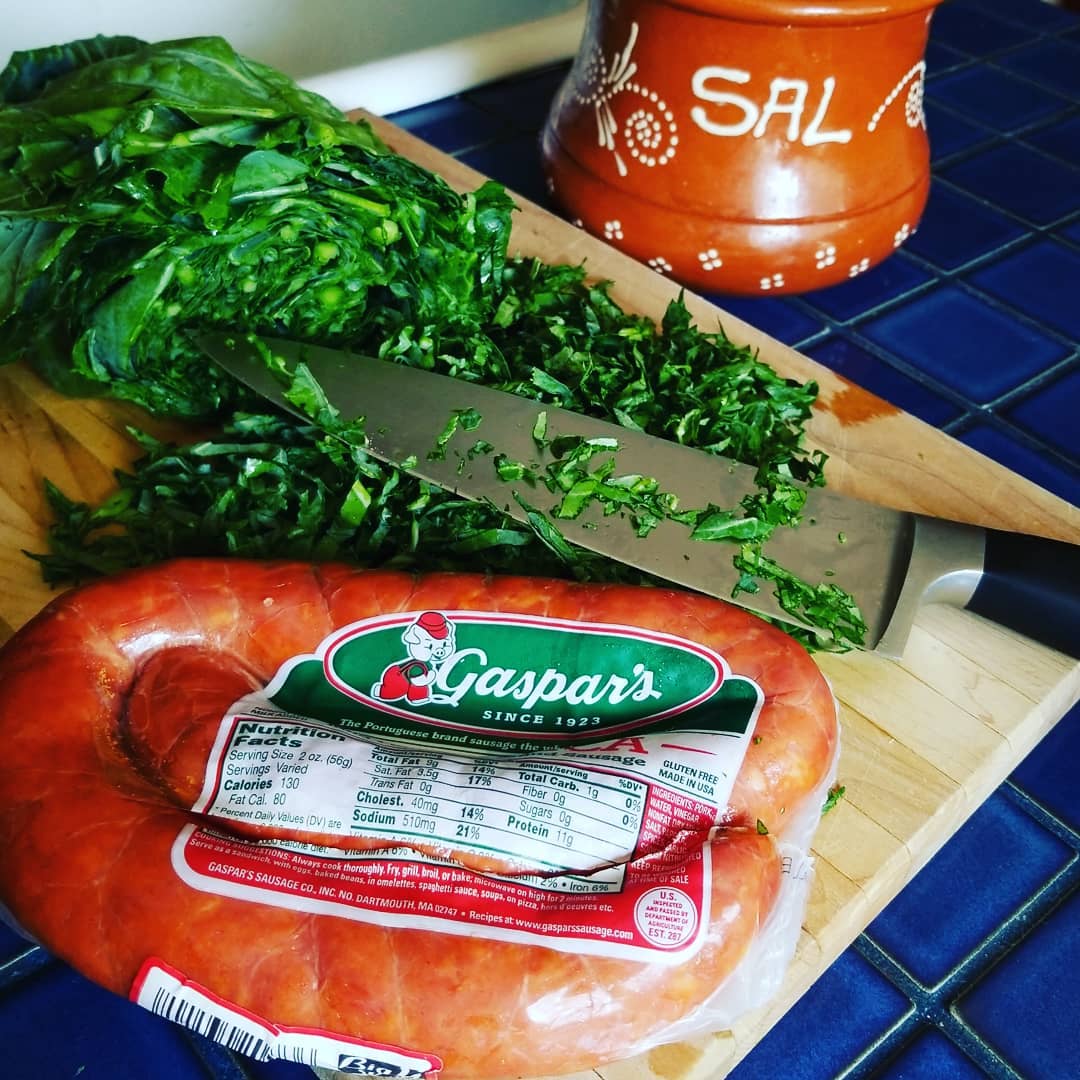
6 to 8 oz. Chourico Portuguese sausage

chopped-kale-1024x768Preparation:

In a medium saucepan bring the water and chicken broth to a boil. Add the cauliflower, onion, salt, pepper and olive oil. Cook for 8 – 10 minutes on medium heat until cauliflower is cooked.

Remove bay leaf. Puree the cauliflower and onion to a creamy consistency.

Add the chourico and collards.  Cook for 10 minutes on medium heat until the collards are cooked to your desired taste.

Note: You may need to add more or less broth for a thinner/thicker broth.

Remove the chourico and cut into thin slices. Set aside to serve as garnish with 3 slices for each bowl of soup.

Optional: Add a drizzle of olive oil and fresh ground pepper to each serving.

Romeo and Juliet Sandwich

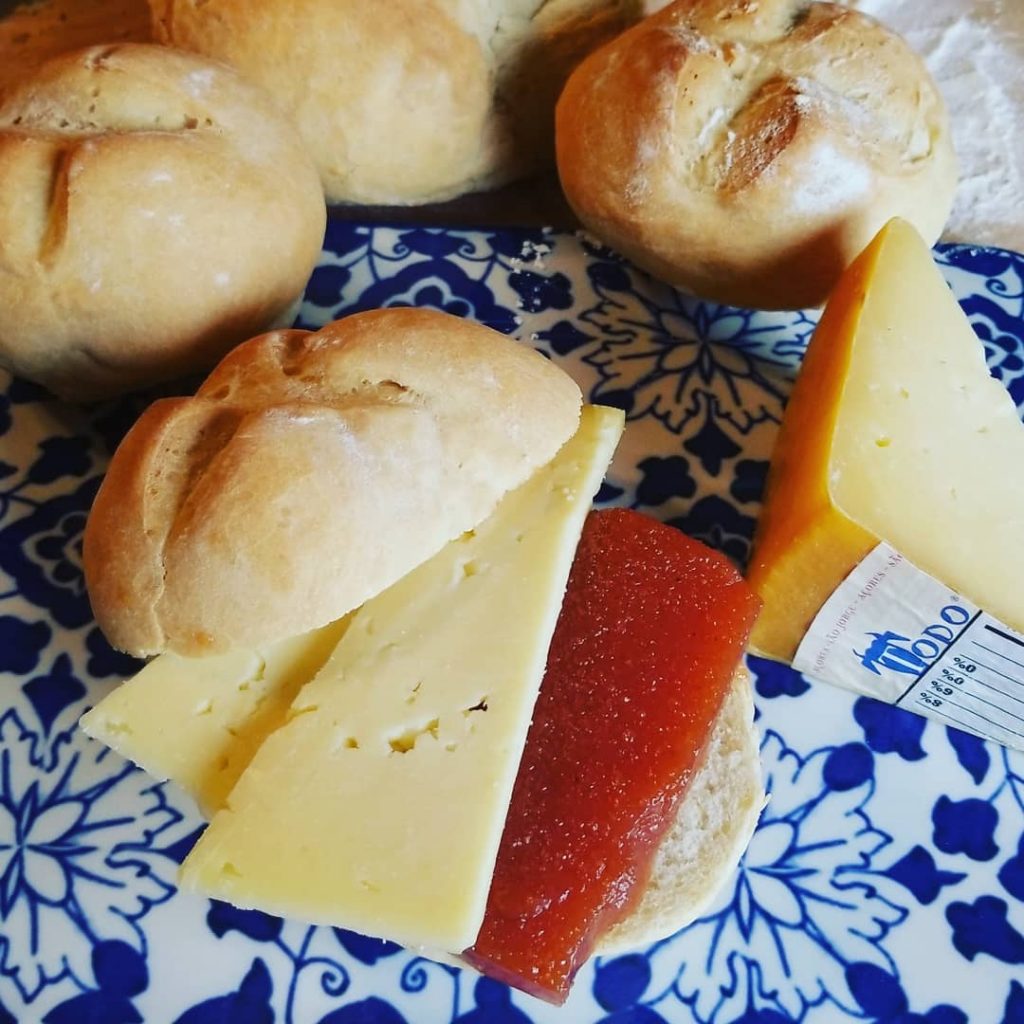
cheese and marmelade The Romeo and Juliet – Cheese and Marmelade Sandwich

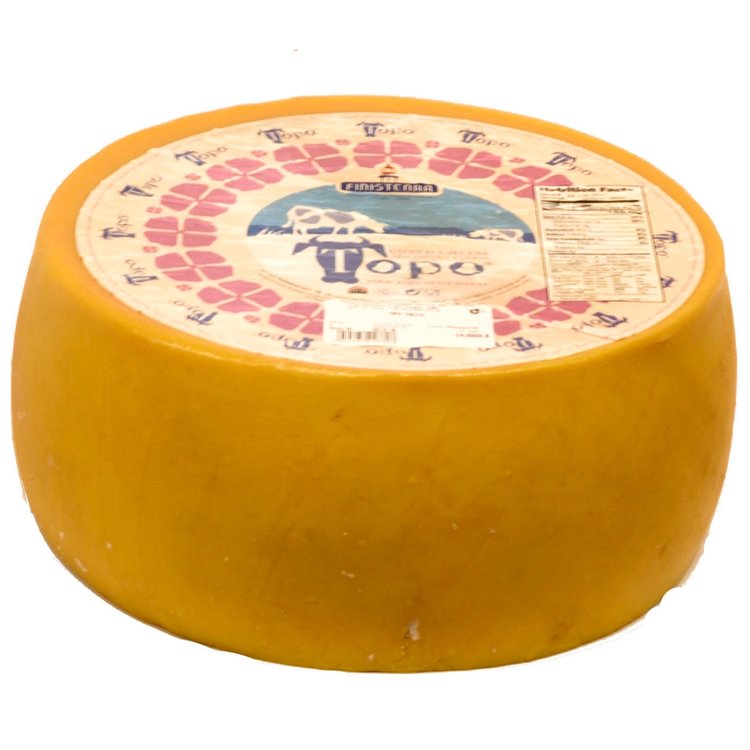
The love story of the perfect couple; Romeo and Juliet, inspired the name for this perfect sandwich combination of tangy Sao Jorge cheese from the Azores, Portugal and sweet Quince Marmelada.

However, feel free to use any of your favorite sharp cheese if you can’t get the Sao Jorge type.

sao jorge cheese

The true Portuguese love story of Ines de Castro and King Pedro happened long before Shakespeare wrote Romeo and Juliet but it is said, that this story of love – tragedy – and of a haunting, may have been Shakespeare’s inspiration.

Prince Pedro, the son of King Afonso IV was the heir to the Portuguese throne.  When he was 19 his father had him marry Constança of Castile (Spain) in order to build an alliance in 1340.

Ines de Castro,a daughter of a nobleman from Castile, was a lady-in-waiting to the Princess Constance. Ines was a radiant beauty who stole Pedro’s heart and they quickly fell madly in love.

Click on the image below for the love story.

inesandpedro


Recipe for Marmelada – Quince Marmelade

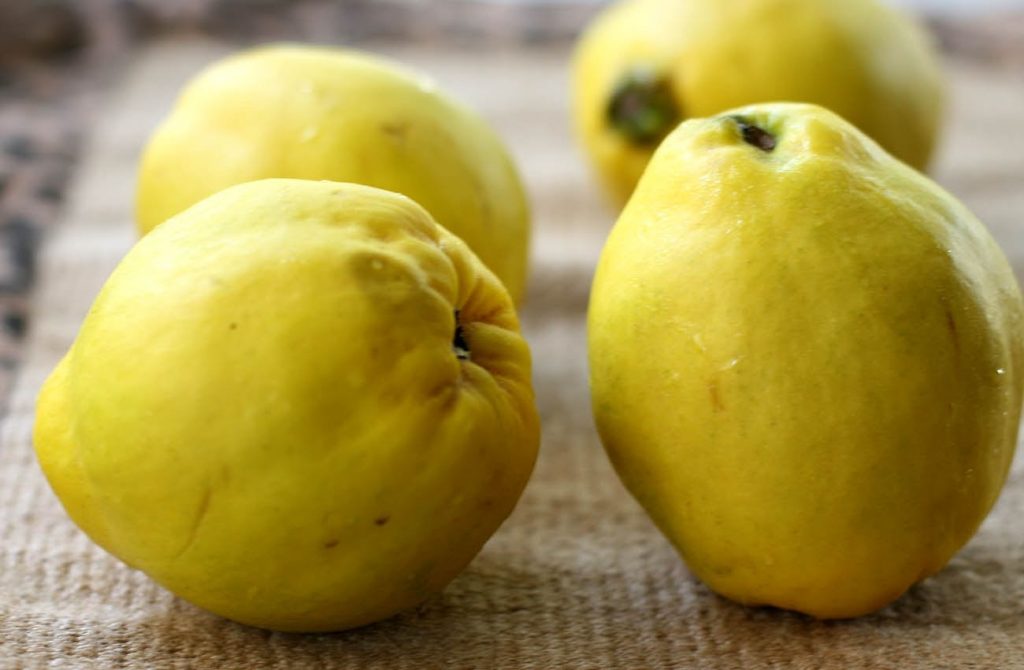
quince fruitIngredients:

4 and ½ pounds Quince

2 and ½ cups sugar

1 cinnamon stick

Water as needed

Preparation:

Wash, peel and remove pits from fruit and cut into chunks. Place fruit in a pan and cover with water. Add cinnamon stick and cook until cooked. Drain and remove cinnamon stick.

Puree with immersion blender until creamy. In the same pan, add sugar and cook on medium heat stirring often until a clear line forms in the center of pan with a wooden spoon.

Cool and place in plastic containers. Store up to 3 months in refrigerator.


Salmon and Asparagus Sheet Pan Dinner

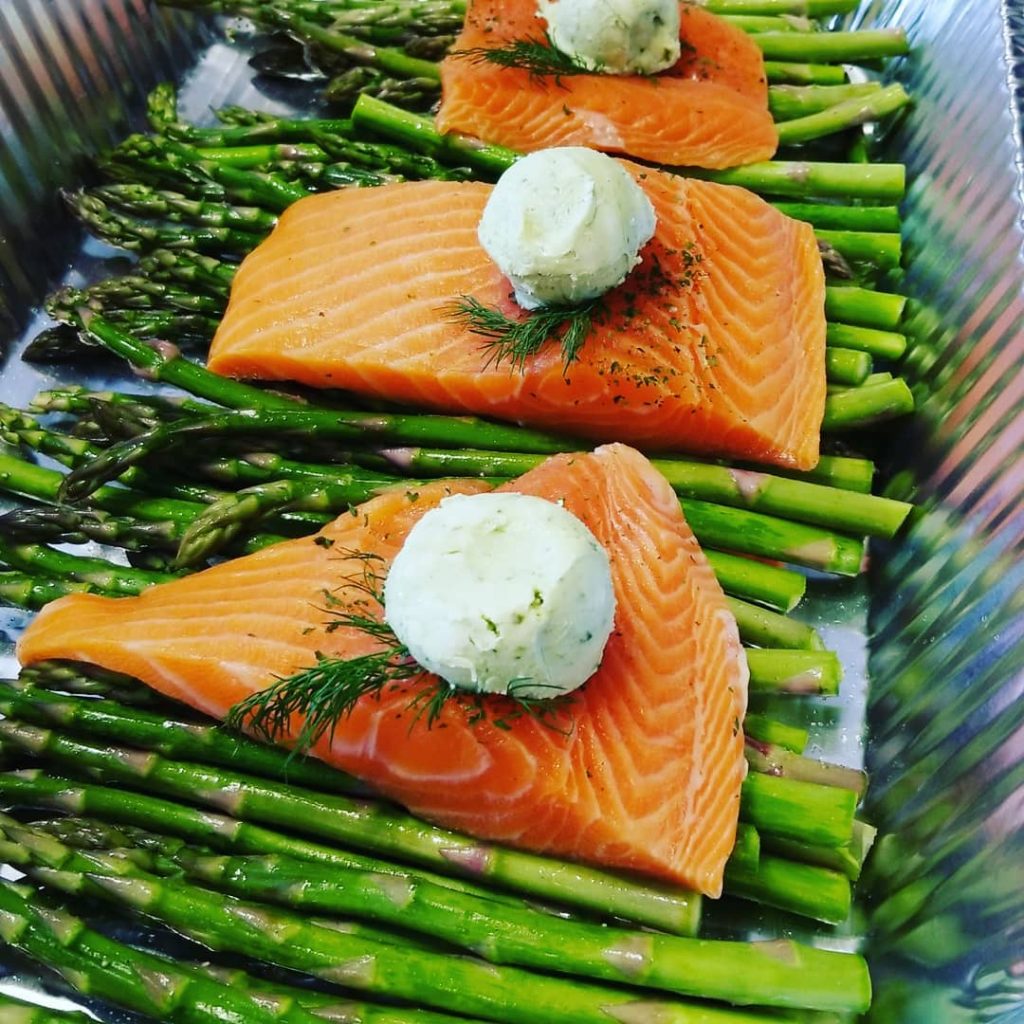
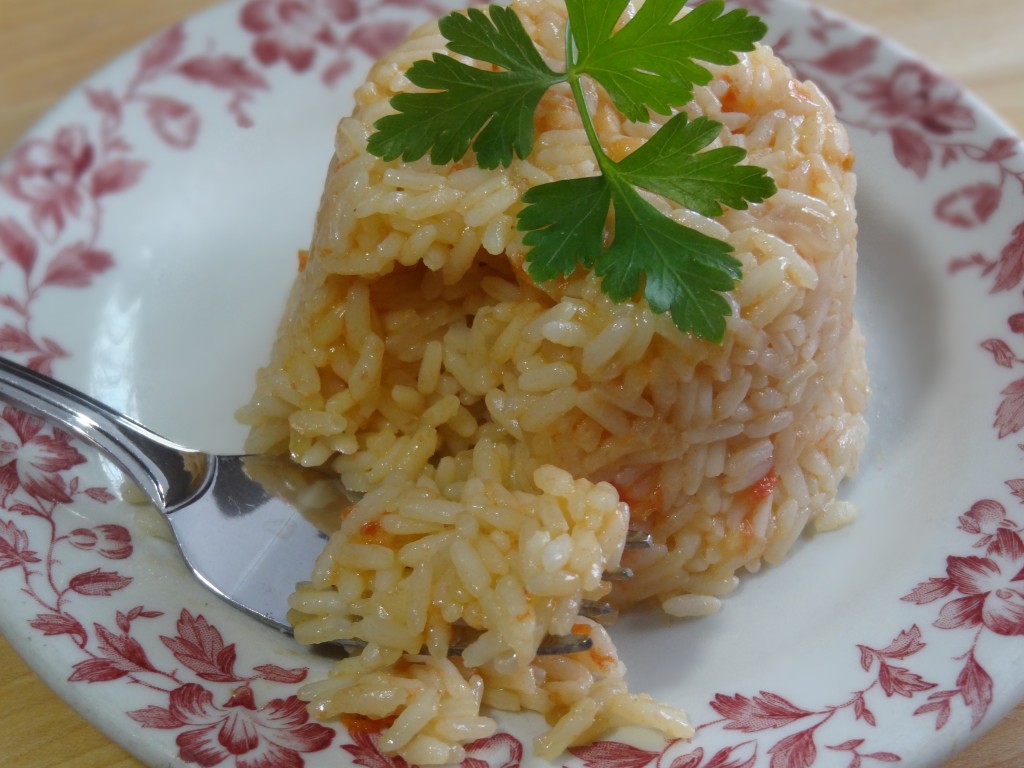
salmon asparagusI hope you enjoy this sheet pan Salmon and Asparagus dinner which cooks in only 20-25 minutes. Serve it with a tower of Portuguese Tomato Rice for great presentation.

Make extra because the salmon and asparagus are also delicious served cold as a salad. Enjoy!

tomatorice

Ingredients:

3 or 4 (8 oz) portions of fresh salmon

2 pounds fresh asparagus (washed and edges trimmed)

2 tablespoons olive oil

1/2 teaspoon salt

1/2 teaspoon crushed black pepper

lemon wedges

Basil Butter

1/4 cup basil leaves

3 cloves garlic

1/2 cup butter

1/2 teaspoon salt

1/2 teaspoon lemon juice

fresh dill for garnish optional

Preparation:

Preheat oven to 400 degrees F.

Make the butter first by placing the garlic, basil leaves, salt and lemon juice in food processor. Blend until a paste forms. Add butter and mix well.

Arrange the asparagus flat across a sheet pan. Drizzle with olive oil, salt and pepper and shake pan to coat evenly.

Place the salmon evenly over the asparagus and top with a scoop of basil butter. Place a dill sprig under butter if desired.

Cook for 20-25 minutes until salmon is fully cooked. Drizzle with squeezed juice from lemon wedges.


Salt Cod and Chick Pea Salad – Salada de Bacalhau com Grao

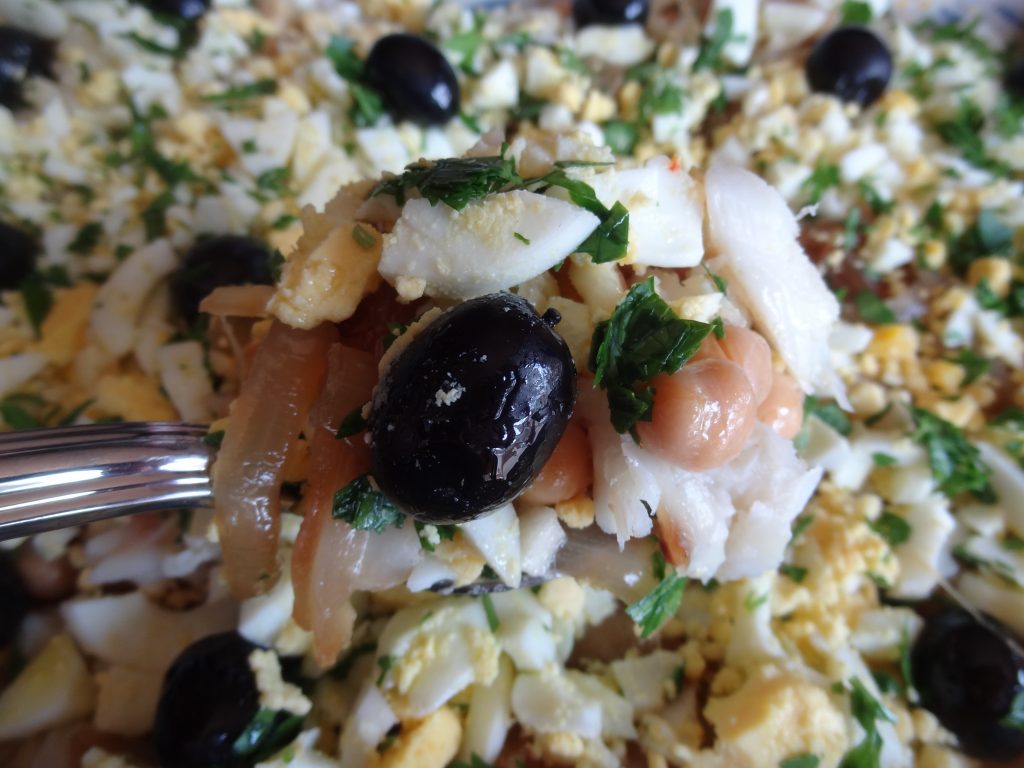
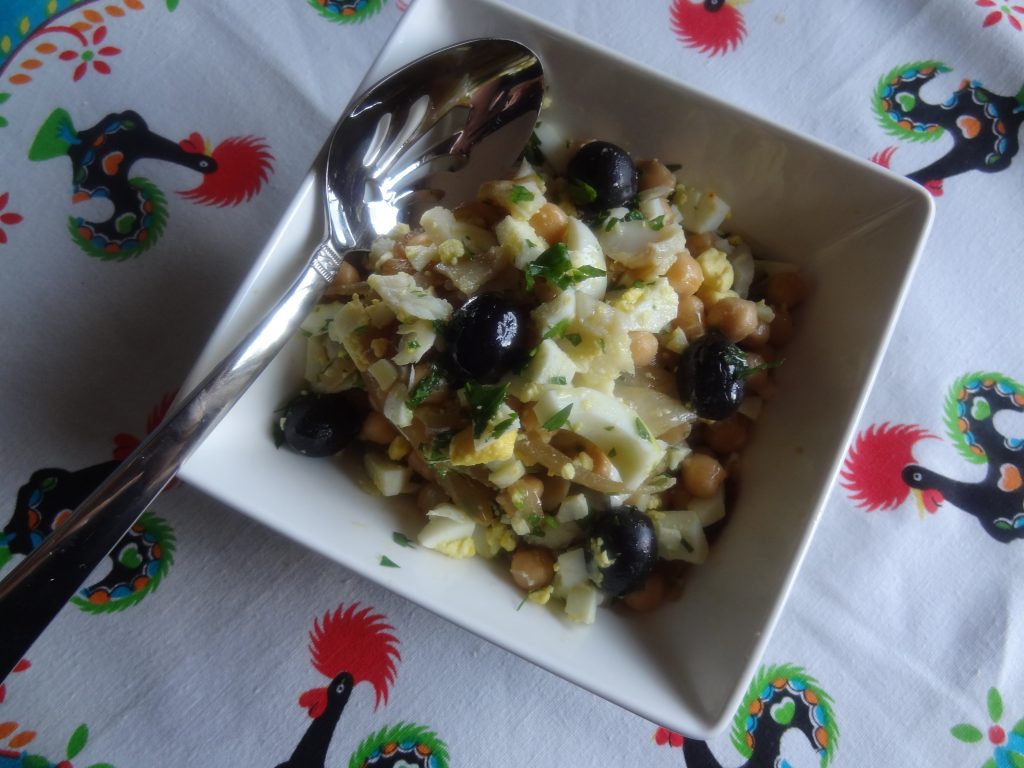
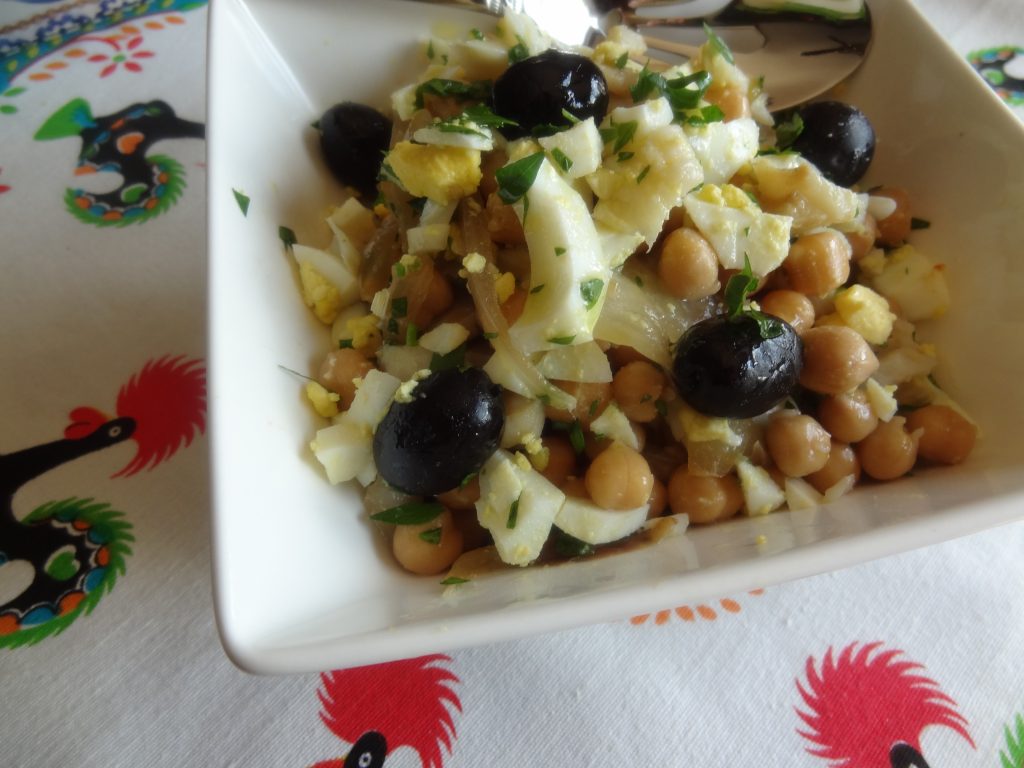
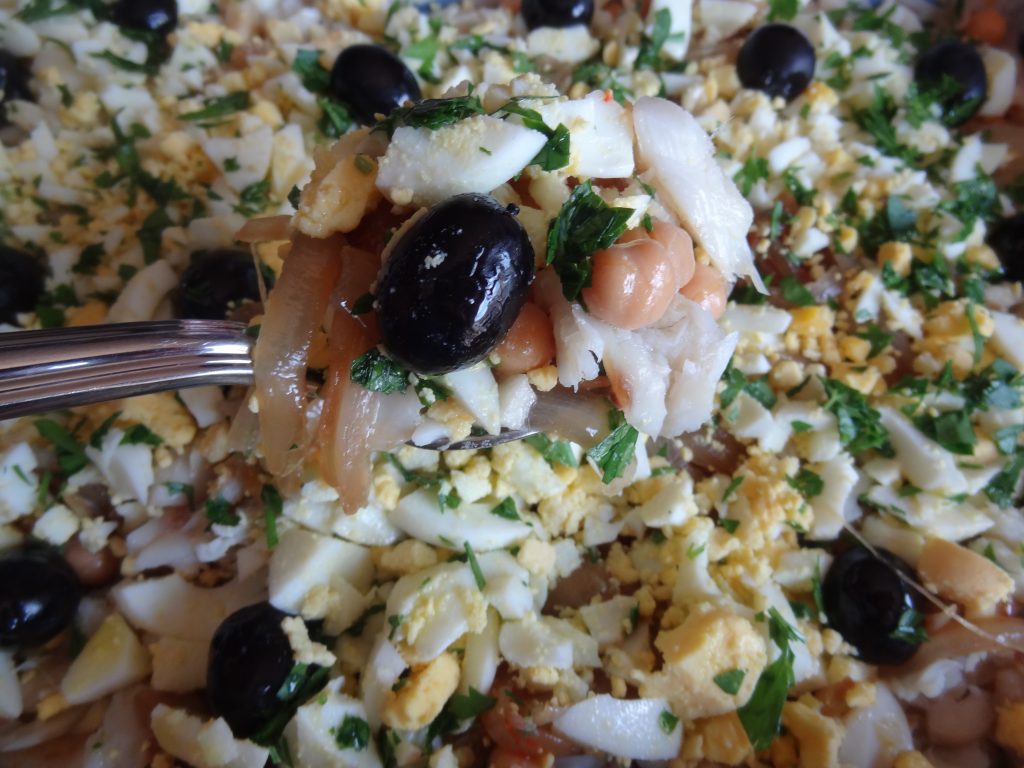
DSC06666 This easy recipe is can be a lunch, snack, side dish or a main dish. Serve it warm or cold. Make this ahead of time and store in the refrigerator. If you don’t have salt cod available in your area, you can use cooked fresh cod or haddock.

Serves 4-6

DSC06669

Ingredients:

1 or 2 cans of cooked chick peas (drained and rinsed)

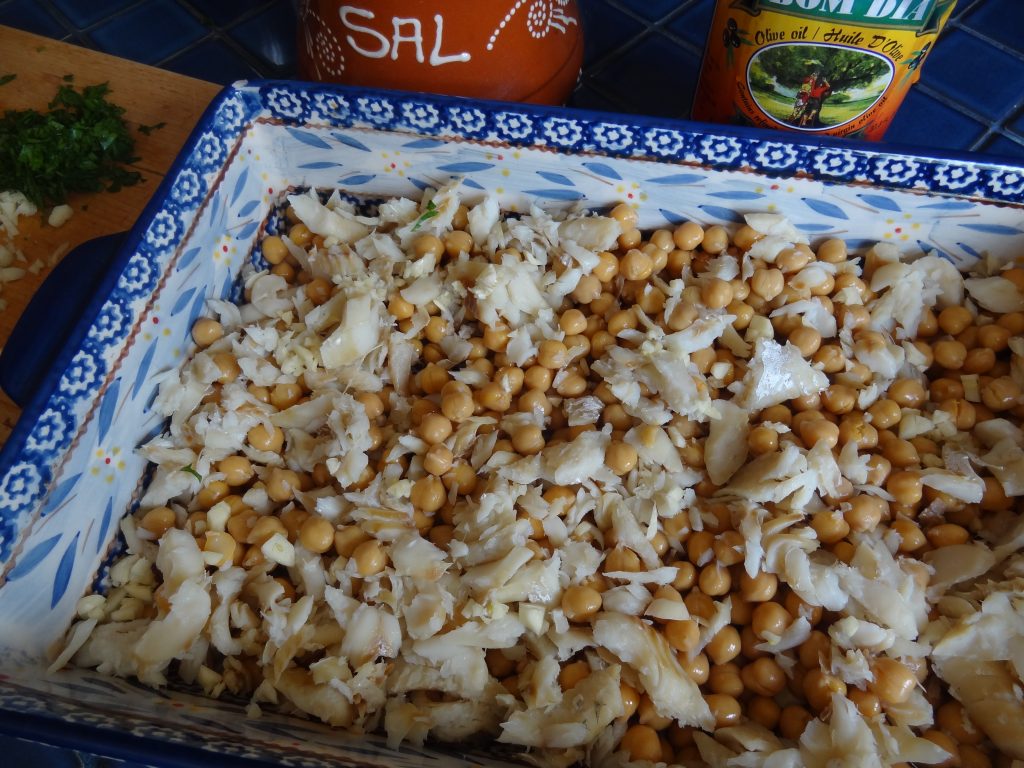
1 pound of cooked salt cod (flaked)

1 large onion (sliced)

3 cloves garlic (finely minced)

6 hard boiled eggs (chopped)

1/2 cup olive oil

3 tablespoons chopped parsley

salt and pepper to taste

2 tablespoons wine vinegar to taste (optional)

olives for garnish

Preparation:

Saute the onion in 2 tablespoons of olive oil for a few minutes. Add garlic and cook for another minute.

Note: If you want to serve this dish warm add the chickpeas and cod to the onions and saute until warm. Then add the garnishes on top before serving.

In a large dish, layer the chickpeas, then the cod. Season with salt and pepper.

DSC06663
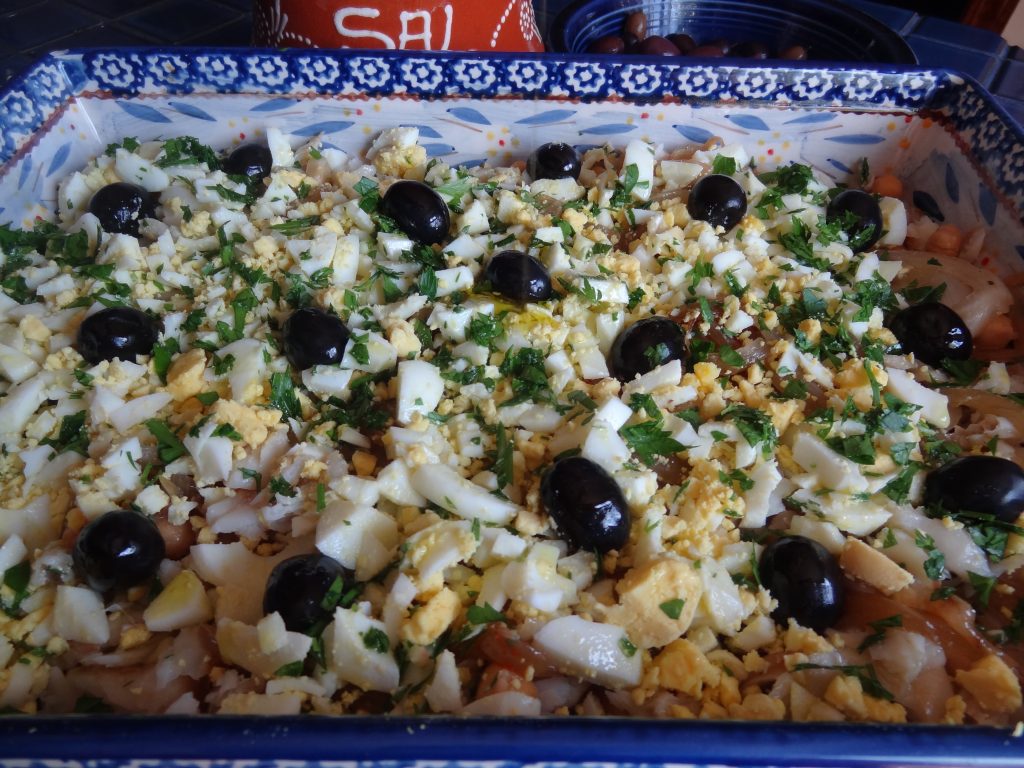
Add the onions, and the eggs. Drizzle with the remaining olive oil and vinegar if desired.

Garnish with the parsley and olives.

DSC06664

DSC06668

DSC06665

Happy Valentine’s Day Giveaway!

valentines cookbook
Eu te Amo!

I love Portuguese food!

I love you, my Portuguese Foodies!

Happy Valentines Day

Win my Taste Portugal 101 easy recipes cookbook.

Comment below and tell me what your favorite Portuguese dish is.

Winner chosen on Valentine’s Day.

Happy Portuguese cooking everyone.


Order my cookbook all around the world on Amazon

How to cook Alheira Portuguese Sausage

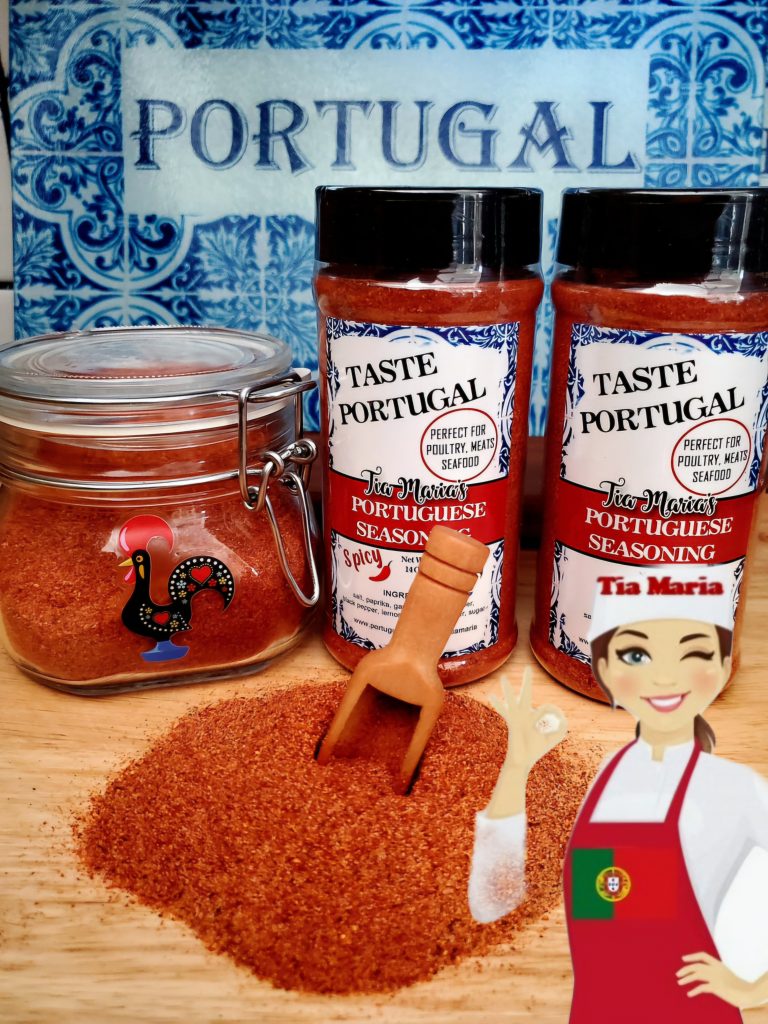
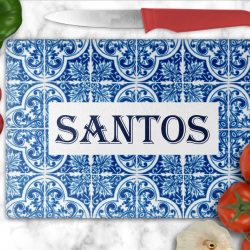
 Order this beautiful Glass tile cutting board here:


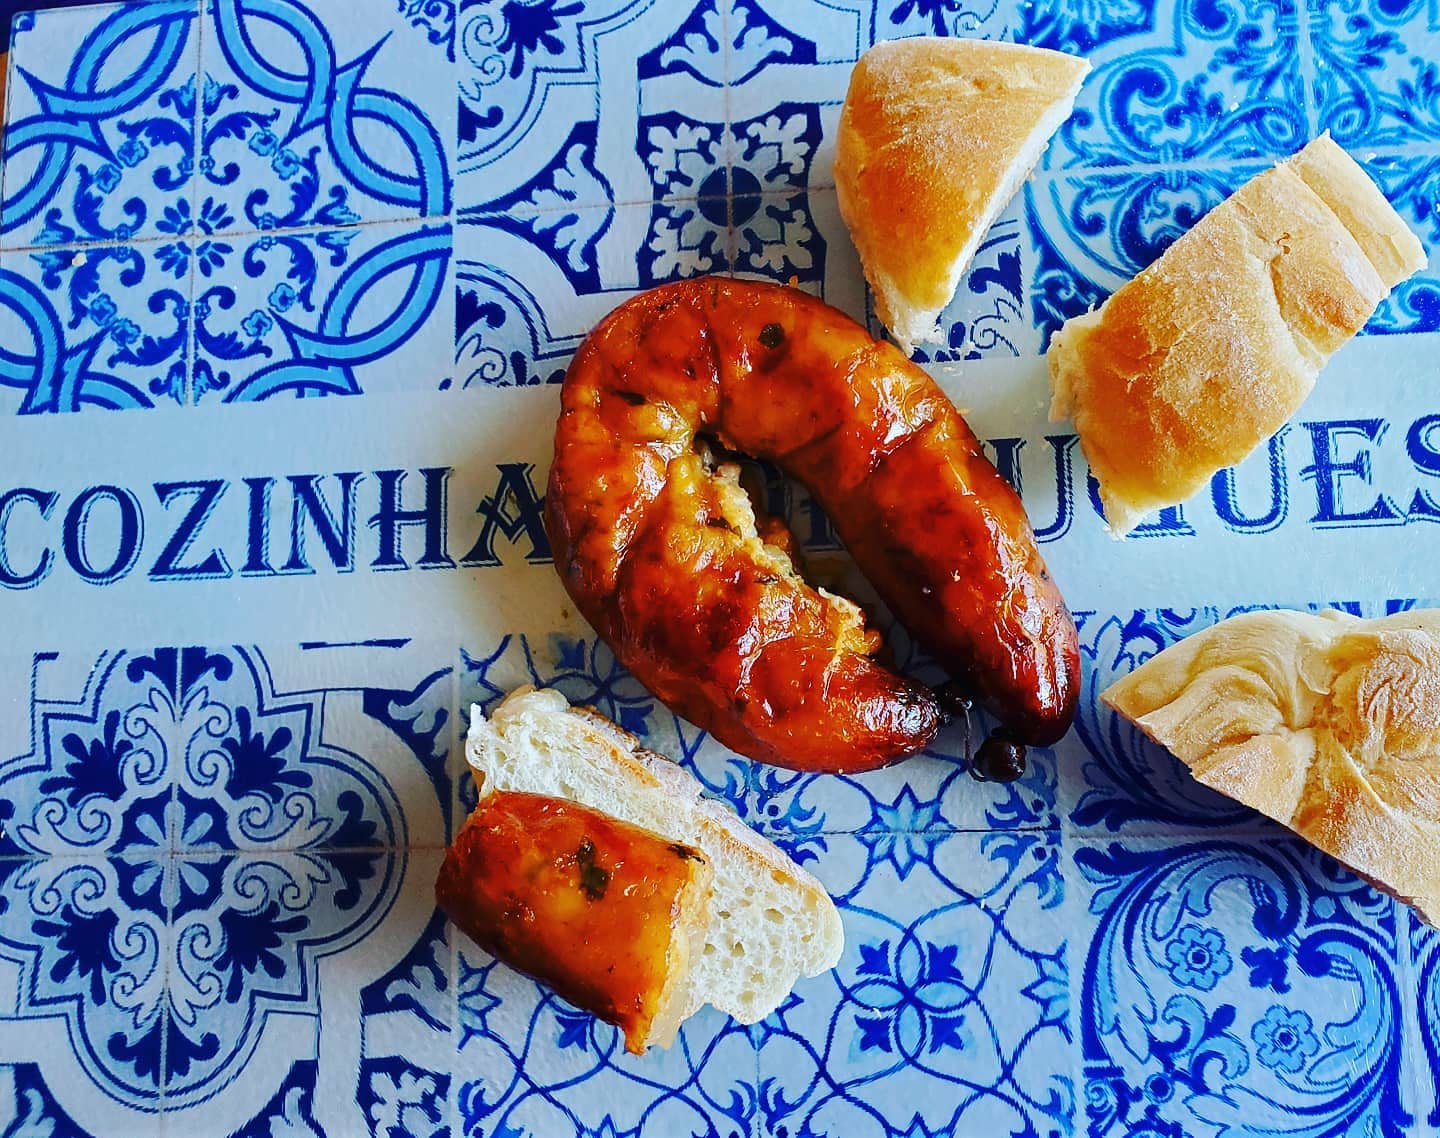
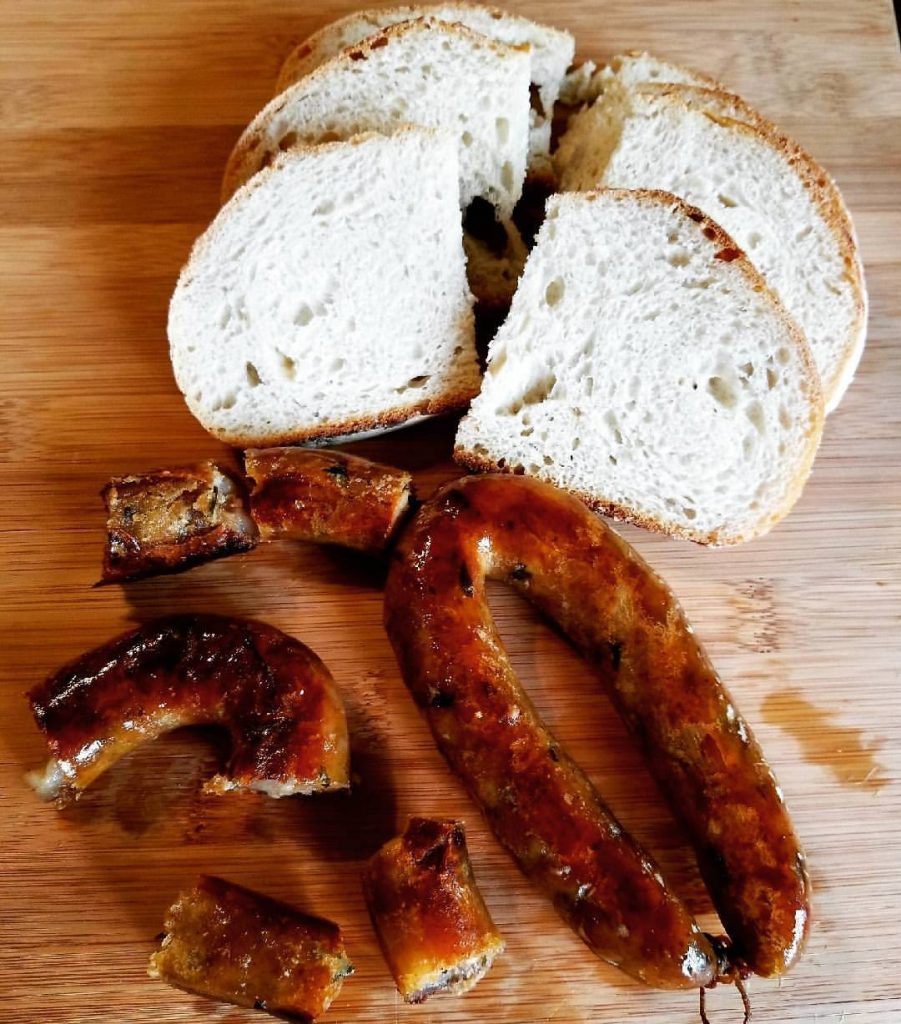
alheiraAlheira derives its name from the Portuguese word “alho” meaning “garlic. The Alheira was was originally a garlicky, pork-free sausage said to have been originated by the Portuguese Jews during the time of the Inquisition. The Jews used chicken instead of pork in the sausage to throw off suspicion that they weren’t Christians.

Today, you will find the sausage made with lots of garlic, spices, pork, chicken or other meats and sometimes even salt cod is used.

You can buy the sausage online and at Portugalia Marketplace which will ship to you.

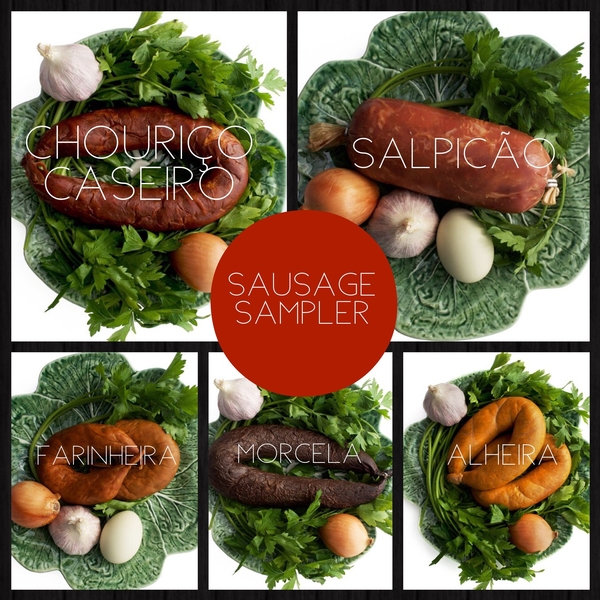
portuguese Sausage Sampler

Instructions for cooking on your stove top:

Note: The sausage is smoked so don’t worry about it being raw. We cook the sausage to heat it and to obtain a nice crispy skin to obtain it’s garlicky flavor.

Note: Cook on low heat, or you may find that it will break apart and and ooze out the filling. However if it does, don’t worry because it’s still delicious.

  1. Rinse and dry the sausage with paper towels and set aside to completely dry.
  2. Heat 2 tablespoons of olive oil in a small skillet on low heat.
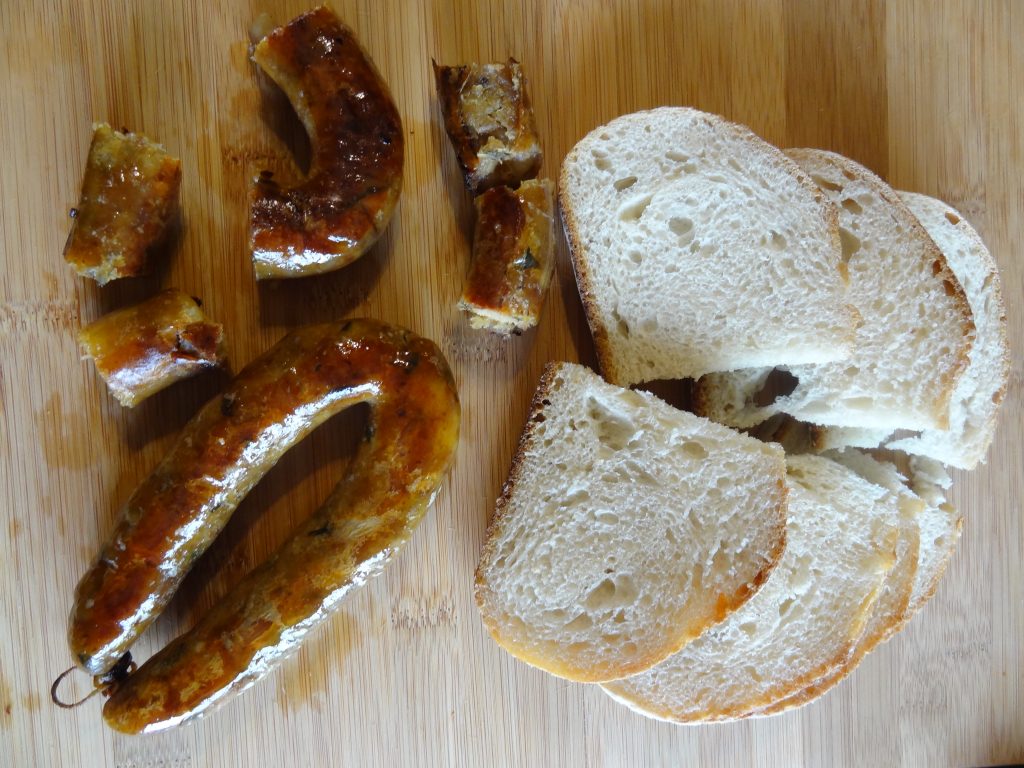
  3. Place the sausage in the oil, cover and cook for about 5 minutes. Turn over on each side until you achieve the nice crispy skin. You may have to turn over once in a while.
  4. Slice carefully with a sharp knife and serve with crusty Portuguese bread.
Air Fryer:

  1. Rinse and dry the sausage with paper towels and set aside to completely dry.
  2.  Brush sausage with a little olive oil on both sides.
  3.  Set air fryer to 375. Degrees.
  4.  Gently pierce the skin in a few places.
  5. Cook for about 4 minutes on each side, turning them over to crisp.
  6. Note that they burst slightly in cooking process. This is normal.


DSC06697

Merry Christmas and Happy New Year

Nativity-Merry-Christmas

Merry Christmas and Happy New Year everyone.

May the spirit and joy of Christmas bring you; love, peace, health and happiness to you, your family and friends.

merry-christmas-clipart-hd-religious-merry-christmas-clip-art-words-hd-wallpaper-and-pict

Portuguese Baked Stuffed Shrimp – Camarao Recheado


Merry Christmas Everyone! Here’s a special recipe for you.

Recipe #48 Taste Portugal 101 Easy recipes cookbook

 Portuguese Baked Stuffed Shrimp


Warning!!! This baked stuffed shrimp will drive shrimp lovers crazy! What makes this a Portuguese recipe? The papo secos of course! They’re perfect to make this stuffing because they have great texture and taste which makes a perfect match with the shrimp.

The dish was a very popular menu item at my brother’s Portuguese/American restaurant many years ago. I’ve adapted it through the years and I make for special occasions and holidays such as Easter and Christmas.

The recipe has a lot of steps, but once you make it and see how easy it is, you’ll never through away your old Papo Secos again! Just freeze the rolls  in plastic freezer bags.

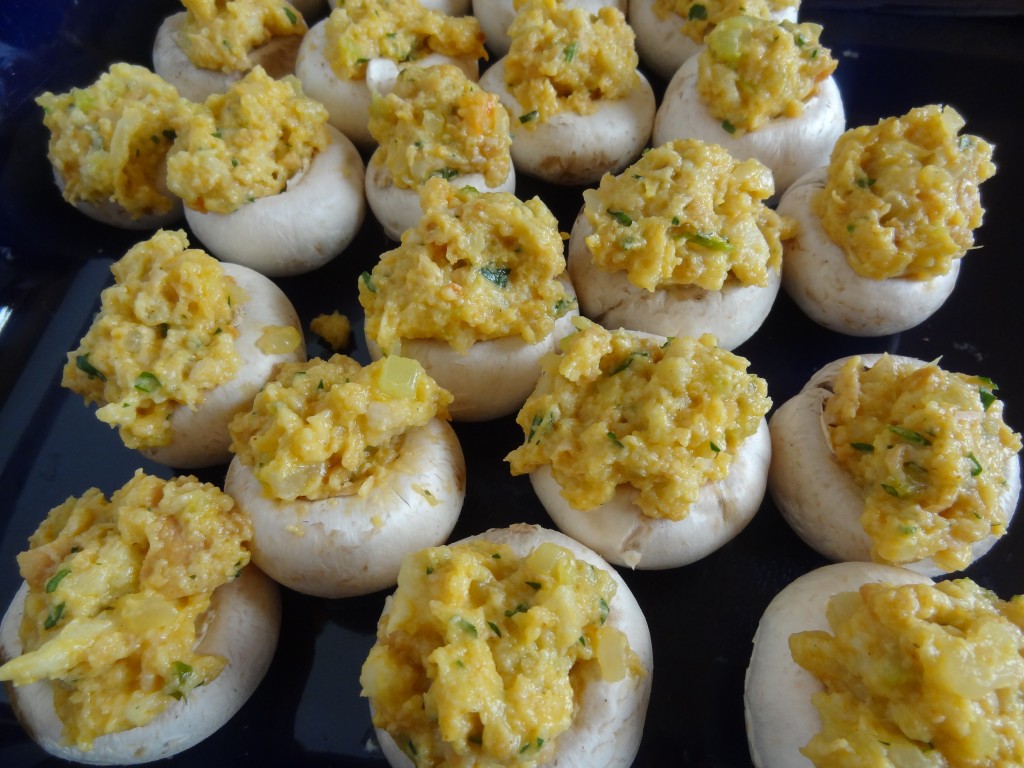
The stuffing is very versatile so you can use it to stuff fish, chicken, or even mushrooms (see the photos below). Make a double batch of the stuffing and freeze it in freezer safe plastic bags or bowls.

These shrimp take only 15-20 minutes to bake so it’s an elegant and easy dish to prepare to impress your guests. Serve with Portuguese Rice of course!

Serves 4-6

Ingredients:

2 pounds extra large shrimp (about 10-12 per pound) (peeled & deveined)

3 papo seco rolls (preferably day old)

15 Ritz crackers or any brand of buttery crackers

1 package garlic flavored croutons

1/2 cup celery (finely minced)

1/2 cup onion (finely minced)

3 tablespoons olive oil

1/2 stick (4 tablespoons) of melted butter

1 pound of small or medium raw shrimp (peeled & deveined)

1/4 cup of white wine

1 teaspoon paprika

1/2 teaspoon garlic powder

1/2 teaspoon salt

1 small chicken bouillon cube

2 tablespoons parsley (finely chopped)

Instructions:

Step 1. Peel both sizes of shrimp into separate bowls and reserve the shells. Cook the shells in 3 cups of water and a pinch of salt for about 8 minutes. Strain the broth into a big bowl and let it cool. Throw away the shells.

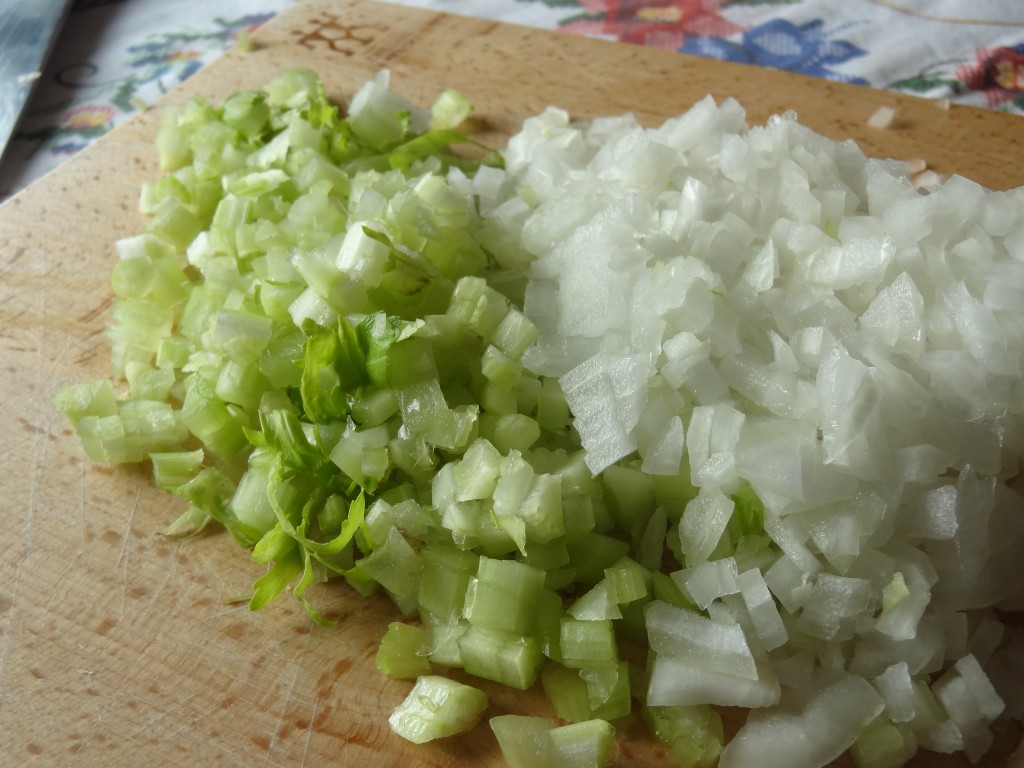
Step 2. In a small skillet, saute the onion and celery with olive oil for 5 minutes until translucent on medium low heat. Remove the onions and celery with a slotted spoon leaving some of olive oil in the pan. Set the onion mix aside to cool.

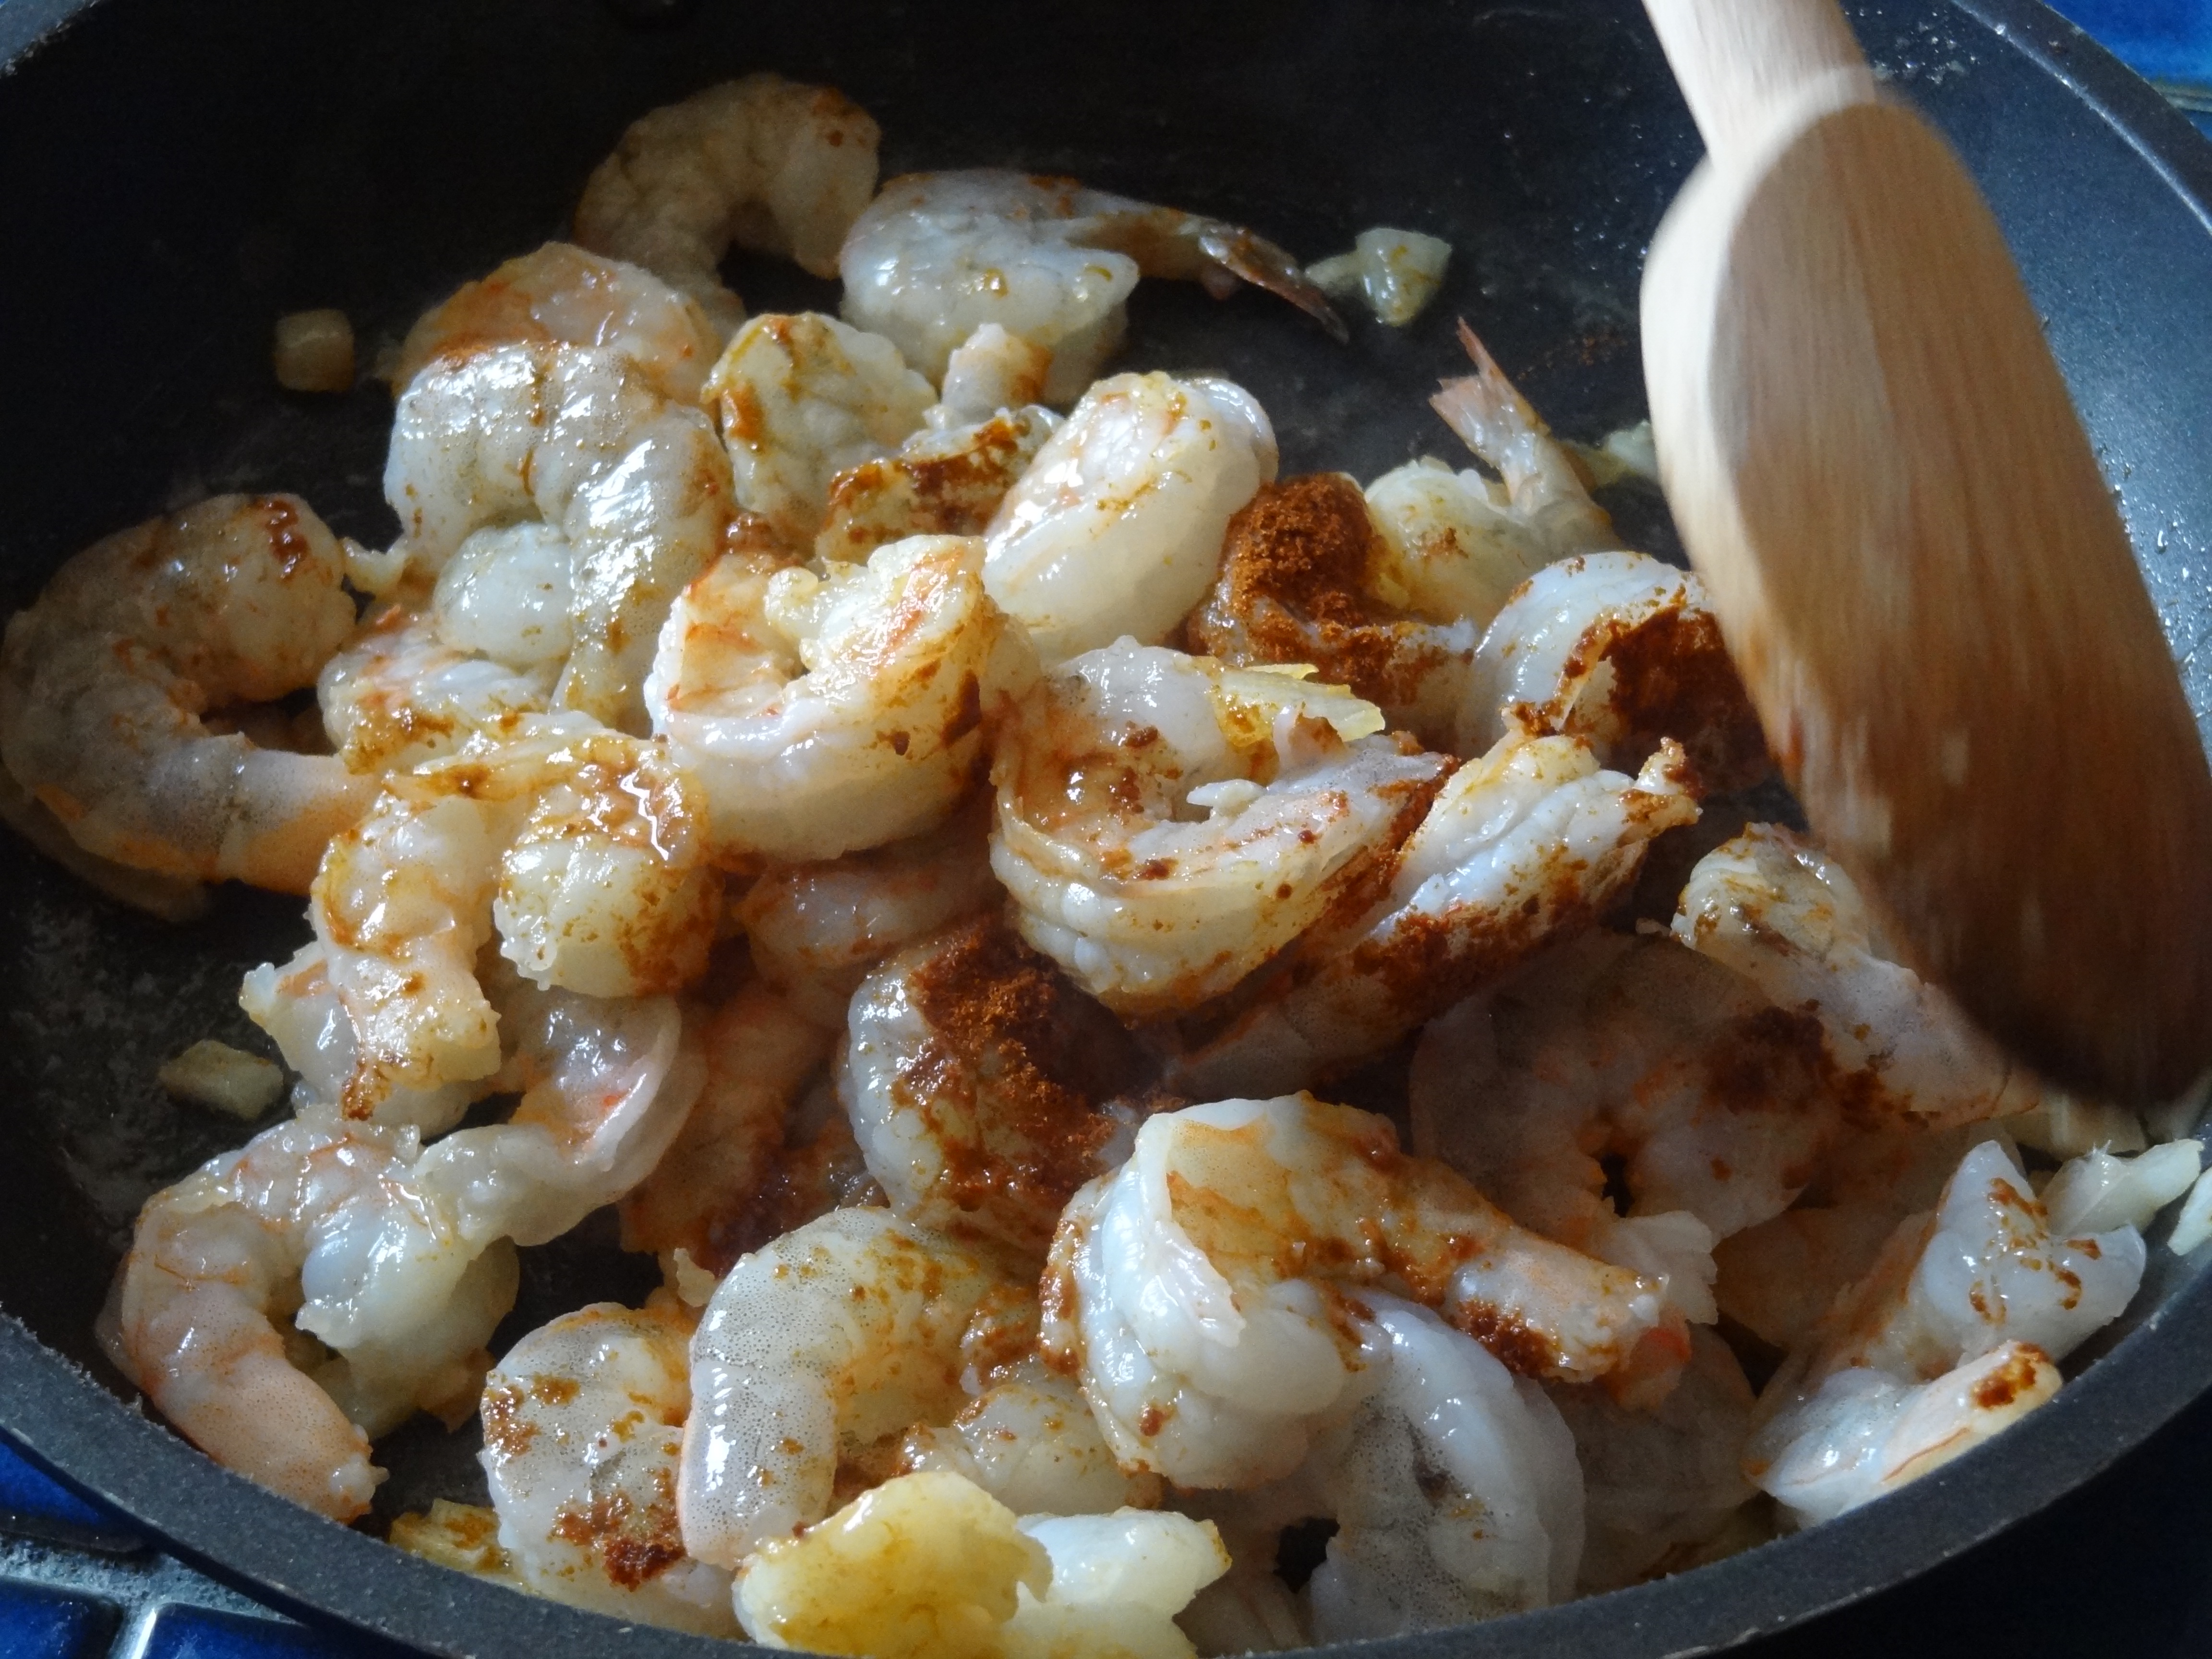
Step 3. In the same skillet, add the small shrimp, bouillon cube, garlic, salt and paprika and cook for 1 minute until the shrimp turns slightly pink. Add the wine and cook for another 3 minutes for the wine to reduce. Remove the skillet from the heat and let the shrimp cool while you prepare the bread stuffing.
 

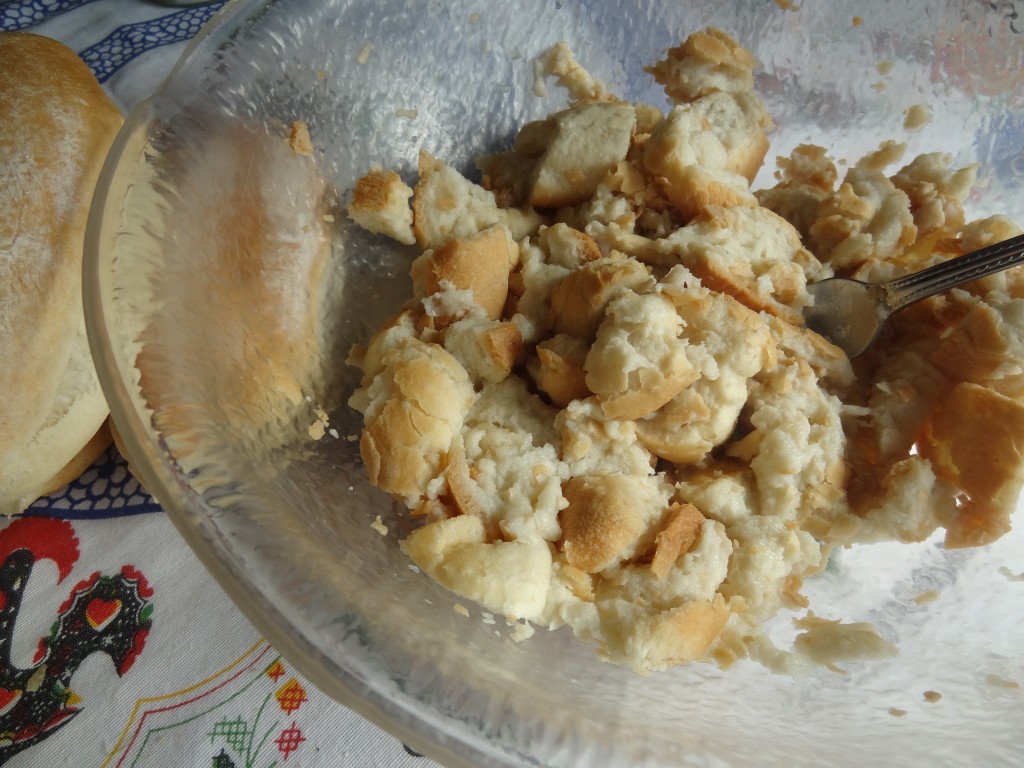
Step 4. Chop the Papo Seco bread (or any crusty day old bread) into small chunks and place into the bowl with the shrimp broth.

Let the bread sit for about 10 minutes to absorb the broth. Mash the bread with your fingers or a fork until it very dissolved with no big chunks left. The bread should be the constancy of a wet dough like batter. If you find the bread too dry add a little more water.


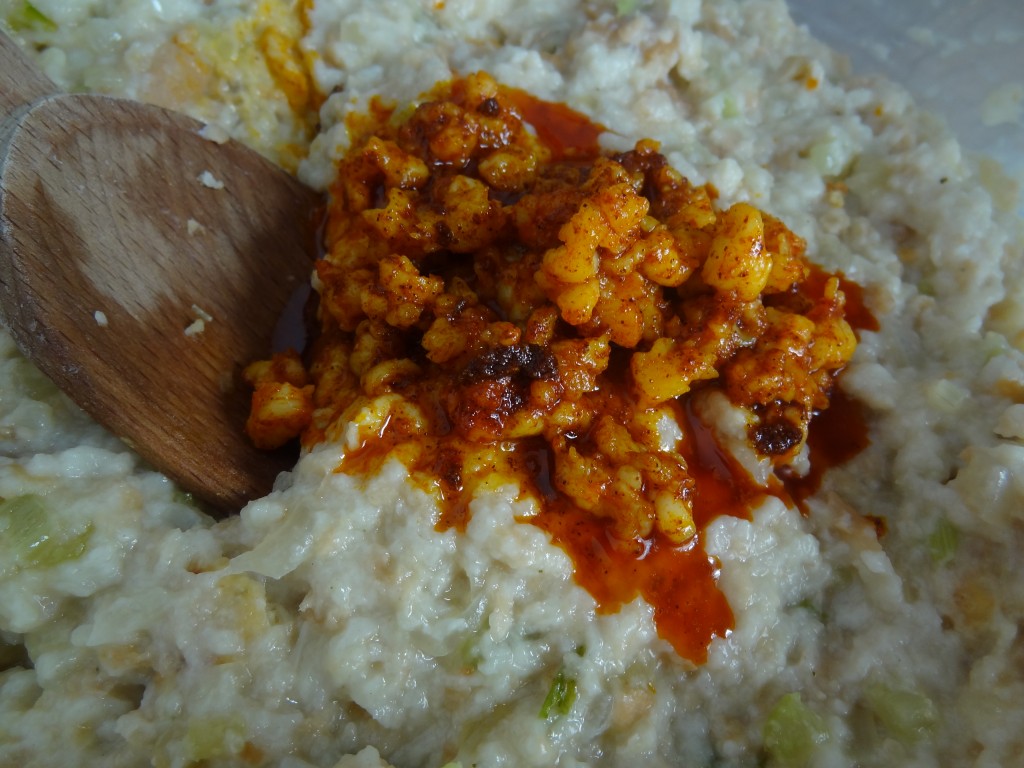
Step 5. Crumble the crackers with your hands into the bread. Add the cooked onions and celery and mix the stuffing very well. The stuffing will be wet, but if you find it runny add more finely diced bread or crackers.

Add the cooled shrimp and parsley into the stuffing and mix well. Taste and add more salt if desired. Set aside while you prep the shrimp for stuffing.
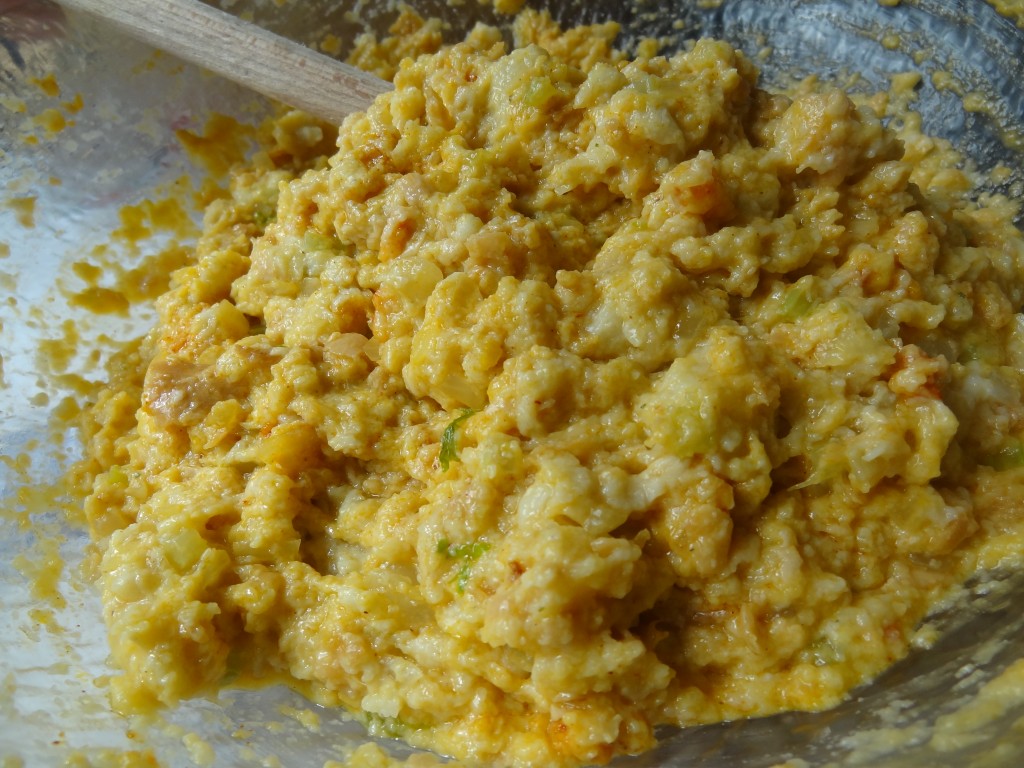
 

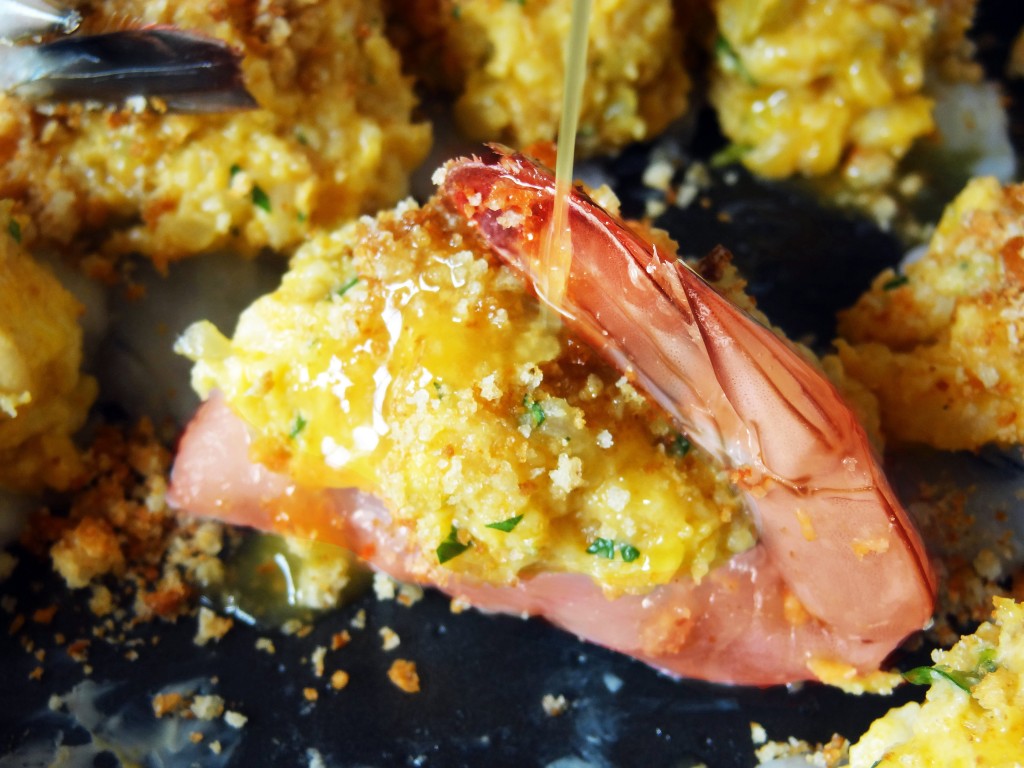
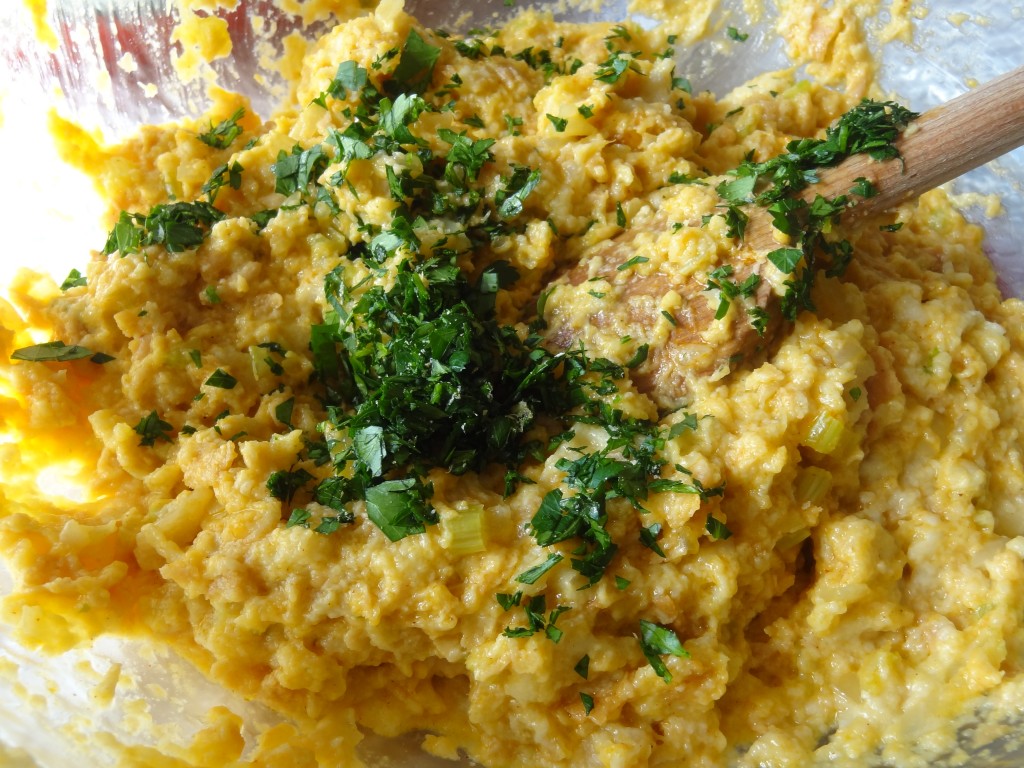
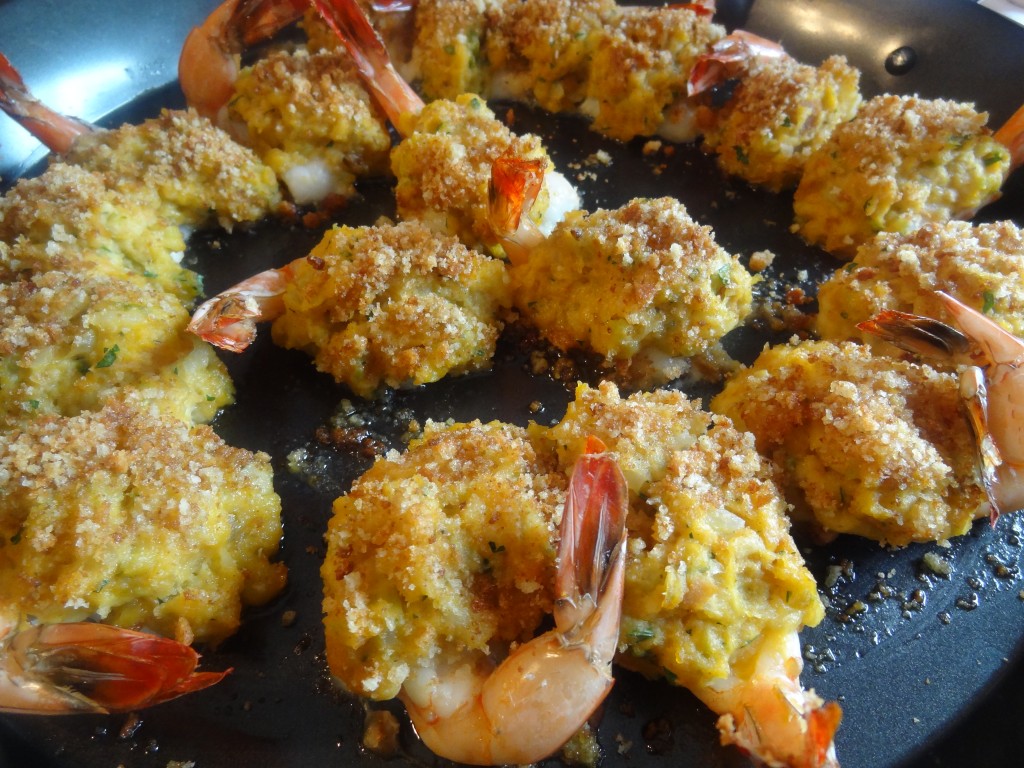
 The stuffing will have a soft dough consistency and a golden delicious color like this photo.
 

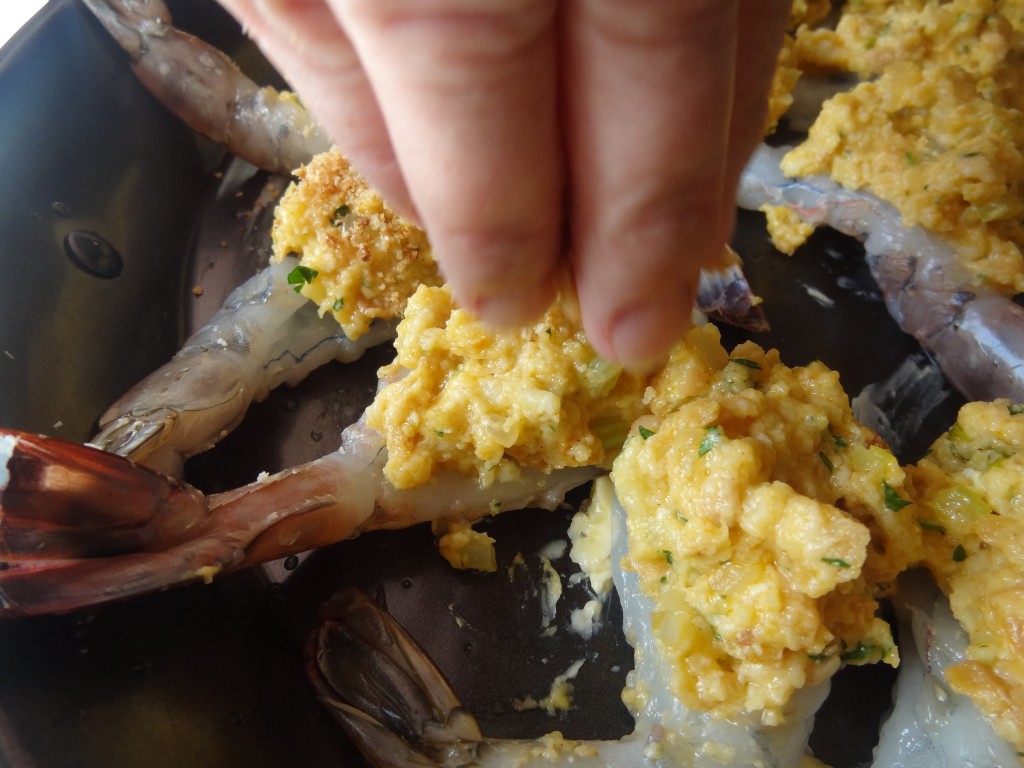
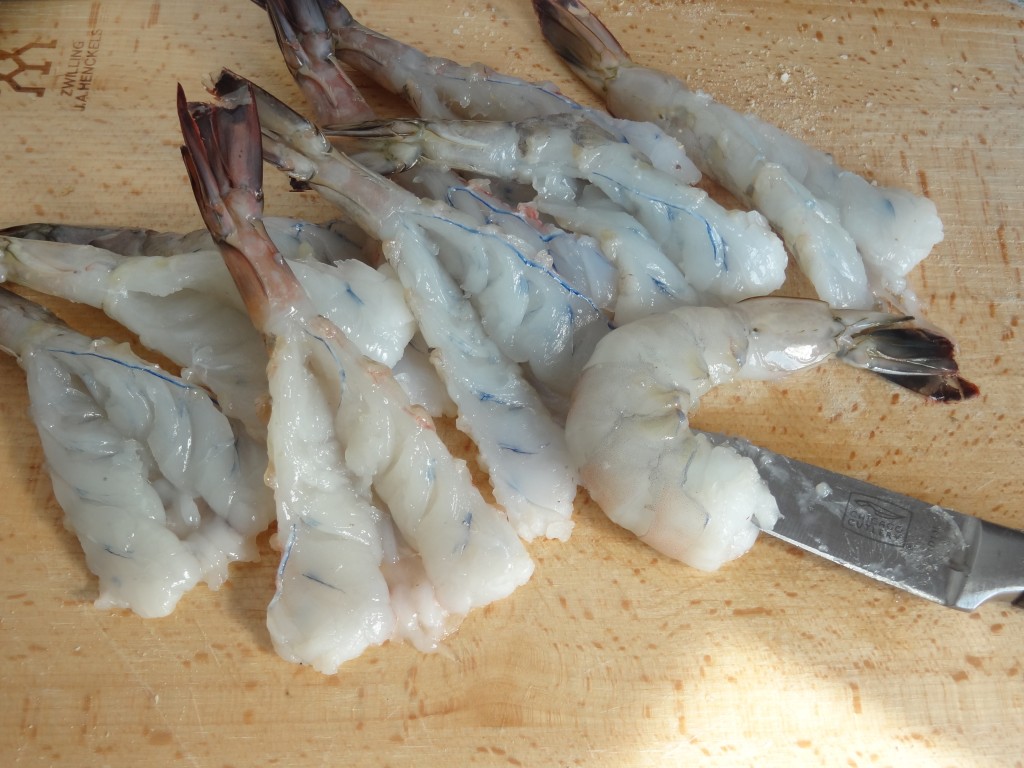
Step 6. Prep the large shrimp for stuffing by gently slicing at the curved end in the butterfly cut. The stuffing goes into the center leaving the tail curved over.
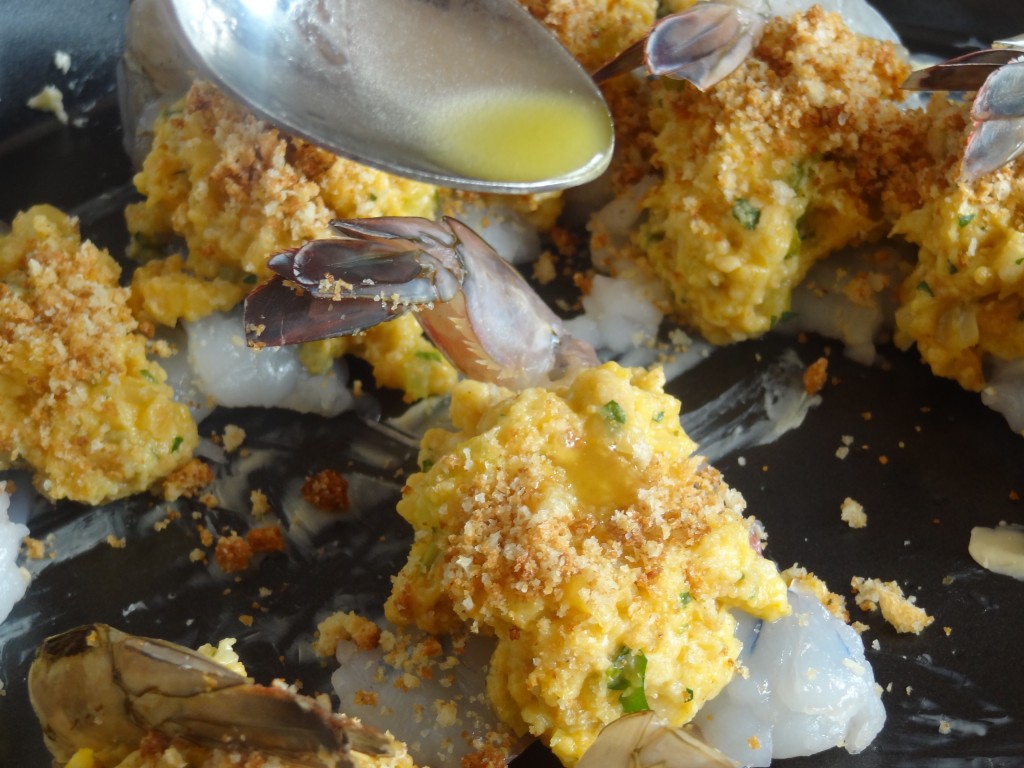
Grease a cooking tray and place each shrimp butterfly up in the pan. Scoop 1 tablespoon or more of the stuffing into the center of the shrimp.

Step 7. Place the croutons in a Ziploc plastic bag. Close tightly making sure no air is left inside. Crumble the croutons into very fine bread crumb like crumbs. This should yield about 1 and 1/2 cups. Don’t be stingy with the croutons. Pile them on the shrimp since they cook up crispy and flavorful.

Sprinkle 1 teaspoon over each shrimp and then add a little melted butter over each one.
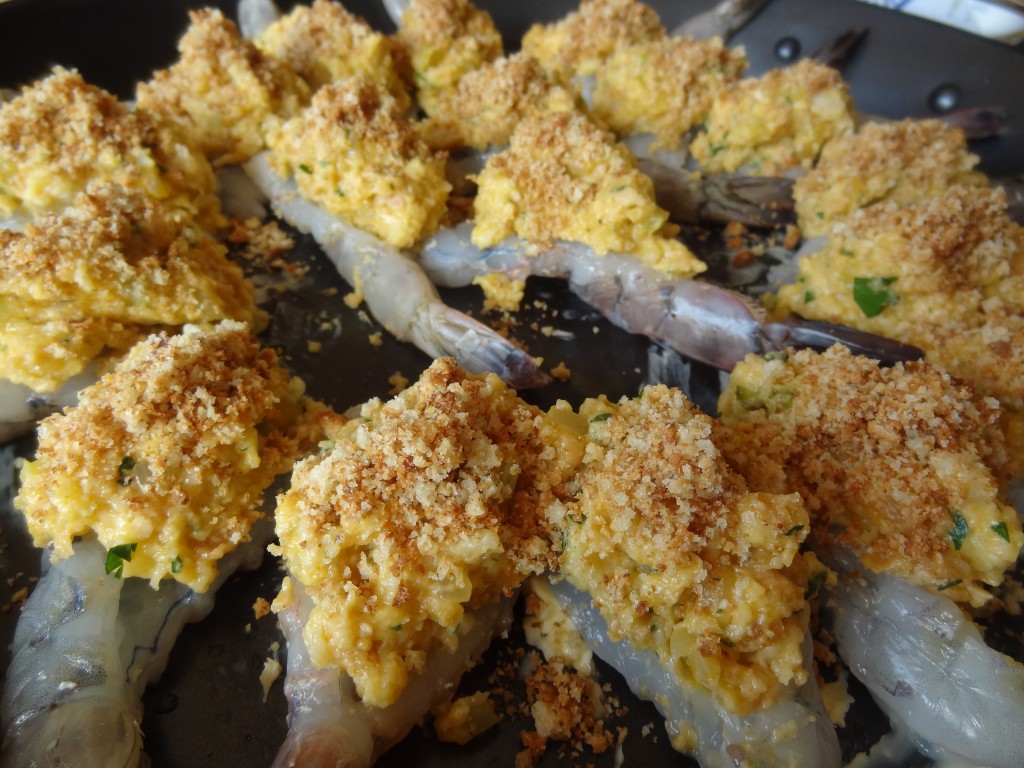
***Note you can place the shrimp assembled on a sheet pan, cover with plastic wrap and cook the next day.***

Step 8. Cook in a 375 degree oven for about 15-20 minutes until the shrimp is pink and golden brown.

Remove from the oven. You can leave them in the oven on very low heat to keep them warm before serving or to reheat them.

Be careful since they may become dry if the heat is too high or you leave them in the oven to long. Drizzle more melted butter on top before serving.
 

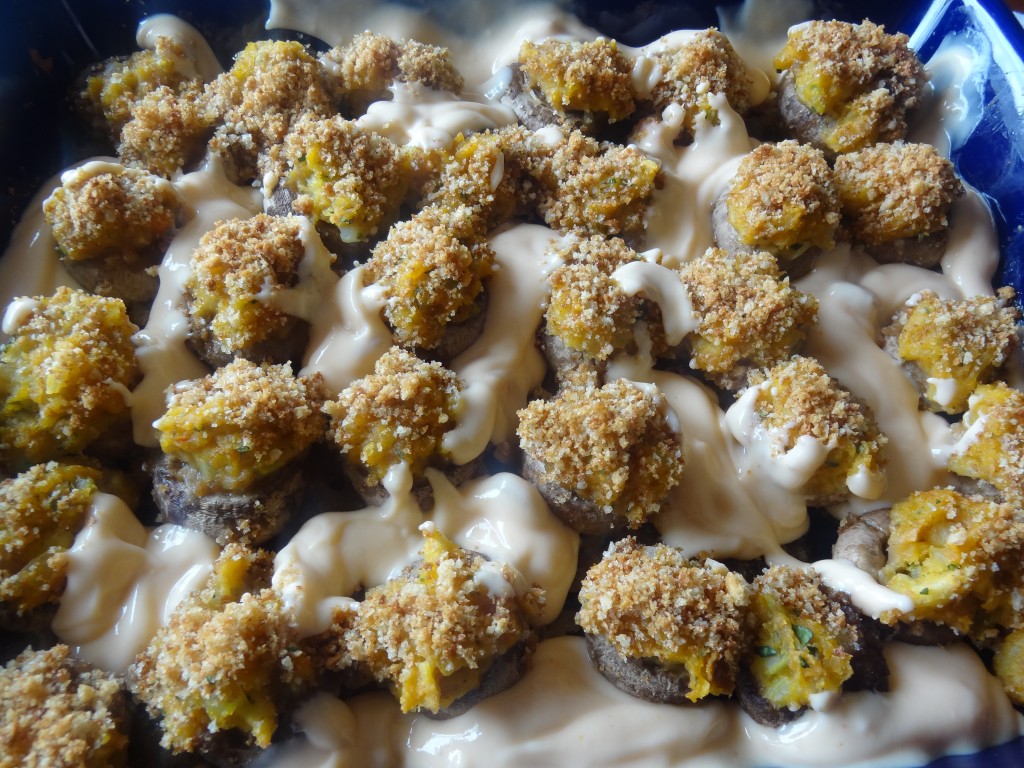
Make stuffed mushrooms with any leftover stuffing.  Wash and dry the mushrooms and remove the caps.

Place them in a buttered baking dish, fill with the stuffing, croutons and butter.

Bake at 375 for 15-20 minutes until cooked. Heat a can of cream of mushroom soup or shrimp soup and gently spoon around the mushrooms when cooked.