Tia Maria's Blog Blog

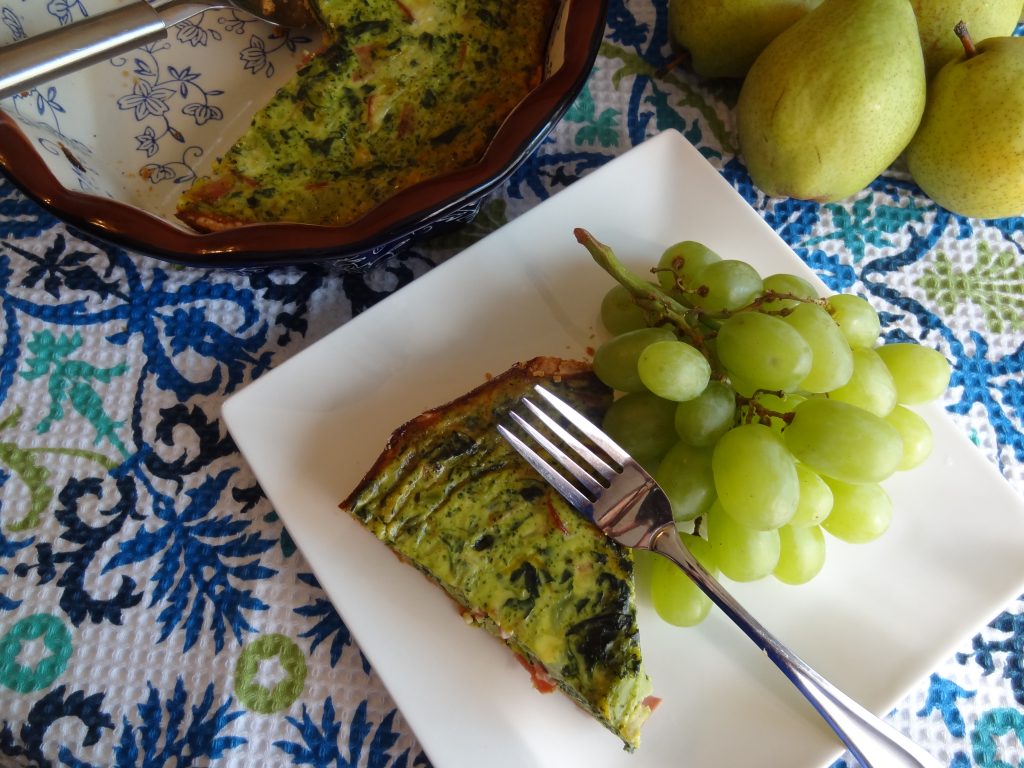
Spinach Broccoli and Presunto (Prosciutto) Quiche

dsc06044
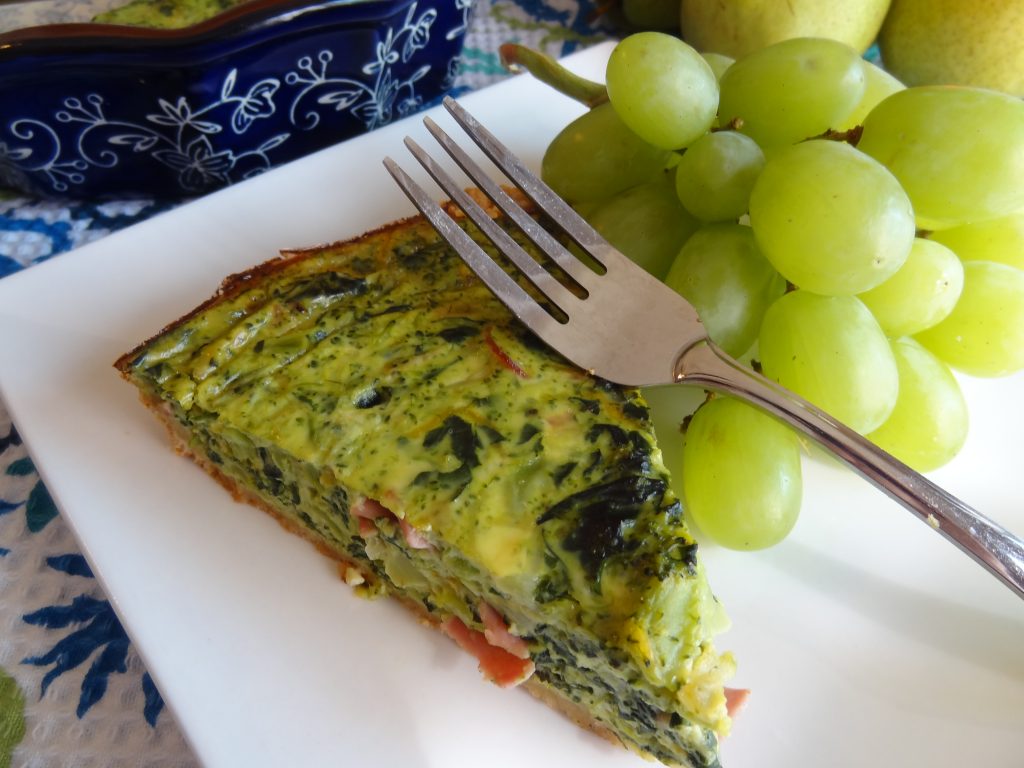
This Spinach Broccoli and Presunto (prociutto) Quiche is savory and mouthwatering. Easy to prepare for a simple lunch, snack or dinner!

You can leave out the presunto if you want a vegetarian quiche. Enjoy!

dsc06045Ingredients:

1 refrigerated pie crust

1 pound fresh broccoli spears (chopped)

1 and 1/2 pounds fresh spinach (approximate)

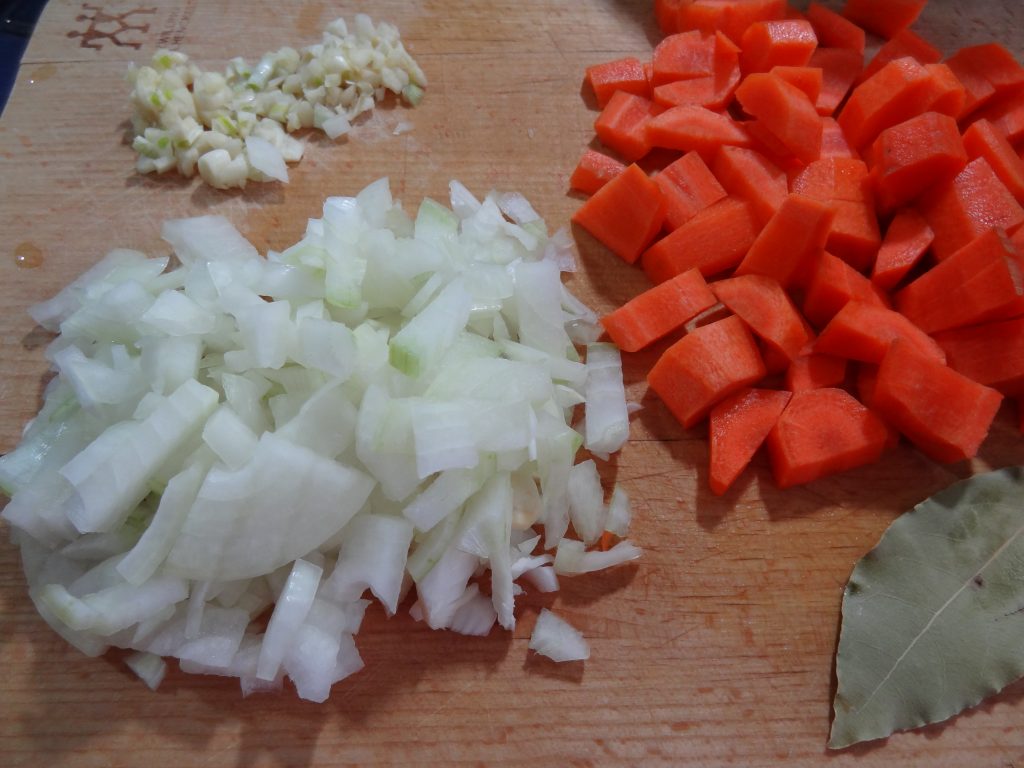
1 small onion (minced)

1 clove garlic (minced)

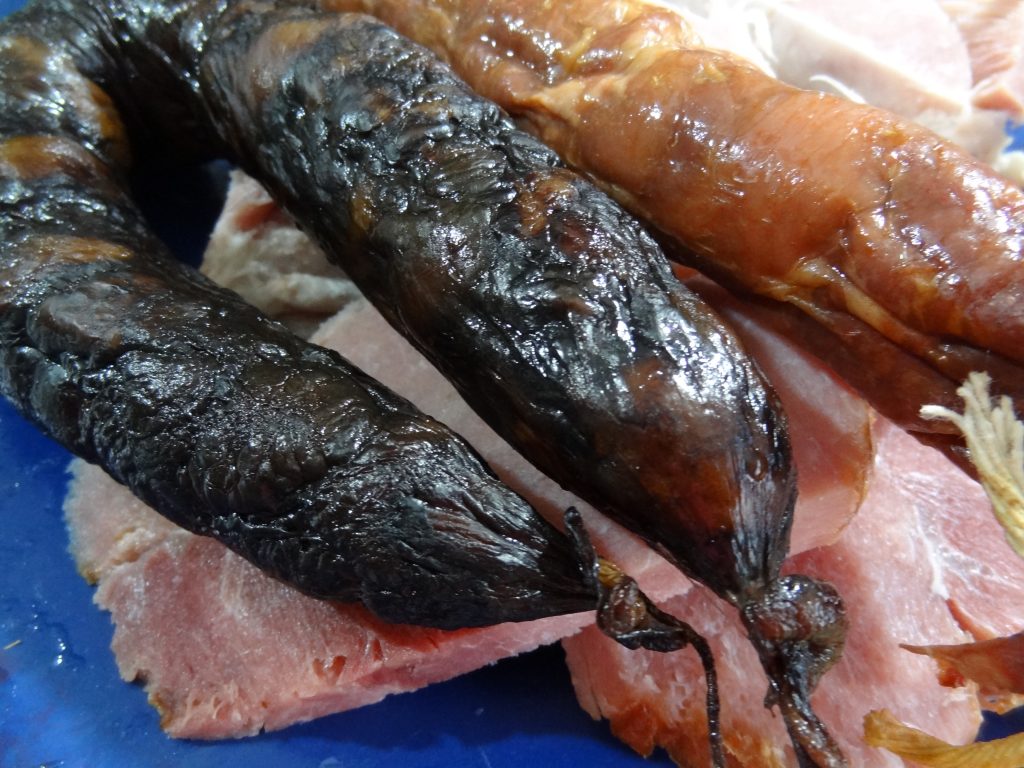
3 slices of presunto or ham (cut into small dice)

5 whole eggs

1 and 1/2 cups whole milk

2 tablespoons butter

1/2 teaspoon salt

1/2 teaspoon pepper

8 ounces of shredded cheese (any favorite)

Preparation:

Preheat oven to 375 degrees F.

Prepare pie crust by pressing into a large tart pan, or pie dish.

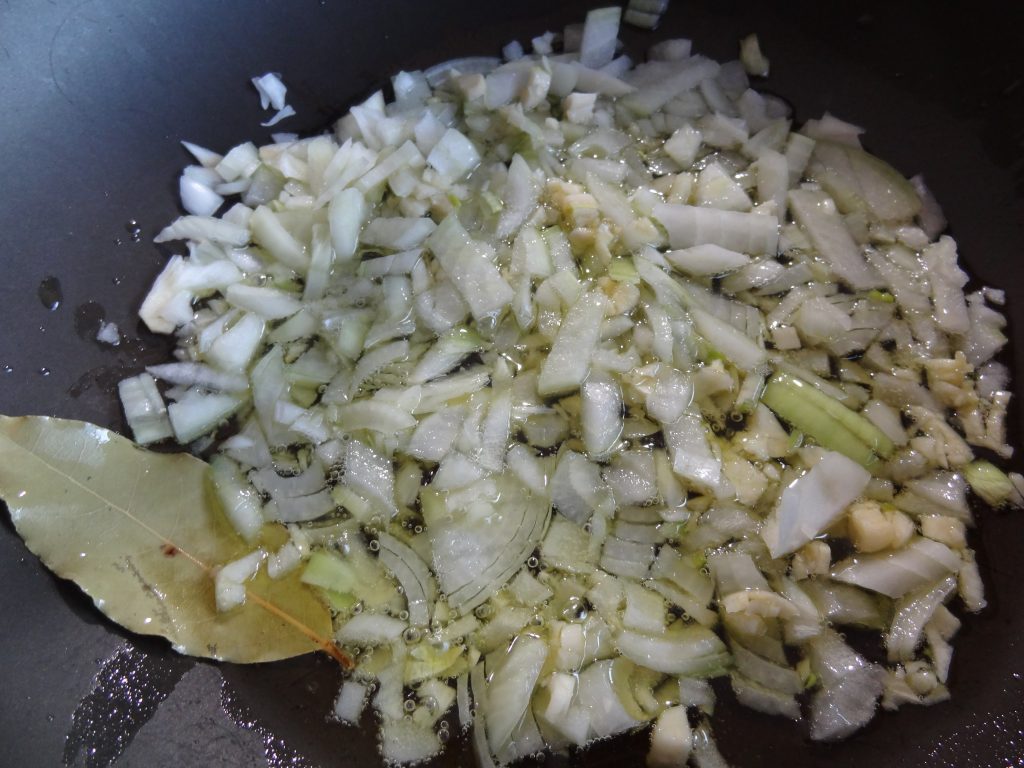
Saute the onion, garlic and presunto in the butter until onion is translucent. Add the broccoli and cook for a few minutes. Add the spinach and cook until slightly wilted. Season with the salt and pepper.

Drain any liquid and set aside to cool.

Meanwhile, beat the eggs in a medium bowl. Add the milk and cheese and mix well.

Pour the broccoli mix evenly over the pie shell then the egg mixture. Be sure the broccoli is submerged in the eggs.

Cook for about 35-45 minutes until golden. Test by poking with a fork which come out clean.

dsc06046


Crock Pot Feijoada à Transmontana

crockpot-feijoada

Feijoada originated around the 14th century in the Northern region of Portugal. Generally, Feijoada is made with white beans but in the Tras os Montes region, red kidney beans are used.

During that time meat was scarce, so the poor peasants began using every part of the pig as a staple in their diets along with beans and cabbage which were easily available.

This dish is great served with classic Portuguese rice recipe and Portuguese Bread.

This was the first time I made this recipe in the crock pot and I was so happy with the results that I will be making it this way from now on. The stew cooks itself and the meats come out moist and juicy.

dsc06090


Ingredients:

Need 1 large 6 quart crock pot

1 lb baby back ribs (cut into small riblets)

1 lb chourico sausage (sliced into 1 inch slices)

1 lb blood sausage (cut into(if desired)

1 lb presunto, smoked shoulder ham, or salted pork belly cut into 2 inch strips

1 lb pig hocks or knuckles, pig ears etc. (optional)

1 small regular cabbage, savoy cabbage or any green leafy cabbage (cut into quarters)

2 carrots (sliced)

1 large onion finely chopped

2 large cloves garlic chopped

1/4 cup olive oil

2 bay leaves

1 teaspoon salt

2 or 3 large 32 oz cans cooked kidney beans

1 medium ripe crushed tomato

2 cups of chicken or vegetable broth

Preparation:

Day before salt the ribs and pig hocks or knuckles with 2 tablespoons of coarse salt. Leave overnight in the refrigerator to marinate. Note: You can leave the pork in salt for 3 days before cooking.

dsc06064-copy

dsc06065 dsc06066

When ready to cook saute the onions, garlic and bay leaf with olive oil in a heavy saucepan for about 3 minutes.  dsc06069

Add the meats to the onion and brown on all sides.

dsc06071

Turn crock on high. Begin layering; onion mix, the meats, carrots, ham

dsc06073

dsc06074
Add the cans of beans.

dsc06075
Add the broth and tomato.

Top with the cabbage.

dsc06076

dsc06079

Be sure the lid covers the cabbage. Set the timer for 8 hours on high.

dsc06078

After 4 hours stir gently and lower heat to low. dsc06080
After a few hours check the ribs and pork for doneness. The meat should fall off the bone but intact. The longer it cooks the more flavor it gets. You may need to cook the stew longer or it may be cooked depending on the heat of your crock pot.

dsc06082

  dsc06085 
Serve with white rice.

dsc06086


Notícias do Meu País – Episódio 9 – RTP Play – RTP – Maria Dias – Tia Maria’s Blog

Click here to watch full video: Source: Notícias do Meu País – Episódio 9 – RTP Play – RTP
Hi everyone. Here is the full length video of my episode which aired around the world on RTP!
I hope you enjoy it as much as my family and I did. This was an experience of a lifetime for our family which we will never forget. It brought back sweet memories of Portugal, it connected us to our relatives and it inspired me to keep cooking Portuguese recipes to keep our beautiful traditions, culture and cuisine alive for the next generations.

Thank you from the bottom of my heart to Notícias do Meu País, RTP TV, the host, Tiago Góes Ferreira, and the film crew; Director, Miguel Costa E Moura, Production Assistant, Rita Batista, and Cameraman, Marcel Reis, for making my dreams come true!

Heartfelt thanks to my family both here, in America and in Portugal for their love and support.

A special thank you to Chef Justa Nobre for her wonderful words of inspiration and encouragement!

imag3652
Me and the film crew in Ludlow

imag3655
Me and Tiago

noticias-do-meu-pais-randalls-2
At Randall’s Farm in Ludlow

noticias-do-meu-pais-gazebo
Sharing memories from Portugal

noticias-do-meu-pais-randalls
At Randall’s Farm

noticias-do-meu-pais-3

Our family says goodbye!

DIY – Decoupage Portuguese Antique Travel Trunk

dsc06005

This old antique trunk was dark brown, faded and worn out from over 100 years of travel. It belonged to my Tia Isabel (Aunt Isabel) who traveled to America in 2016 on a ship from Lisbon to Ellis Island in New York City. She was only 16 years old and traveled alone on that ship to come to America the Land of Opportunity during the Industrial Revolution. Now I have a family heirloom which makes a great conversation piece. If you don’t want the Portuguese theme, use any country or destination of your choice. Since most of us are immigrants I’m sure we can all represent our heritage some way. Have fun!

Supplies:

Old maps (I used old maps of Portugal and maps of the Portuguese explorers)

Nautical decals of your choice

Portuguese crest (optional)

1 bottle of decoupage (white matte)

Scissors

Sponge brush

Polyurethane

Instructions:

Paint the trunk with a few coats of white, beige or any color primer you chose. Find old maps on the internet. Here’s a link to some map images.
Cut the maps to fit the tops of the trunk or you can go all the way around if you prefer.

dsc06007dsc06008


Lay out the maps and decals to make a great pattern or look you want. When ready start coating each section of trunk under the maps with decoupage piece by piece, then gently place the map over the decoupage. Smooth out the wrinkles as you lay on each piece.

dsc06006dsc06011


dsc06017


dsc06012


dsc06013

After sticking on each section of map, let the whole thing dry for a few hours and coat with a layer of decoupage. Let dry at least another 2 hours and coat with another layer of decoupage.

dsc06014

When completely dry paint over with a coat of polyurethane.


dsc06016Place desired monogram or number on the front. I used a “D” for my last name but you can also put your house numbers on it.

I printed out a letter D on my printer but you can also find numbers at craft stores. Using the same method apply the monogram with the decoupage and let dry 2 hours.

dsc06018

dsc06019

He’s the finished product.

dsc06048


Portuguese Roast Chicken – Frango Assado a Portuguesa

roast-chickenPure Portuguese comfort food!   Look at that color!

Bring a taste of Portugal into kitchen table with one of the most popular dishes in Portuguese cooking. It will bring back sweet memories of your Avo’s, mae’s or pai’s home cooking.

The secret to getting this dark crispy look in your baked is to cook it at a higher 400 degrees F. for about 1-2 hours depending on the size of your chicken.

I love a crispy skin and a well done chicken that’s why I get this dark crispy look. Use a meat thermometer if you’re not sure on cooking time. Chicken should reach at least 190 degrees when done. The onions and carrots will also get a beautiful color and delicious caramelized taste!  Be sure to double the recipe and you’ll have leftovers for the next day.

Ingredients:

1 or 2 (3-4 pound) roasting chickens

2 to 3 tbsp TASTE PORTUGAL SEASONING per chicken (use regular or spicy seasoning for piri piri style)

2 tbsp olive oil

2 tbsp white wine

1 large onion (chopped)

1 pound chopped carrots or baby carrots (optional)

Preparation:

Wash chicken and pat dry. Make a rub with seasoning, oil and winem Let sit overnight in the refrigerator or at least 1-2 hours to marinate.

Portuguese Dry Rub

When ready to cook, remove chicken from the refrigerator and let sit for about 15 minutes to reach room temperature. Preheat oven to 400 degrees F.

Grease a large roasting pan with olive oil and add the chopped onions and carrots. Place the chicken on top of the vegetables. Cook for 2 hours until the chicken is crispy and golden brown. Half hour into cooking, shake pan and stir the vegetables. 


How to roast “Castanhas” – Chestnuts


Chestnuts correia farm

How to roast chestnuts:

1. Using sharp knife, make an incision about 1/8-inch deep through the top of chestnut.

Chestnuts correia farm

2. After slitting place the chestnuts on roasting pan and roast them 400  degrees for about 20 – 30  minutes. To check for doneness, squeeze one holding a dish towel and it should be soft.

Note: Optional – Portuguese custom is to sprinkle the chestnuts with salt before roasting for a salty kick.
 3. Place a damp towel over the chestnuts to retain the heat and moisture. While they are still hot and cool enough to handle squeeze them gently with a towel to peel the shell and then remove the inner skin.

chestnuts2


Mariscada – Portuguese Shellfish Stew

Mariscada - Portuguese Shellfish Stew

Mariscada

This is my family’s favorite seafood dish which I learned from a Portuguese chef many years ago. I make it for Christmas Eve dinner every year. The combination of ingredients and spices blend perfectly with the fresh seafood and creates a rich flavorful broth. The seafood will pair perfectly with Portuguese rice.

This recipe is the main dish image page in my; Taste Portugal | 101 easy Portuguese recipes cookbook.

Recipe #47  ————– PORTUGUESE SHELLFISH STEW

mariscadaServes 2-4

Ingredients:

1 whole uncooked lobster (chopped into quarters)

1 pound raw, peeled and de-veined Shrimp

1 pound little mussels or little neck clams (washed)

½ pound scallops

½ pound of squid (cut into rings) (optional)

1 small onion (finely chopped)

2 cloves garlic (minced)

¼ cup olive oil

1 cup Vinho Verde or white wine

1 teaspoon salt

1 teaspoon paprika

1 cup chicken broth

2 tablespoon butter

2 tablespoons chopped cilantro (garnish)

Squeeze of lemon juice

Dash of hot sauce (if desired)

Preparation

Saute the onions and garlic in the olive oil in a large heavy skillet on medium heat for one minute. Add lobster, and saute for a few minutes on low heat. Add clams, wine, paprika, salt and pepper, cover and let cook for 5 minutes.

Add the chicken broth, shrimp, squid, and scallops, cover and cook on medium heat for another 5 minutes or until the clams open.

Add butter and continue cooking for another 5 minutes for the butter to thicken the sauce.

Taste for saltiness and add hot sauce or more seasonings if desired.

Add the chopped cilantro and top with a squeeze of lemon juice before serving.

Serve with rice.

Note: You may substitute chicken broth with 1 chicken bouillon cube and 1 cup water.

How to Grow and Dry Lemon Balm (Cidreira)


I also dry my mint and make mint tea. I enjoy mixing both cidreira and mint for wonderful mix of flavor. Follow the same instructions for drying mint as you do the lemon balm.

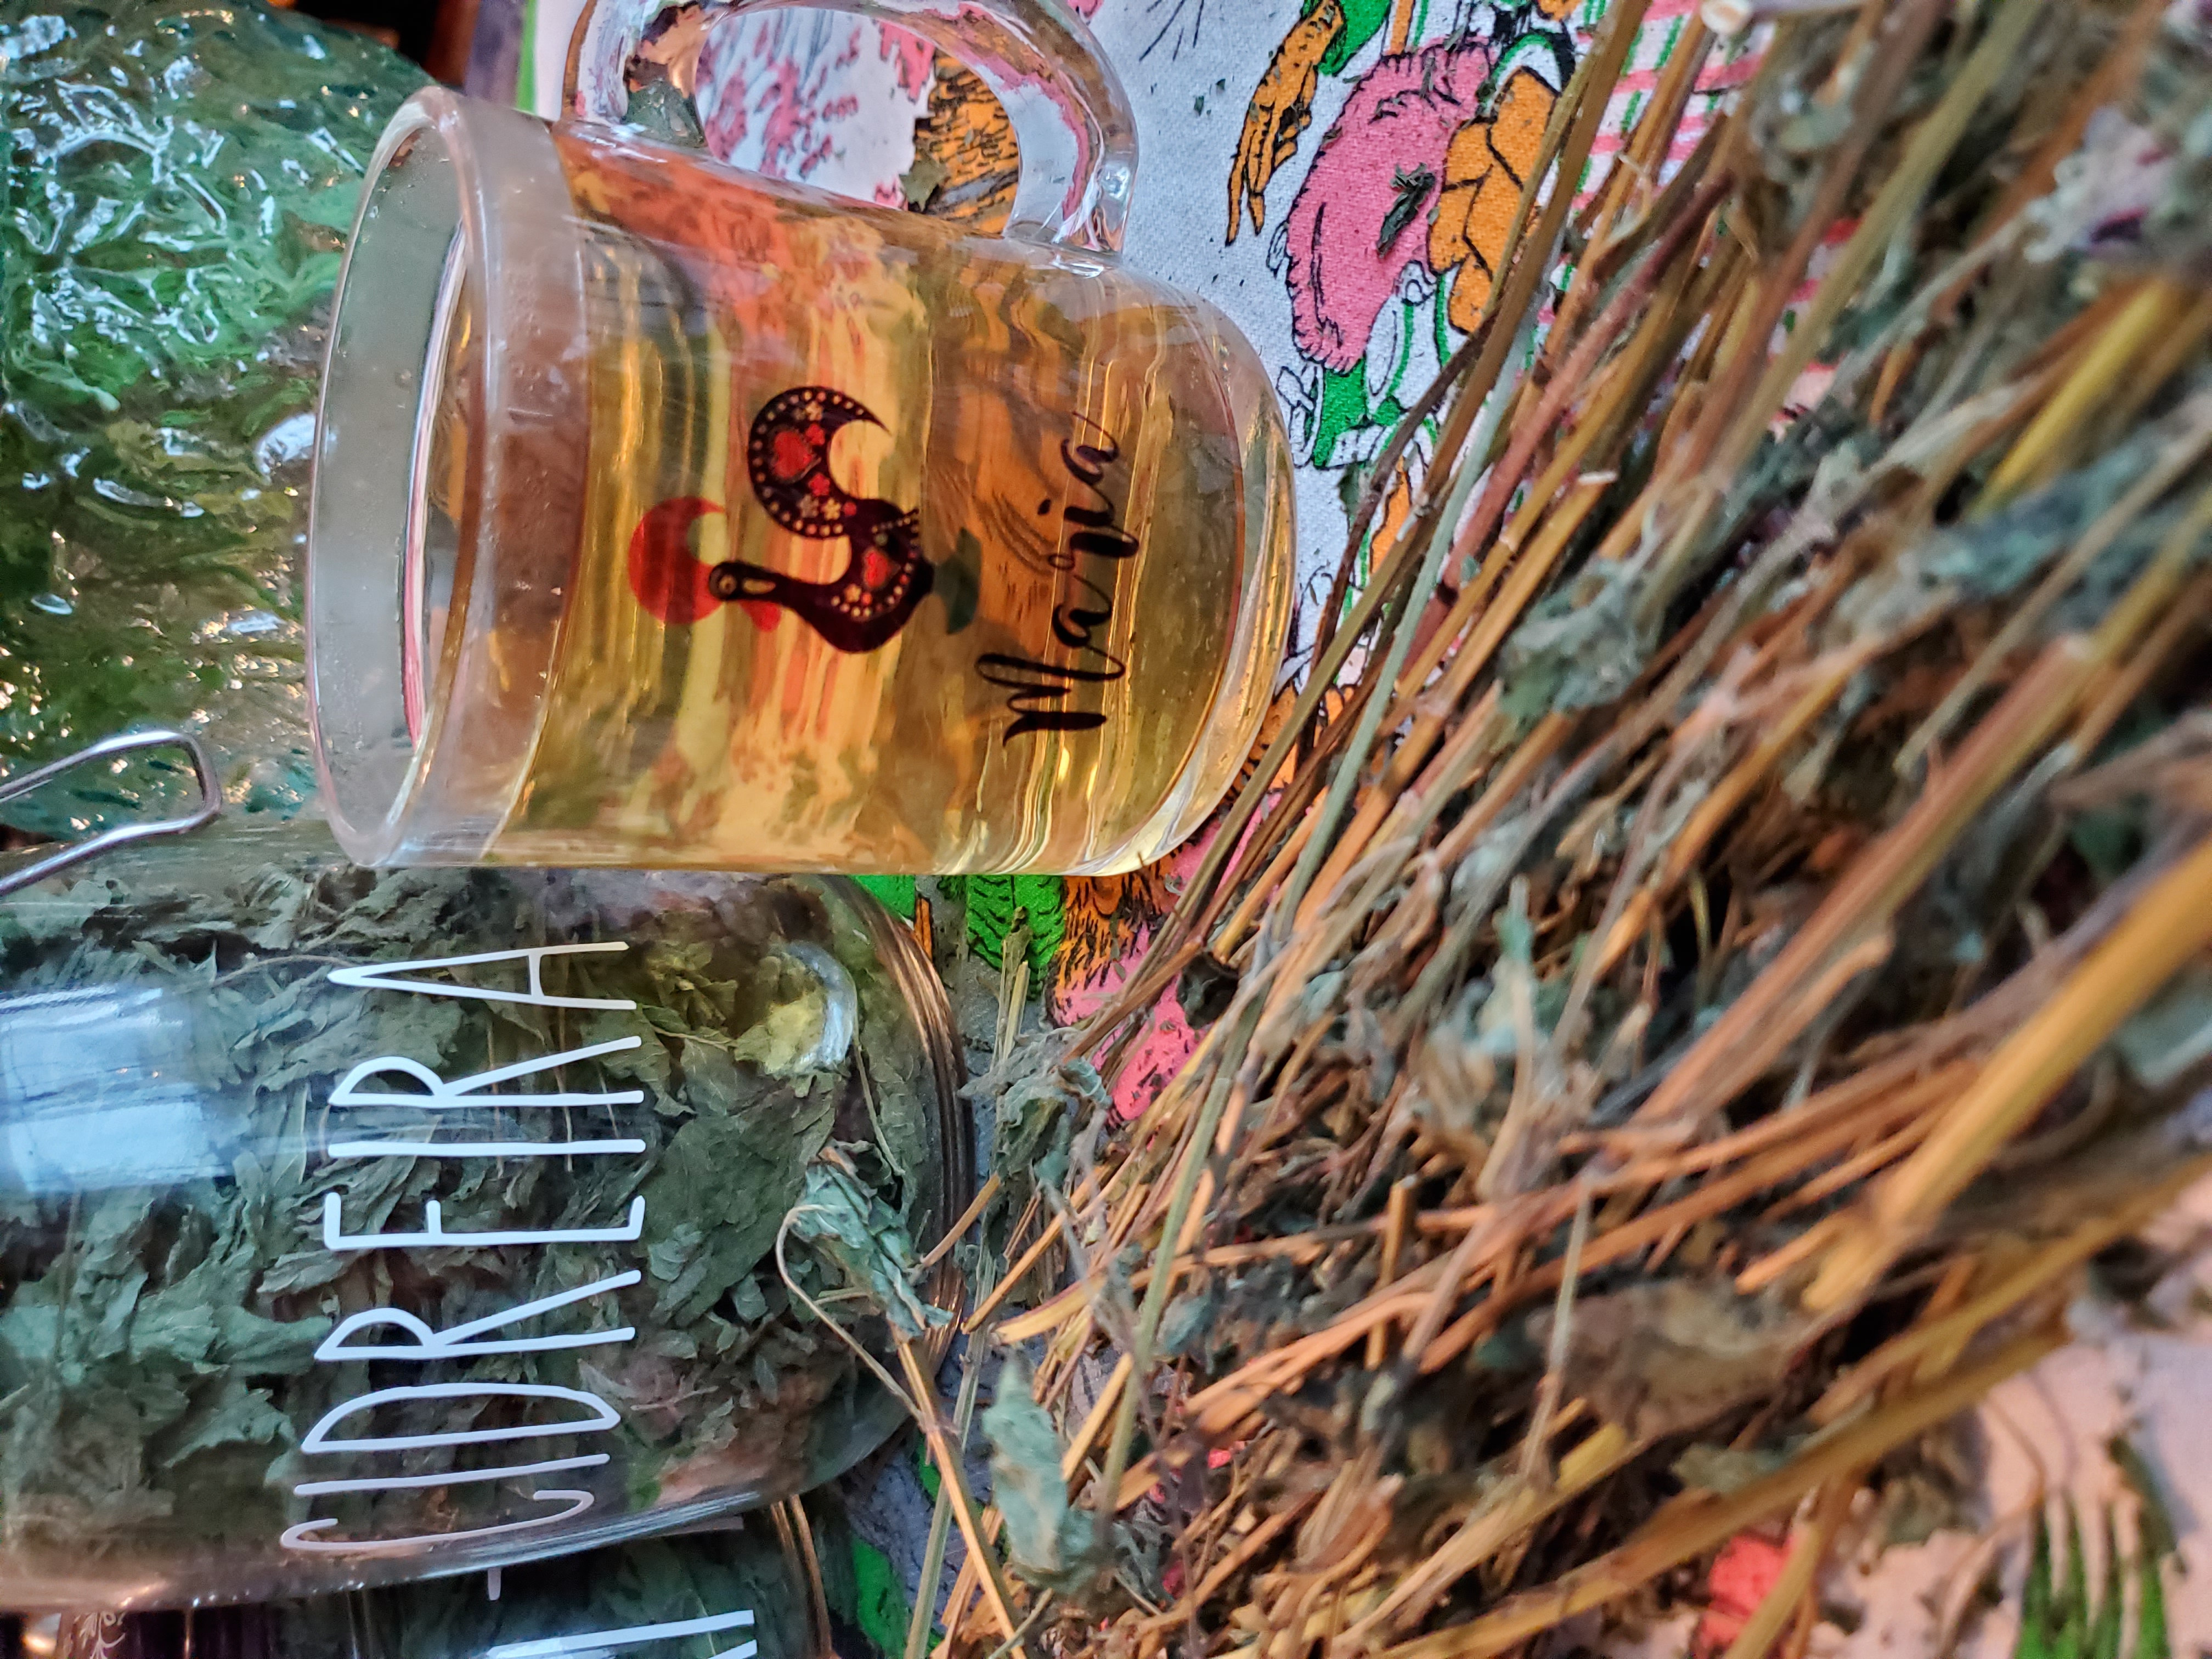
Buy this beautiful custom Galo de Barcelos Mug at Lisbon Blue shop


dsc05973

Growing your own Lemon Balm tea is easy and you’ll get to enjoy herbal organic tea all year long with these easy steps! This tea is perfect for you to enjoy on a quiet afternoon, a lazy Sunday, when you need a little comfort, or when you have an upset stomach.

dsc05977

“A member of the mint family, lemon balm (Melissa officinalis) (Cidreira in Portuguese), has a lovely lemon flavor and the ability to gently calm the nerves and lift one’s mood. Native to the Mediterranean, lemon balm’s medicinal and culinary use dates back over 2,000 years. Avicenna, the 11th-century Arab physician, wrote that lemon balm “causeth the mind and heart to become merry.” http://www.thekitchn.com

Notice the beautiful Vintage made in Portugal Vista Alegre tea cups that were my mothers.

dsc05975

The final results after they dried in my kitchen for 3 weeks.

Lemon balm teaI planted in the spring from a small pot which I transplanted into my vegetable garden but you also grow it in a large pot all summer long. They require vertually no maintenance except watering which makes this so easy to grow.
lemon-balm-tea-leavesHow to dry the lemon balm leaves for tea:

Once the stems grow to about 1 foot in height and before they start to sprout seedlings trim the plant at the stem bottoms. Place in a bowl of very cold water and rinse 2 or 3 times to wash thoroughly.

Place leaves in a salad spinner or shake off the excess water gently not to break leaves. Place on paper towels to absorb water and turn them over. Replace the paper towels until all the moister is absorbed from the leaves. Let dry for a few hours or overnight on the paper towels.

dsc05970Grab each piece gently by each stem and create a bunch tied with food safe twine or string. Hang in your kitchen or in a cool dark place for 2-3 weeks until the leaves are completely dry.

When leaves are dry break of the leaves and place into a food safe mason jar, a clean jar from your pantry or a food safe tin for storage. Close the lids tightly. You can place the leaves in zip lock bag but the leaves may break easily, that’s why I prefer a jar. The tea will store until the next summer when you’re ready to make a fresh new batch.

lemon-balm-tea-dried-leavesMake Lemon Balm tea by boiling about 2 tablespoons of the leaves in 2 cups water for about 3 minutes and let seep on low heat for another 5 minutes. The longer it seeps the deeper the flavor. However don’t took too long since the tea will get bitter. You can adjust the boil time to your preference.


Fried Green Tomatoes

DSC05885

It’s September, and I still have tomatoes in my garden. They won’t be growing anymore and are slowly ripening on the vines. I decided to harvest them all and just let them ripen in my kitchen.

I made fried green tomatoes for the first time and my family loved them. Not sure if you’ve ever tried them, but they taste a little bit like sour pickles. So if you like fried pickles. you’ll love these.

DSC05876They are really meaty with very little seeds.


DSC05875

Ingredients:

4 green tomatoes (cut into 1/2 inch slices)

1 teaspoon salt

1/2 teaspoon pepper

1 teaspoon paprika

2 eggs (beaten)

1/2 cup milk

1 cup flour

1/2  cup flavored bread crumbs

1/2  cup corn meal (finely ground)

oil for frying

Preparation:

Season the tomatoes with salt, pepper, and paprika, dredge in flour and set aside. Beat the egg and milk in a small bowl. Mix the corn mean with the bread crumbs in a separate bowl.

Coat the slices in the egg and milk mix, and then dredge in the breadcrumbs.

Heat oil and test by dipping a tip of one tomato slice into oil. If the oil sizzles, the oil is ready. Fry tomatoes turning over on each side as they cook to a golden brown.

Place on paper towels to absorb grease.

DSC05878

DSC05884What a beautiful color!

Portuguese Papo Seco Stuffed Pork Chops

dsc05922I never through out my day old Papo Secos (Portuguese rolls) because they are perfect for making stuffing like this one for these delicious baked pork chops.

You will never fry pork chops again once you try this recipe because they come out moist and flavorful.

Portuguese Rolls Papo Seco final

Ingredients:

6 pork chops (1 inch thick)

2 teaspoons  salt

1 teaspoon pepper

1 teaspoon garlic powder

2 teaspoons paprika

2 eggs (beaten)

2 cups seasoned bread crumbs

Stuffing

3 Papo Seco rolls (cut into cubes)

1 tablespoon olive oil

1 tablespoon butter or margarine

1 small onion (diced)

1 small celery stalk

2 cups chicken broth (or 1 chicken bouillon cube with 2 hot water)

1 tablespoon parsley (chopped)

1/2 teaspoon dried thyme

1 cup cooked corn

Preparation:

Step 1: Cut a slit into each pork chop for stuffing. Season with the spices and set aside while you make the stuffing.

Step 2: Prepare stuffing by sauteing the onion and celery in the butter and oil for about 3 minutes until cooked. Add the bread and the rest of the stuffing ingredients except corn and mix well with a fork until the bread is soft and it has absorbed the broth. Add the corn and mix well. If you find the stuffing too wet add more bread, or add more broth if too dry.

Step 3: Place the beaten eggs and bread crumbs into 2 separate bowls big enough to hold the pork chops for dredging.

Stuff the pork chops with about 2 or 3 tablespoons of stuffing and secure with 2 toothpicks. Coat chops with the egg on both sides, then dredge into the bread crumbs.

dsc05914Place on greased cooking tray and spray the tops with a coating of cooking spray.

Cook at 350 degrees F for about 45 minutes or until golden brown and temperature reaches 165 degrees. This recipe goes great with my Portuguese tomato rice recipe.

tomatorice

dsc05915

dsc05916