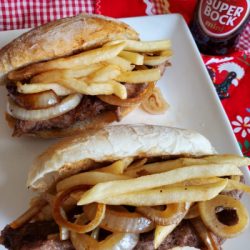
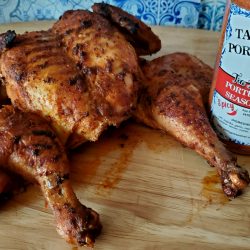
Portuguese Roast Chicken – Frango Assado a Portuguesa
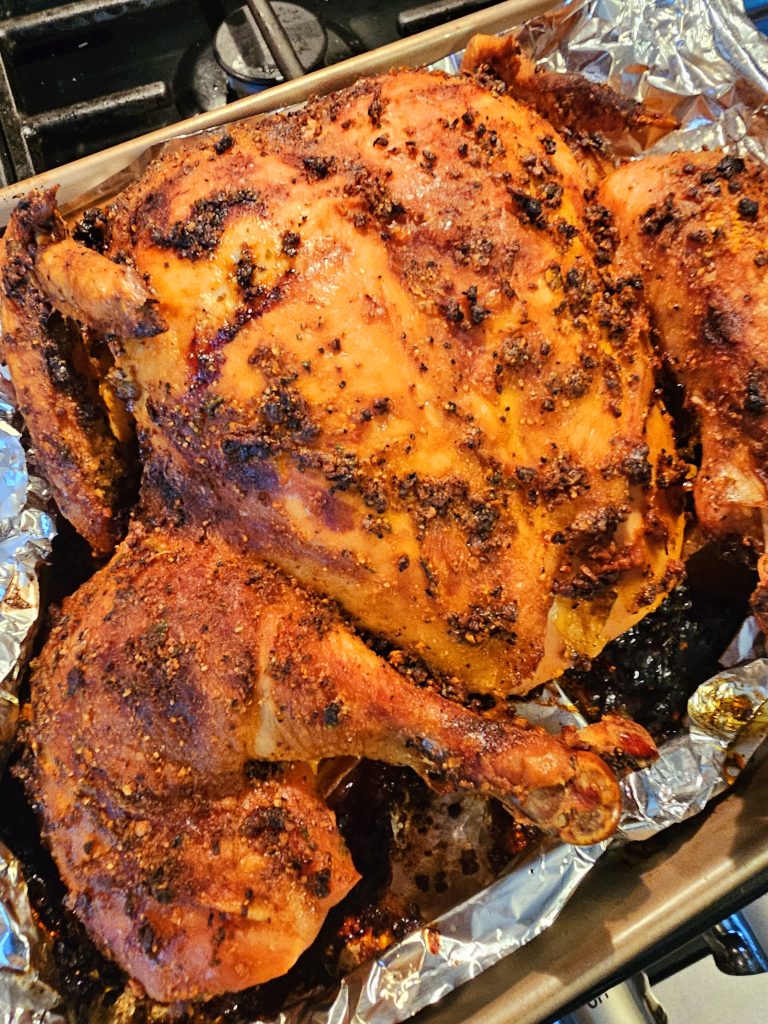
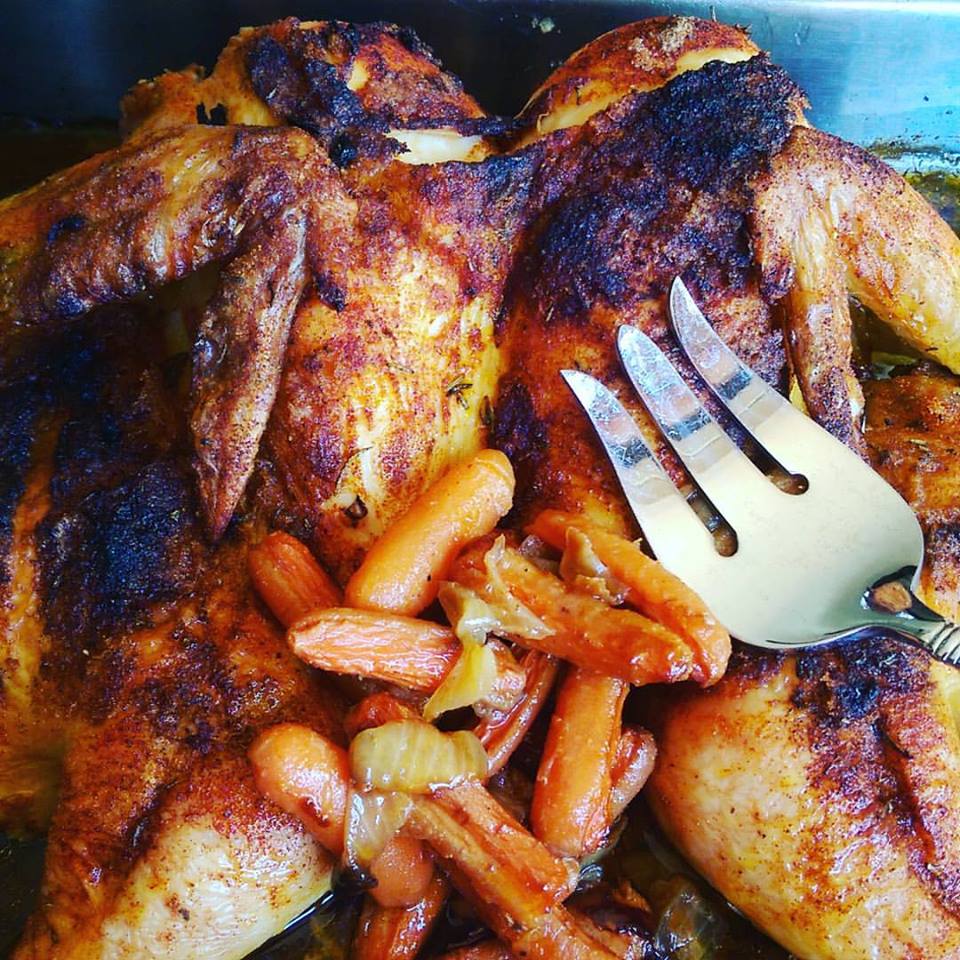 Pure Portuguese comfort food! Look at that color!
Bring a taste of Portugal into kitchen table with one of the most popular dishes in Portuguese cooking. It will bring back sweet memories of your Avo’s, mae’s or pai’s home cooking.
The secret to getting this dark crispy look in your baked is to cook it at a higher 400 degrees F. for about 1-2 hours depending on the size of your chicken.
I love a crispy skin and a well done chicken that’s why I get this dark crispy look. Use a meat thermometer if you’re not sure on cooking time. Chicken should reach at least 190 degrees when done. The onions and carrots will also get a beautiful color and delicious caramelized taste! Be sure to double the recipe and you’ll have leftovers for the next day.
Ingredients:
1 or 2 (3-4 pound) roasting chickens
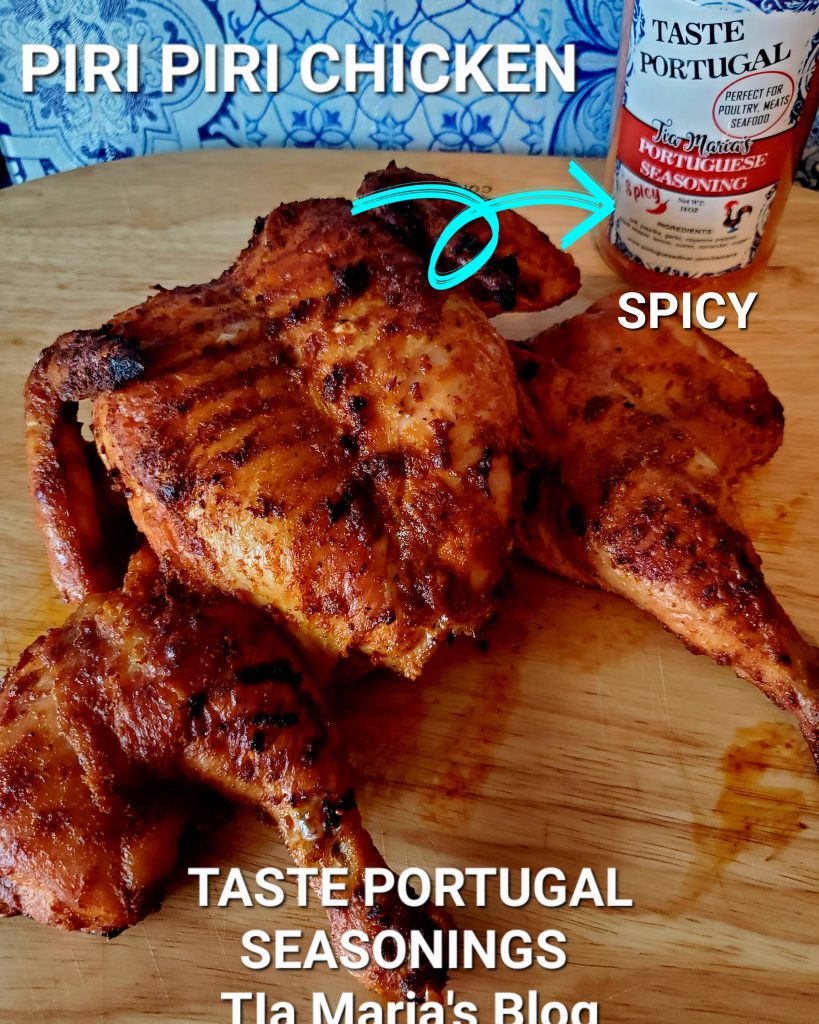
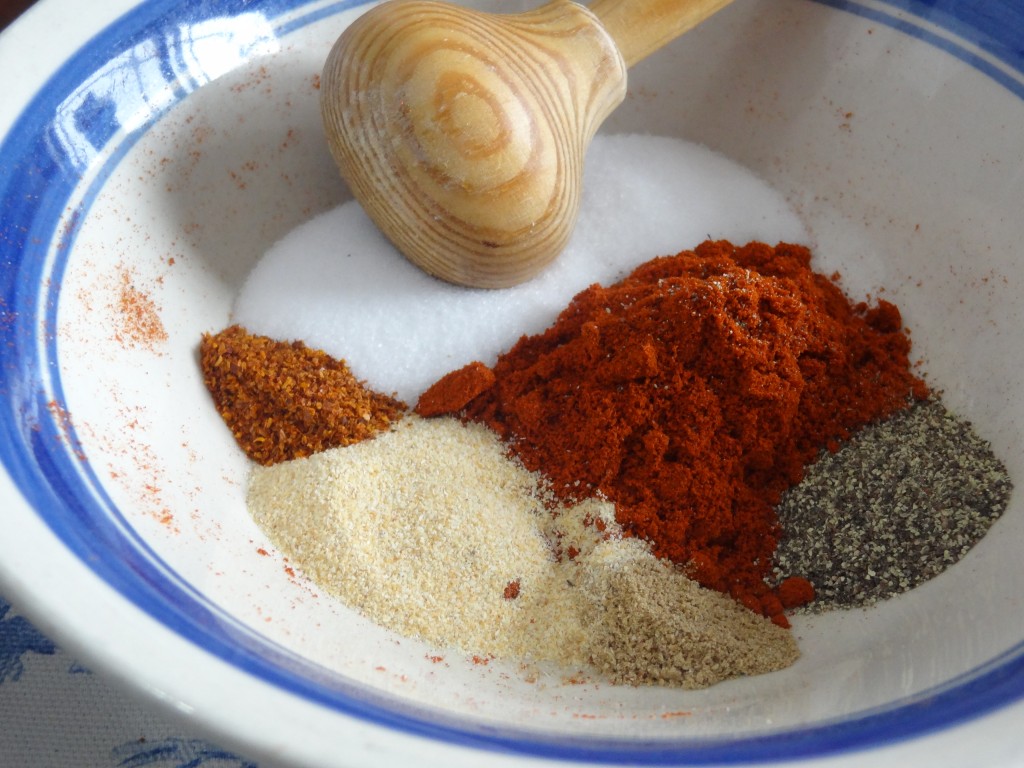
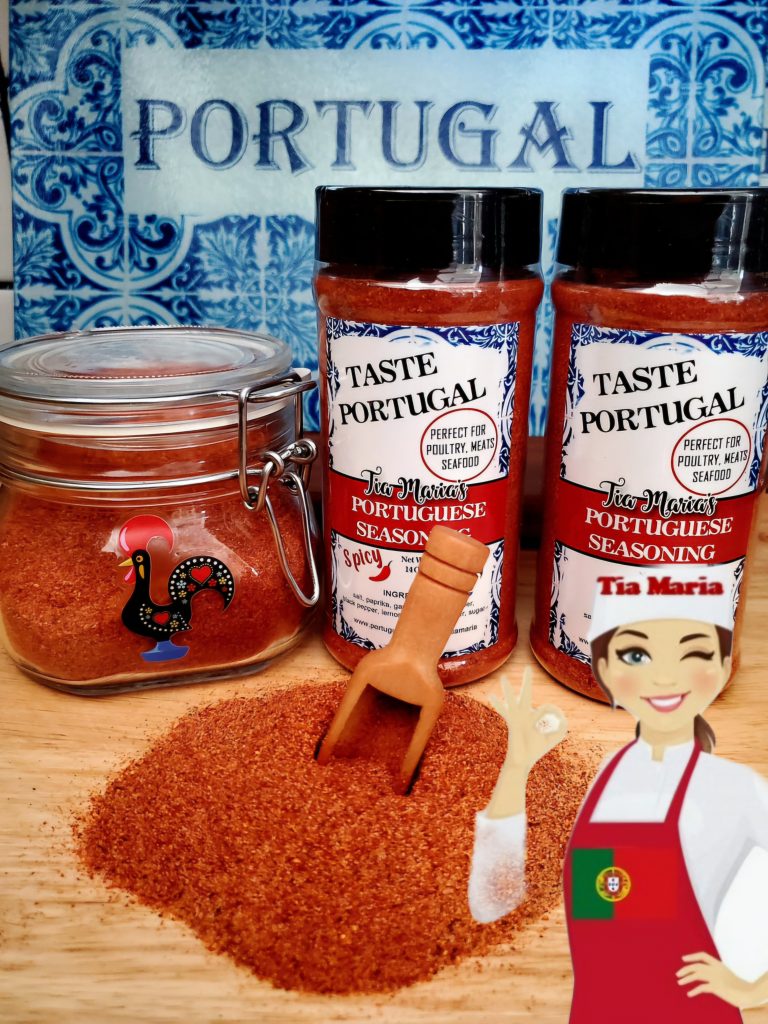
2 to 3 tbsp TASTE PORTUGAL SEASONING per chicken (use regular or spicy seasoning for piri piri style)
2 tbsp olive oil
2 tbsp white wine
1 large onion (chopped)
1 pound chopped carrots or baby carrots (optional)
Preparation:
Wash chicken and pat dry. Make a rub with seasoning, oil and winem Let sit overnight in the refrigerator or at least 1-2 hours to marinate.
When ready to cook, remove chicken from the refrigerator and let sit for about 15 minutes to reach room temperature. Preheat oven to 400 degrees F.
Grease a large roasting pan with olive oil and add the chopped onions and carrots. Place the chicken on top of the vegetables. Cook for 2 hours until the chicken is crispy and golden brown. Half hour into cooking, shake pan and stir the vegetables.


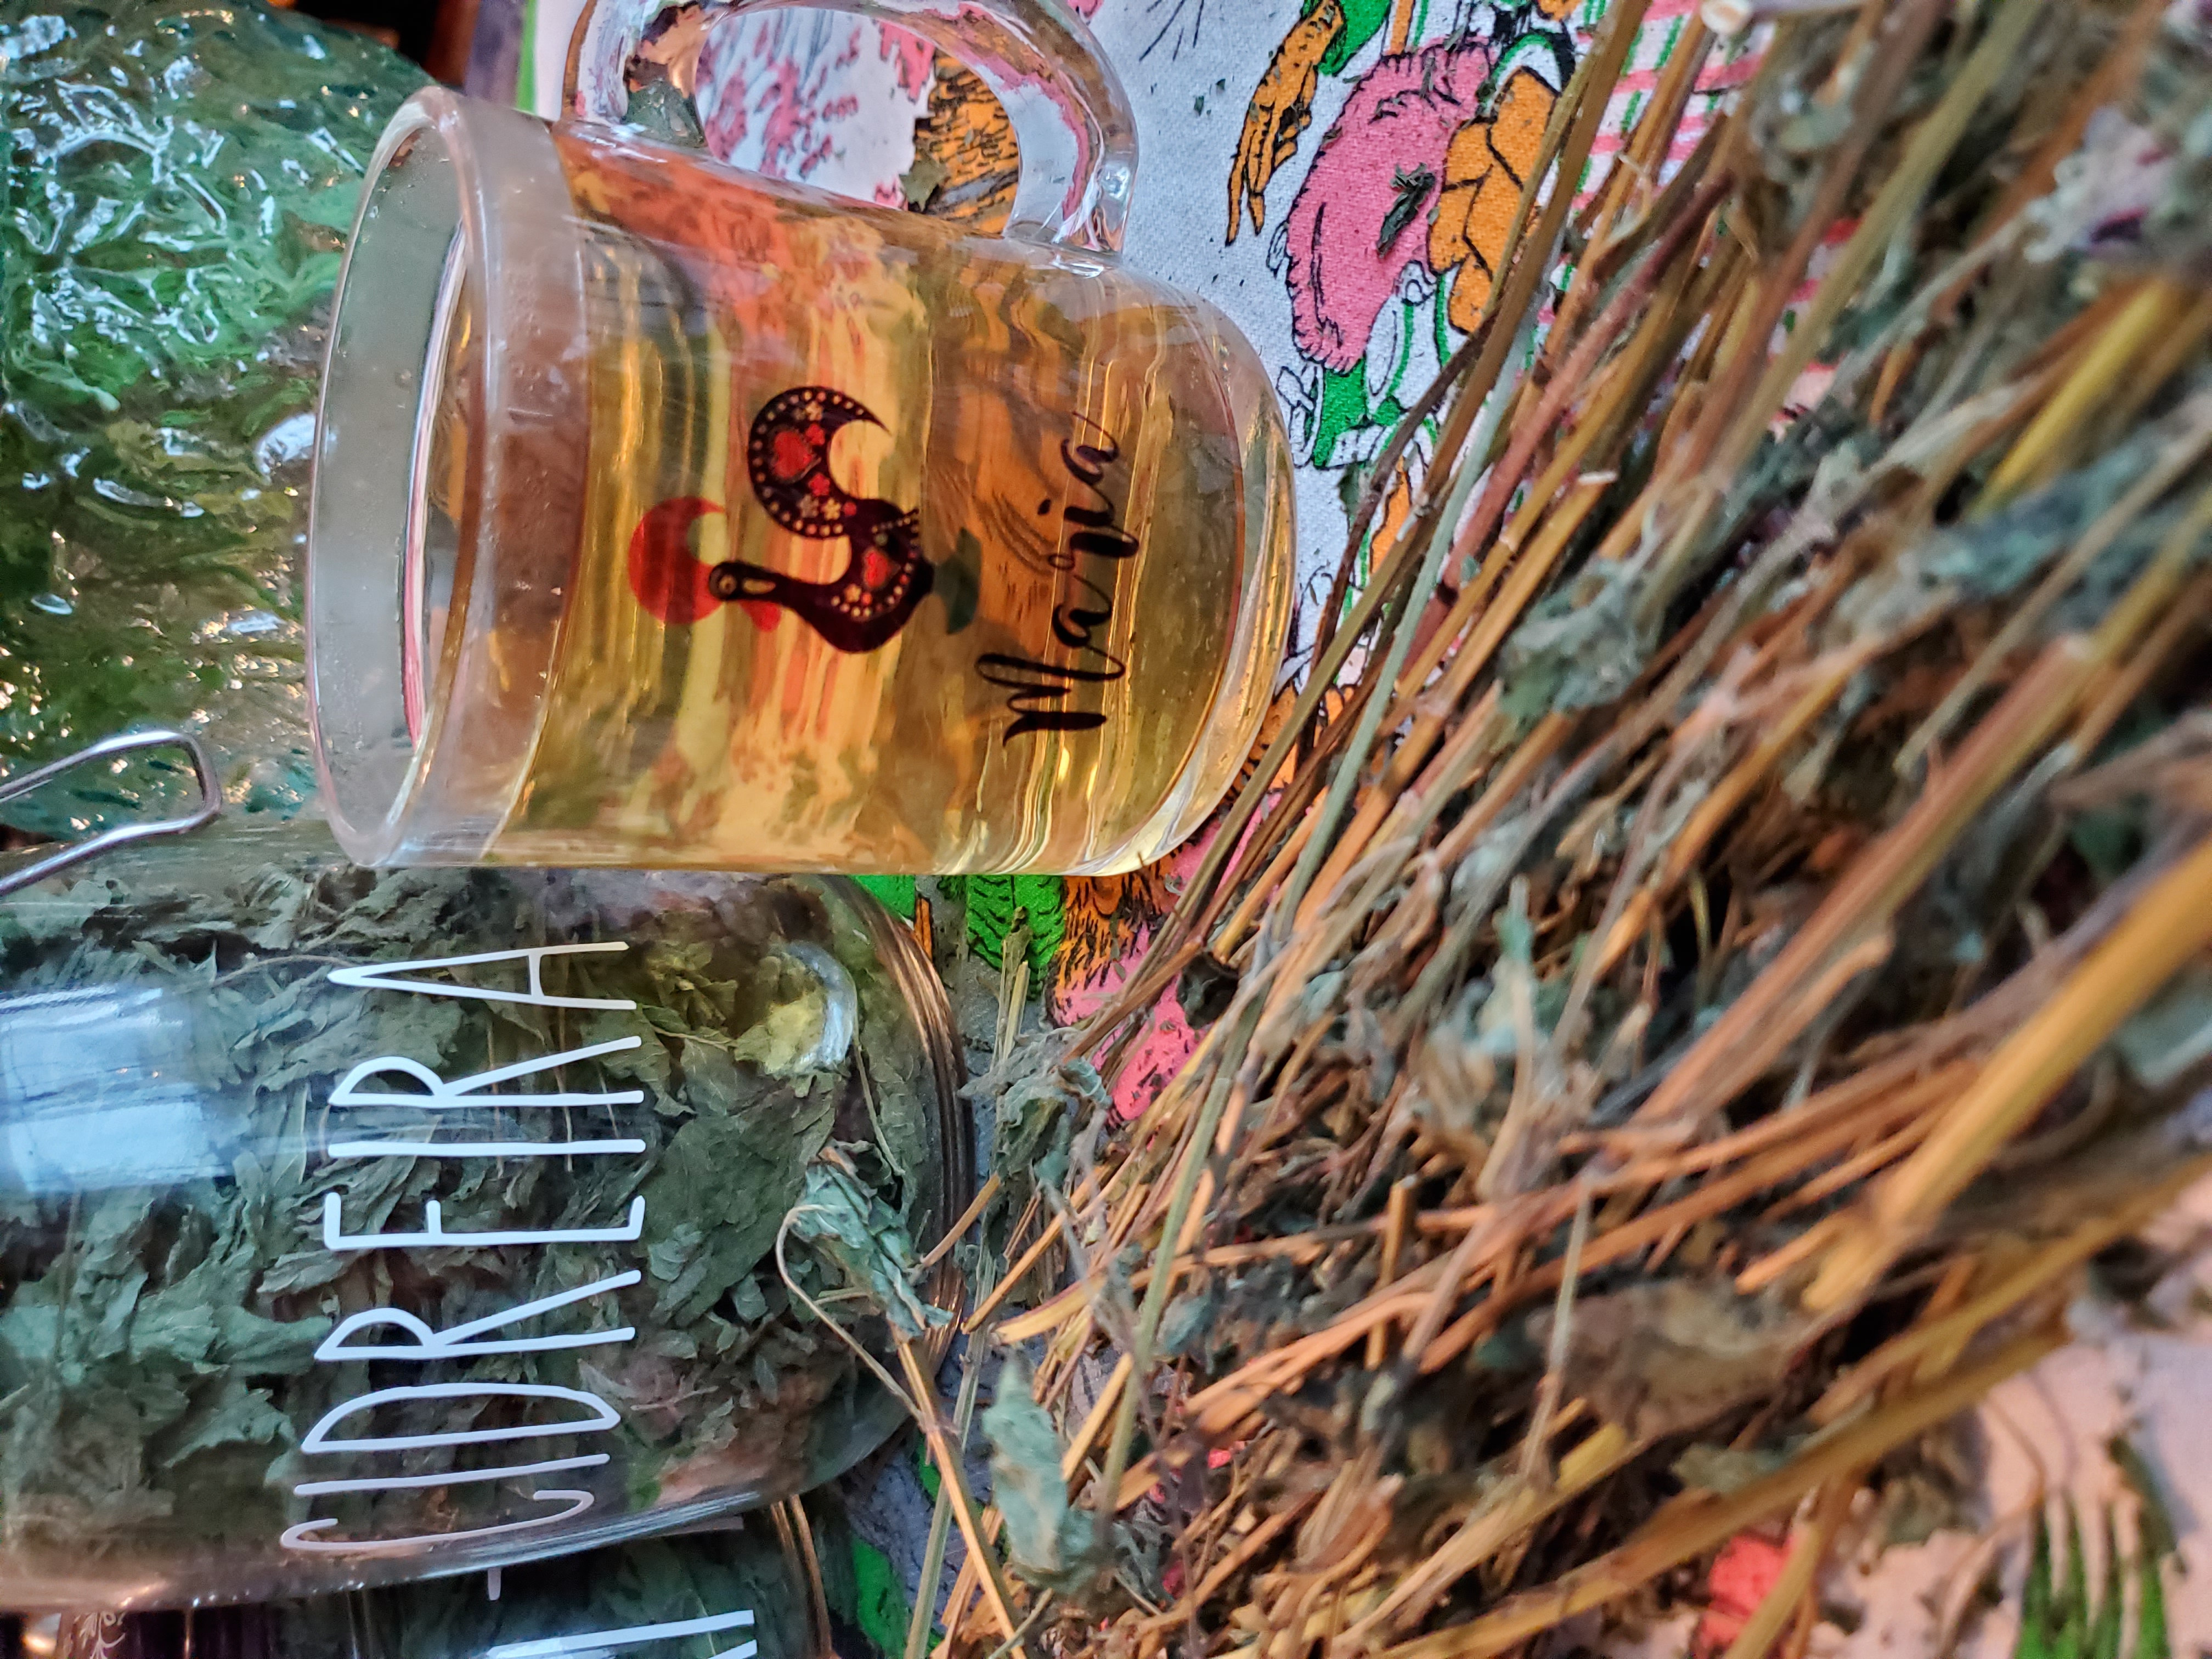 Buy this beautiful custom Galo de Barcelos Mug at Lisbon Blue shop


 Now available in Canada – Amazon Canada
 LISBON BLUE ETSY SHOP
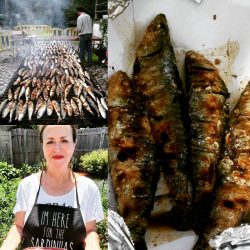
 My appearance on RTP Portuguese TV Notícias do Meu País
 No Kid Hungry | Share our Strength Help End Child Hunger in America


 GONSALVES FOODS