A Zen Moment for a Portuguese Foodie!

Orange Pekoe Tea – Gorreana Tea

ZEN: Complete and absolute peace and tranquility
There is no definition in any dictionary that translates the word Zen into Portuguese.
This tranquility does not exist in our culture. We have to much ambition, drive and determination. Perhaps it’s the reason why our ancestors sailed the oceans and at one time conquered the world. This type A personality, AKA (workaholics) is in almost every Portuguese person. This is the reason why we’re the best cooks, the best bakers, the best sailors and candle stick makers! Plus add what ever occupation you want to add to the list!
January is supposed to be a month of reflecting on the past and planning the future, but I have no intention of doing any of it!
To be honest with you, I found myself wiped out on the morning of January 1st, 2013. Maybe it’s because I was sick with the flu all through the month of December, or, it may have been from the hectic Holiday Season.
But for what ever reason, I was so glad the year was finally over. Instead of reflecting and planning, I’m doing a little Zen therapy on myself.
Join me, discover how the Portuguese got the world hooked on tea, bake yourself a deliciously healthy Carrot Cake and have your own Zen moment!
A Japanese priest in the 13th century wrote a lengthy treatise on the health benefits of tea stating, “Tea is a marvelous elixir of health that has the capacity to prolong human life. Most medicines treat only a single ailment, but tea is a panacea for all ills.” Gorreanatea.com
Maybe that Japanese priest was right? My parents drank chá de cidreira – (lemon balm tea) everyday and they lived until almost 90 years old. Like my parents I’ve turned into a daily tea drinker. Lemon Balm, Orange Pekoe and Tazo Zen tea are my favorites.


Growing up watching my parents drink tea, I never knew how it was made or where it came from. Many years later as I developed a taste for tea myself I discovered that it was the Portuguese traders that first introduced tea to Europe and even to India! It’s quiet fascinating that our Portuguese ancestors brought so many culinary influences around the world including tea.
The Portuguese were the first Europeans to import tea in large amounts to Europe during the Portuguese expansion of the 16th century. They took their word for tea (cha), from Cantonese in the 1550s when they had trading posts in the south of China, especially Macau. For those of you that aren’t familiar with Macau it’s a region off the mainland of China which was a Portuguese colony until 1999 when it was transferred back to China. Both Chinese and Portuguese are Macau’s official languages.
In 1750, tea experts from China began planting tea on the Island of San Miguel, Azores Portugal. Today, Gorreana Tea, founded by the Gago da Camara family, is the only remaining of the 14 original tea producing estates and has remained family owned and operated for 5 generations. Learn more about the history of tea in Portugal here.
In 1662, Catherine Braganza of Portugal married King Charles II and brought tea to the royal court of England for the first time. Still, much of the earliest days of European tea, was far too expensive at $100 a pound, to gain favor with anyone but the rich. Tea was not widely consumed in Britain until the 19th century. 
How To Make The Perfect Cup Of Tea: From Gorreana Tea
Boil Water As soon as the water comes to a boil, remove it from the heat. Overheating the water causes the tea to taste flat. Immediately pour the water into the pot, cover, and let stand. If using green tea, allow the water to cool slightly before pouring onto the leaves

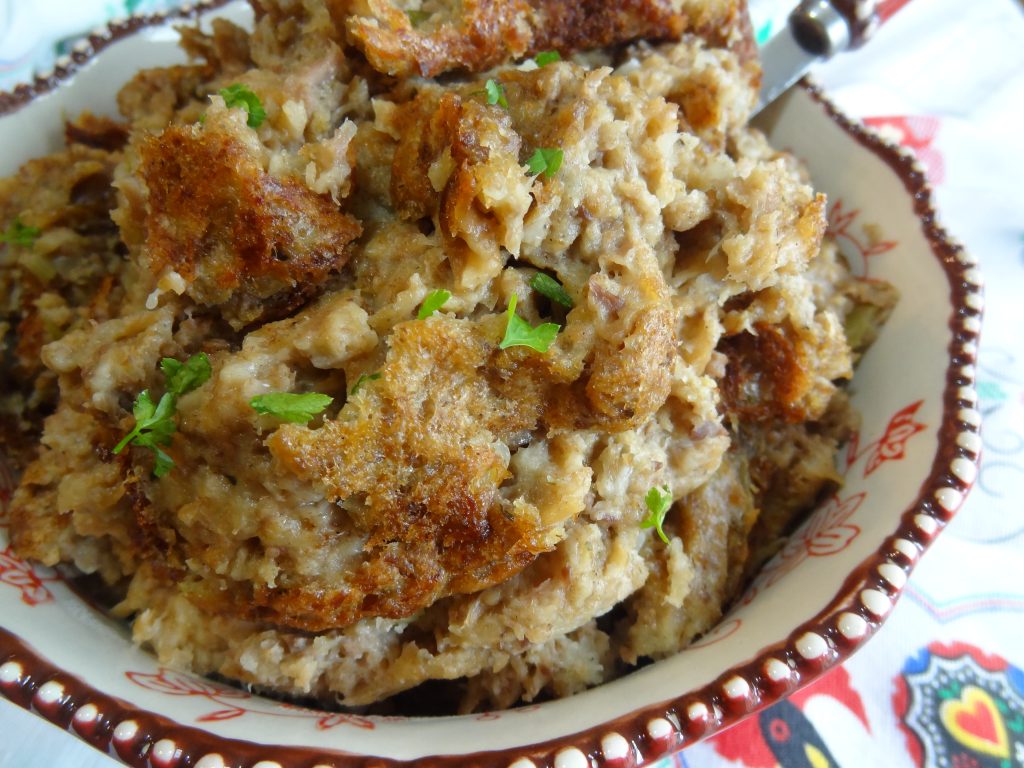
How to make a great Carrot Cake!

This cake is very easy to make and I can bet that most of you have all of the ingredients in your pantry right now! If shredding the carrots intimidates you, don’t kill yourself, or your arm, just shred them in your food processor!
I find that using oil in carrot cakes often leaves the cake greasy so I use margarine and yogurt for moistness instead. After you try this recipe and see how deliciously easy it is to make, you’ll never buy a store carrot cake again! Enjoy!

Ingredients:
2 cups flour
1 cup brown sugar
1 tsp baking soda
1 tsp baking powder
1 tsp salt
2 tsp cinnamon
3 eggs room temp
3 cups shredded carrots
1 stick margarine (soft)
1/2 cup Pineapple fruit on the bottom yogurt (or any you prefer)
1 cup chopped walnuts (optional)
1 cup raisins (optional)
Frosting:
1 Package cream cheese (room temp)
2 cups confectioners sugar
1 tsp vanilla
Instructions:
In a large mixing bowl, mix eggs, sugar, and margarine until creamy. Add Carrots and yogurt. Combine all other ingredients except walnuts in a bowl. Add dry ingredients to the wet batter and mix for about 5 minutes.
Add the walnuts and raisins if desired and fold into batter.
Poor into 2 greased 9 in round cake pans. Cook in 350 degree oven for 30 -40 minutes until toothpick comes out clean. Let cool and frost with desired amount of cream cheese frosting. Top with more walnuts!
(If you like lots of frosting, double the frosting recipe)
Watch this video from the beautiful Gorreana Tea estates, which uses my photo that I took of their tea last summer on my patio table.


 Now available in Canada – Amazon Canada
 LISBON BLUE ETSY SHOP
 My appearance on RTP Portuguese TV Notícias do Meu País
 No Kid Hungry | Share our Strength Help End Child Hunger in America
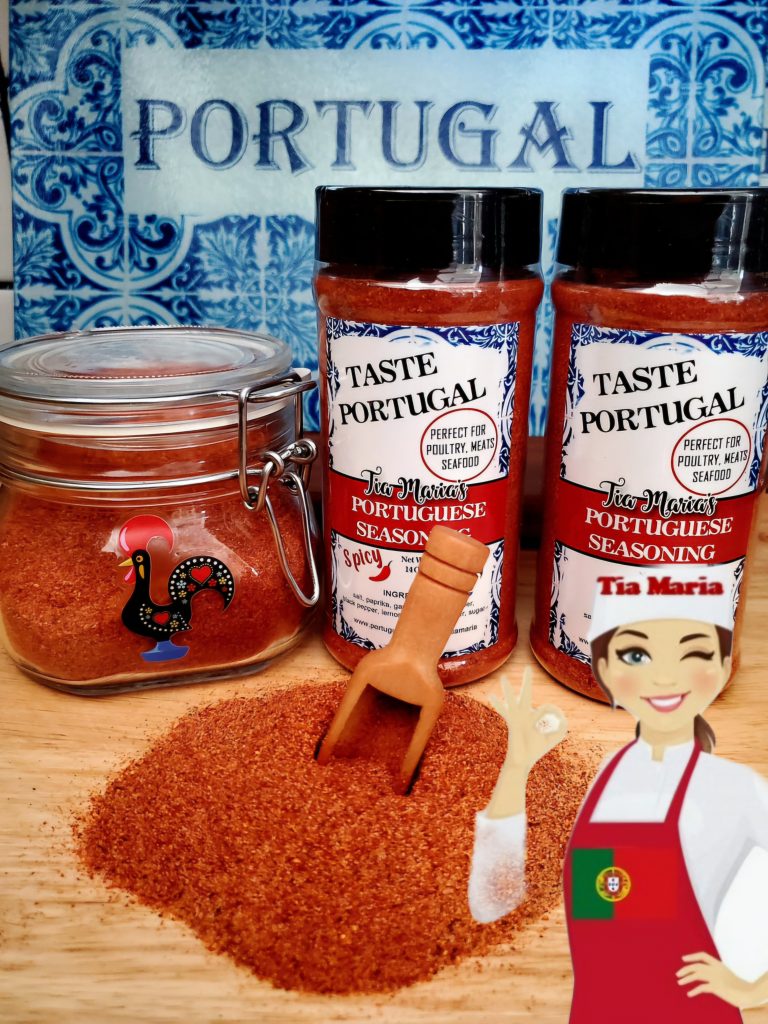


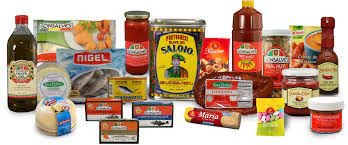
 GONSALVES FOODS