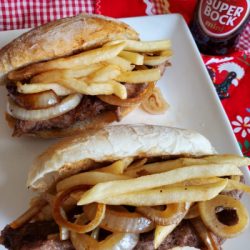
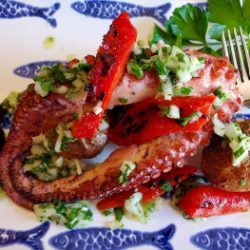
Asian Sweet & Spicy Chicken

Asian Sweet & Spicy Chicken is amazing! You simply let the chicken marinate for a couple of hours or overnight, bake and cover it with the yummy sweet & spicy sauce!
This is the kind of recipe that you experiment with to your own taste. Some people like these really spicy and some like them sweet like Teriyaki sauce.
I served it with Portuguese Rice and grilled Asparagus! It was a big hit! Try it and Enjoy!
Ingredients:
4 pounds of chicken drumsticks and thighs or wings
1 cup of soy sauce
1/2 cup of red wine vinegar
1/4 cup of brown sugar
3 tablespoons of olive oil
6 cloves of garlic (minced)
2 tablespoons of fresh ginger (minced)
2 scallions (sliced)
1/4 teaspoon of black pepper
1 tablespoon of crushed red pepper flakes
1 teaspoon of piri piri sauce
1 tablespoon Corn starch
Instructions:
Place the chicken in a large bowl. In a separate small bowl mix all of the remaining ingredients except cornstarch until very well incorporated.
Pour the sauce over the chicken and let it marinate for at least 2 hours or overnight in the refrigerator.

Heat oven to 400. Remove the chicken from the bowl and place in a very well greased flat tray. Reserve the marinade. Cook for 1 hour turning over once.


Cook the leftover marinade in a small pan on low heat for at least 10 minutes to reduce and cook. Taste and add more soy sauce and red pepper flakes if you like it spicier.
Note:
To create thicker sauce simply add the corn starch mixed with a little water to the sauce and let it reduce and thicken. You can also make this sweeter by adding a little honey or more brown sugar. The longer it cooks, the thicker it will get.


Asparagus is easy to cook in just a few minutes right in your skillet. Just add 1 – 2 tablespoons of olive oil, depending on how much asparagus you have. Add salt and pepper and cook on low – medium heat.
Cover the pan, and toss the asparagus gently as it cooks for about 5 minutes. Add a little more olive oil if needed.
Turn off the heat and leave it covered. It will continue to cook and keep warm.


 Now available in Canada – Amazon Canada
 LISBON BLUE ETSY SHOP
 My appearance on RTP Portuguese TV Notícias do Meu País
 No Kid Hungry | Share our Strength Help End Child Hunger in America


 GONSALVES FOODS