
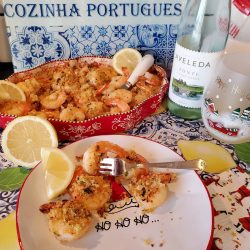
Port Wine – Vinho do Porto – Stawberry Fruit Salad
You’ll love this fruit salad for summer picnics, Holidays and for family celebrations. It’s so simple and easy to make, because you don’t have to peel and slice the fruit.
The secret to this recipe, is that you use a packages of frozen strawberries in syrup.
*You may substitute the recipe with low calorie canned fruit, or use any of your favorite fresh fruits.
However, to obtain the rich sweet flavor of strawberries and Port you must use the frozen strawberries in syrup.
*If you want to make this for children, leave out the Port wine, it’s just as delicious!

Ingredients: Serves 12-24
Note: These ingredients are all optional so substitute with your favorite fresh or canned fruits.
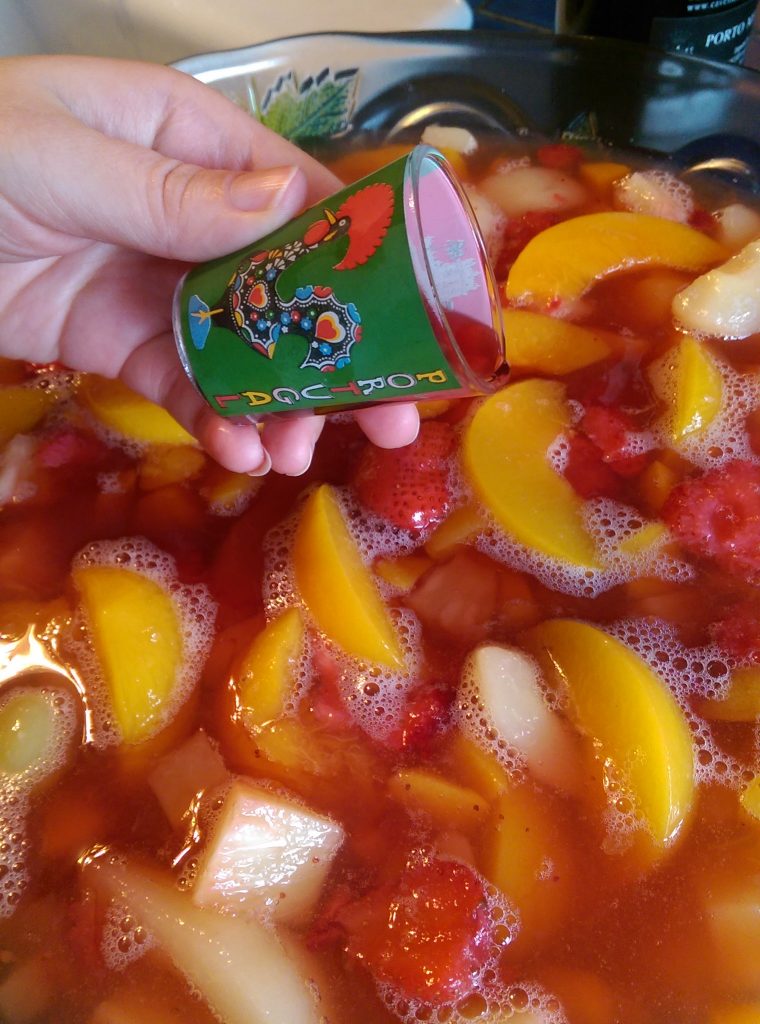
1/2 cup Vinho do Porto – (Port wine)
2 cups fresh strawberries cut into slices
1 (16 oz) container frozen strawberries in syrup
1 can chunk pineapple with juice
1 can sliced peaches
1 can fruit cocktail
1 can sliced pears
1 cup grapes
1 – 2 cups chopped cantaloupe (optional)
sliced bananas (optional)
*Note if you want a low calorie option use fruit in its own juice and not sweetened
Instructions: Prep time – 10 minutes
Place all ingredients into a large bowl. Stir gently to incorporate the wine into the fruit.
Place it in your refrigerator or in a cool place for at least 2 hours before serving but it’s better if left overnight in your refrigerator to allow the port wine to infuse the fruit.
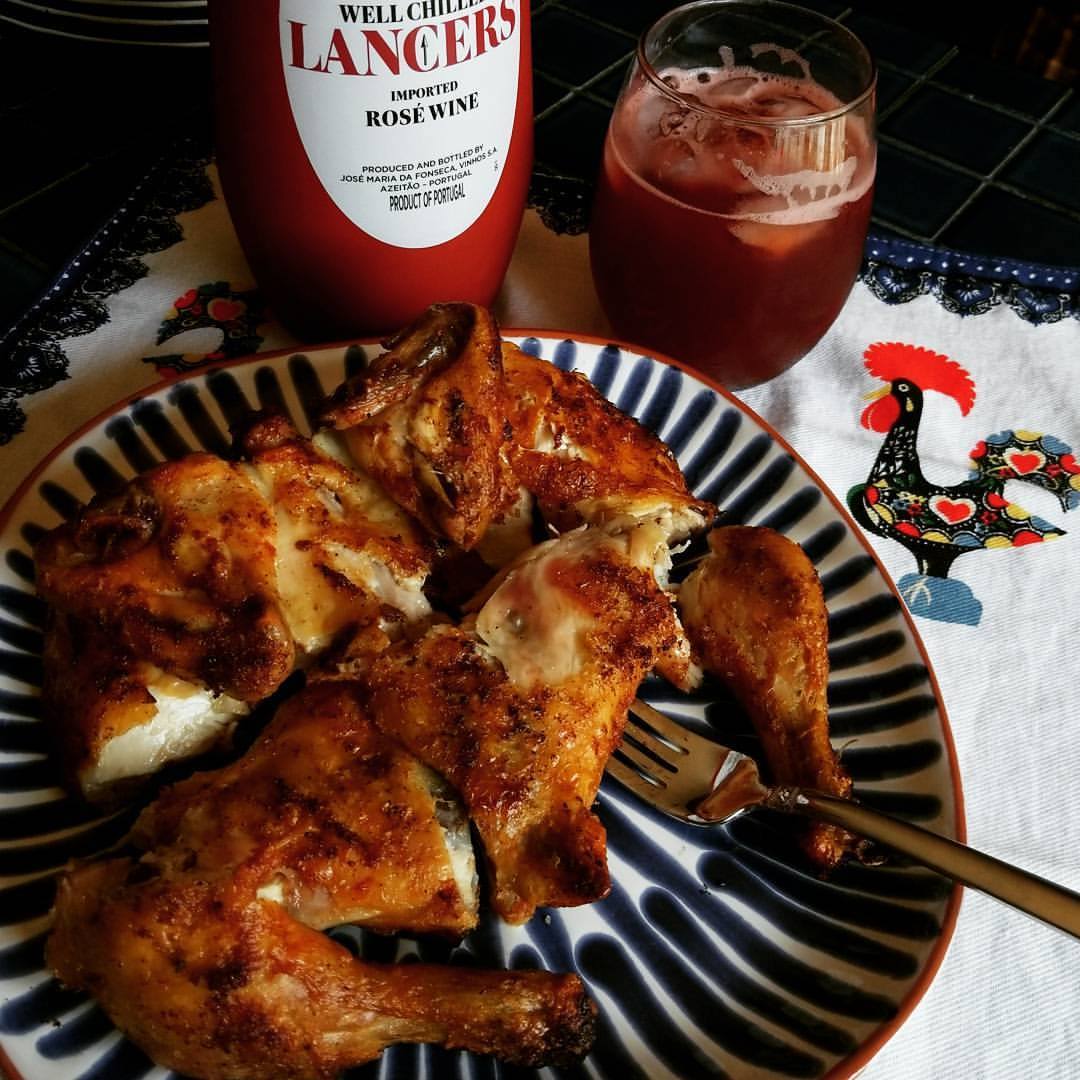
When ready to serve, transfer the fruit into a large glass punch bowl. Serve with a ladle into individual glass cups or bowls.
Store in refrigerator for up to 3 days if you have any left over that is! Enjoy!


 Now available in Canada – Amazon Canada
 LISBON BLUE ETSY SHOP
 My appearance on RTP Portuguese TV Notícias do Meu País
 No Kid Hungry | Share our Strength Help End Child Hunger in America


 GONSALVES FOODS
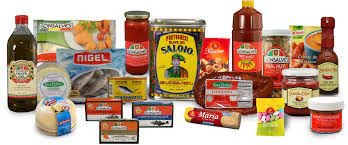