Happy Mother’s Day

Happy Mother’s Day to all the moms!
“God could not be everywhere, and therefore he made mothers” Rudyard Kipling
Share memories and keep our Portuguese tradition alive. Order my Taste Portugal Cookbook!

Happy Mother’s Day to all the moms!
“God could not be everywhere, and therefore he made mothers” Rudyard Kipling
Share memories and keep our Portuguese tradition alive. Order my Taste Portugal Cookbook!

This is an easy project that will cost you virtually nothing to make since they’re made from natural branches, evergreens and any decorations you have on hand from last year.
The best part is that you use solar lights so you don’t waste electricity!

My daughter and I felt crafty this weekend so we decided to make our own Christmas planters to decorate our front porch.
We went for a long country drive looking for evergreen trees that were easily accessible for us to be able to cut off branches for the planters.
We weren’t successful since most of the trees were either too far into the woods or on private property so we decided to head home and try again next weekend.
The next day, while visiting my sister we noticed that there were beautiful varieties of evergreen growing all along her backyard all along.
You can also find the branches for Free at Home Depot or Lowe’s garden centers which are leftovers from their Christmas tree trimmings.

You’ll need:
3 or more varieties of evergreen branches about 2 feet long.
Get enough foliage to fill your planters. You’ll need a lot so if you think you have enough, you don’t!
1 bunch of any fake poinsettias
I used my leftover flowers from previous years
6 or more dry cat tails, wheat branches or any dried flower stems that you prefer
12 long dried tree branches about 2- 3 feet long
Such as birch, small driftwood, or any you find
Solar outdoor lights (1 for each planter)
I found my Santa and candy cane lights at Home Depot but you can use any you prefer
Christmas bows (Optional)
Step 1.
Take your leftover outdoor potted plants and trim off any dead foliage, leaving the dirt inside the pot. If you don’t have leftover plants, simply use any dirt from your garden.
This will serve as anchor to hold the branches. My planters had foliage that was still green so I left it as a filler.
Don’t worry about using green foliage that you may have since if it dries out later it will only add depth and natural dried look to the planter.
Step 2.
Begin arranging the planter by sticking the larger pieces of evergreen into the dirt back edge of the pot. Add the larger pieces of wood in the back. Add more evergreen branches overhanging on the sides and the smaller ones in the front.
Stick poinsettias into the pots in the front. Fill any empty spots with dried flowers, sticks or branches. Place the solar light in the front where it will get sun to charge the battery every day. Add bows or ornaments if you desire.


This planter will last you all winter long. Just remove the Santa and the Poinsettias after Christmas and add regular solar lights!
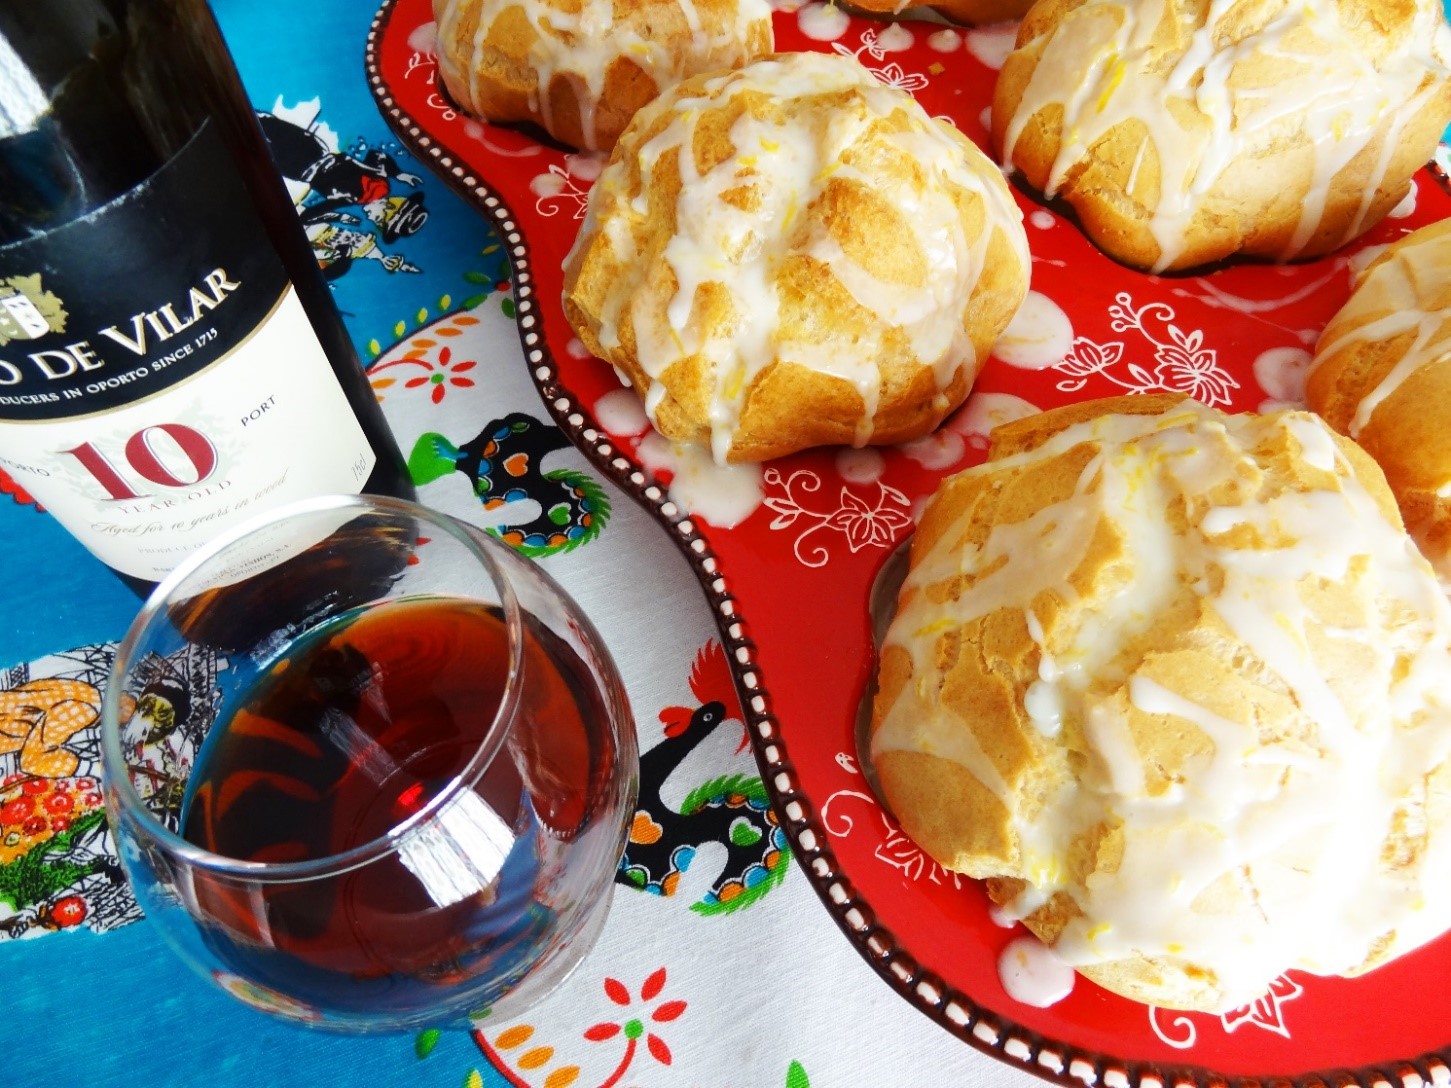
Cavacas – “Portuguese Popover Dessert”. The taste and texture is similar to a profiterole with a creamy, sugary glaze over the top.
This classic dessert most likely originating in Caldas da Rainha is a favorite in the Portuguese community for celebrations and Holidays. It’s easy to make and it requires few ingredients. Traditionally a glass of Port wine is served along the this delicate dessert.


Ingredients:
Makes 12 large cavacas
8 extra large eggs (room temp)
½ cup plus 2 tablespoons olive oil
2 cups sifted all-purpose flour
¼ cup milk
pinch salt
olive oil (for greasing tins)
Icing:
2 cups confectioner’s sugar
3 to 4 tablespoons milk
zest of 1 lemon
Preparation:
Here’s our YouTube Video page for you to follow along with the instructions:
Add the flour mixture and beat for at least 10 minutes until the batter has reached a light creamy consistency. Add milk half during the last 5 minutes.
Grease large muffin tin or popover tins with 1 teaspoon olive oil to each section on bottom and up the sides. Fill each section 1/2 full with batter.
Cook at 350 degrees F. for 40 to 50 minutes. Note: *Do not open the oven or they will collapse! 🙁 Also note the ovens cook at different temperatures so keep an eye on them. If you notice they start to brown too dark remove from the oven.
Let cavacas cook slightly.
Meanwhile, In a small bowl make the icing by combining the confectionery sugar, and the lemon zest with milk until It reaches a smooth consistency. Taste and add more lemon zest if you prefer a lemony icing.
*If you find the icing too thick add milk, it it’s to soft add more sugar. Drizzle the icing over the Cavacas.

This recipe for Pineapple Glaced Ham is easy. Don’t buy those expensive fancy hams because this ham recipe is just as delicious, and juicy.
All you need is a regular shank ham or a butt portion ham that you’ll find on sale in your supermarket. Some hams come spiral cut for you.
You’ll only need one can of Pineapple slices and 1/2 cup of brown sugar. In the photo, I added 1 cup of dried cranberries for my Christmas Ham but this is optional.
Make my Portuguese Style Sweet Potatoes as a side dish.


Instructions:
Wash the ham, cut off any excess fat and place it in a baking pan that has been lined with foil for easy clean up. Add 2 cups of water to the pan.
The water will help draw out the salt from ham while keeping it moist while baking!
Heat oven to 325. Loosely cover the ham with aluminum foil and place it in the oven. Let the ham cook for 20 minutes per pound or more depending on the size of your ham.
*Note: If you have spiral ham cook as per package directions since it will take less time to cook.
Strain the pineapples into a small bowl but save the juice. In a small pan heat the sugar and the pineapple juice at medium heat until the sugar has dissolved and slightly thickened.


During the last 30 minutes before the ham is cooked, remove the pan from the oven and drain the water out of the pan. Pour 1/2 of the glaze over the ham.
Top with the pineapple slices. Pour the glaze over the ham and pineapple slices. Cook for the remaining 30 minutes.
Place the ham on a large serving platter and pour any leftover glaze over it. Arrange dried fruits and fresh fruit around the serving platter for a festive presentation that will wow your guests!
This ham can be served hot or cold and perfect for your holiday parties.
Enjoy and Happy Holidays!


 Now available in Canada – Amazon Canada
Buy Taste Portugal cookbook in Canada
Now available in Canada – Amazon Canada
Buy Taste Portugal cookbook in Canada 
 LISBON BLUE ETSY SHOP
Portuguese Inspired Gifts – Men, Women, Cooks, Mom, Dad, Grandparents
0
LISBON BLUE ETSY SHOP
Portuguese Inspired Gifts – Men, Women, Cooks, Mom, Dad, Grandparents
0 My appearance on RTP Portuguese TV Notícias do Meu País
Notícias do Meu País – Episódio 9 – RTP Play – RTP – Maria Dias – Tia Maria’s Blog
My appearance on RTP Portuguese TV Notícias do Meu País
Notícias do Meu País – Episódio 9 – RTP Play – RTP – Maria Dias – Tia Maria’s Blog


 For nearly a century Gaspar’s Sausage Co., Inc. Has been recognized as the largest manufacturer of Portuguese smoked sausage in the United States. Order today! www.gasparssausage.com or call us at 1-800-542-2038
 GONSALVES FOODS
The taste of Portugal here in America Your source for authentic Portuguese products We’re proud to offer a wide selection of authentic Portuguese foods from our Gonsalves and Bom Petisco brands as well as the leading Portuguese brands like Saloio olive
0
GONSALVES FOODS
The taste of Portugal here in America Your source for authentic Portuguese products We’re proud to offer a wide selection of authentic Portuguese foods from our Gonsalves and Bom Petisco brands as well as the leading Portuguese brands like Saloio olive
0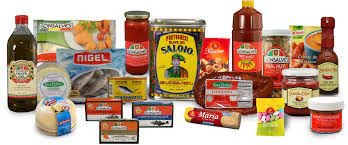
 No Kid Hungry | Share our Strength Help End Child Hunger in America