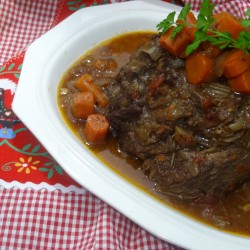
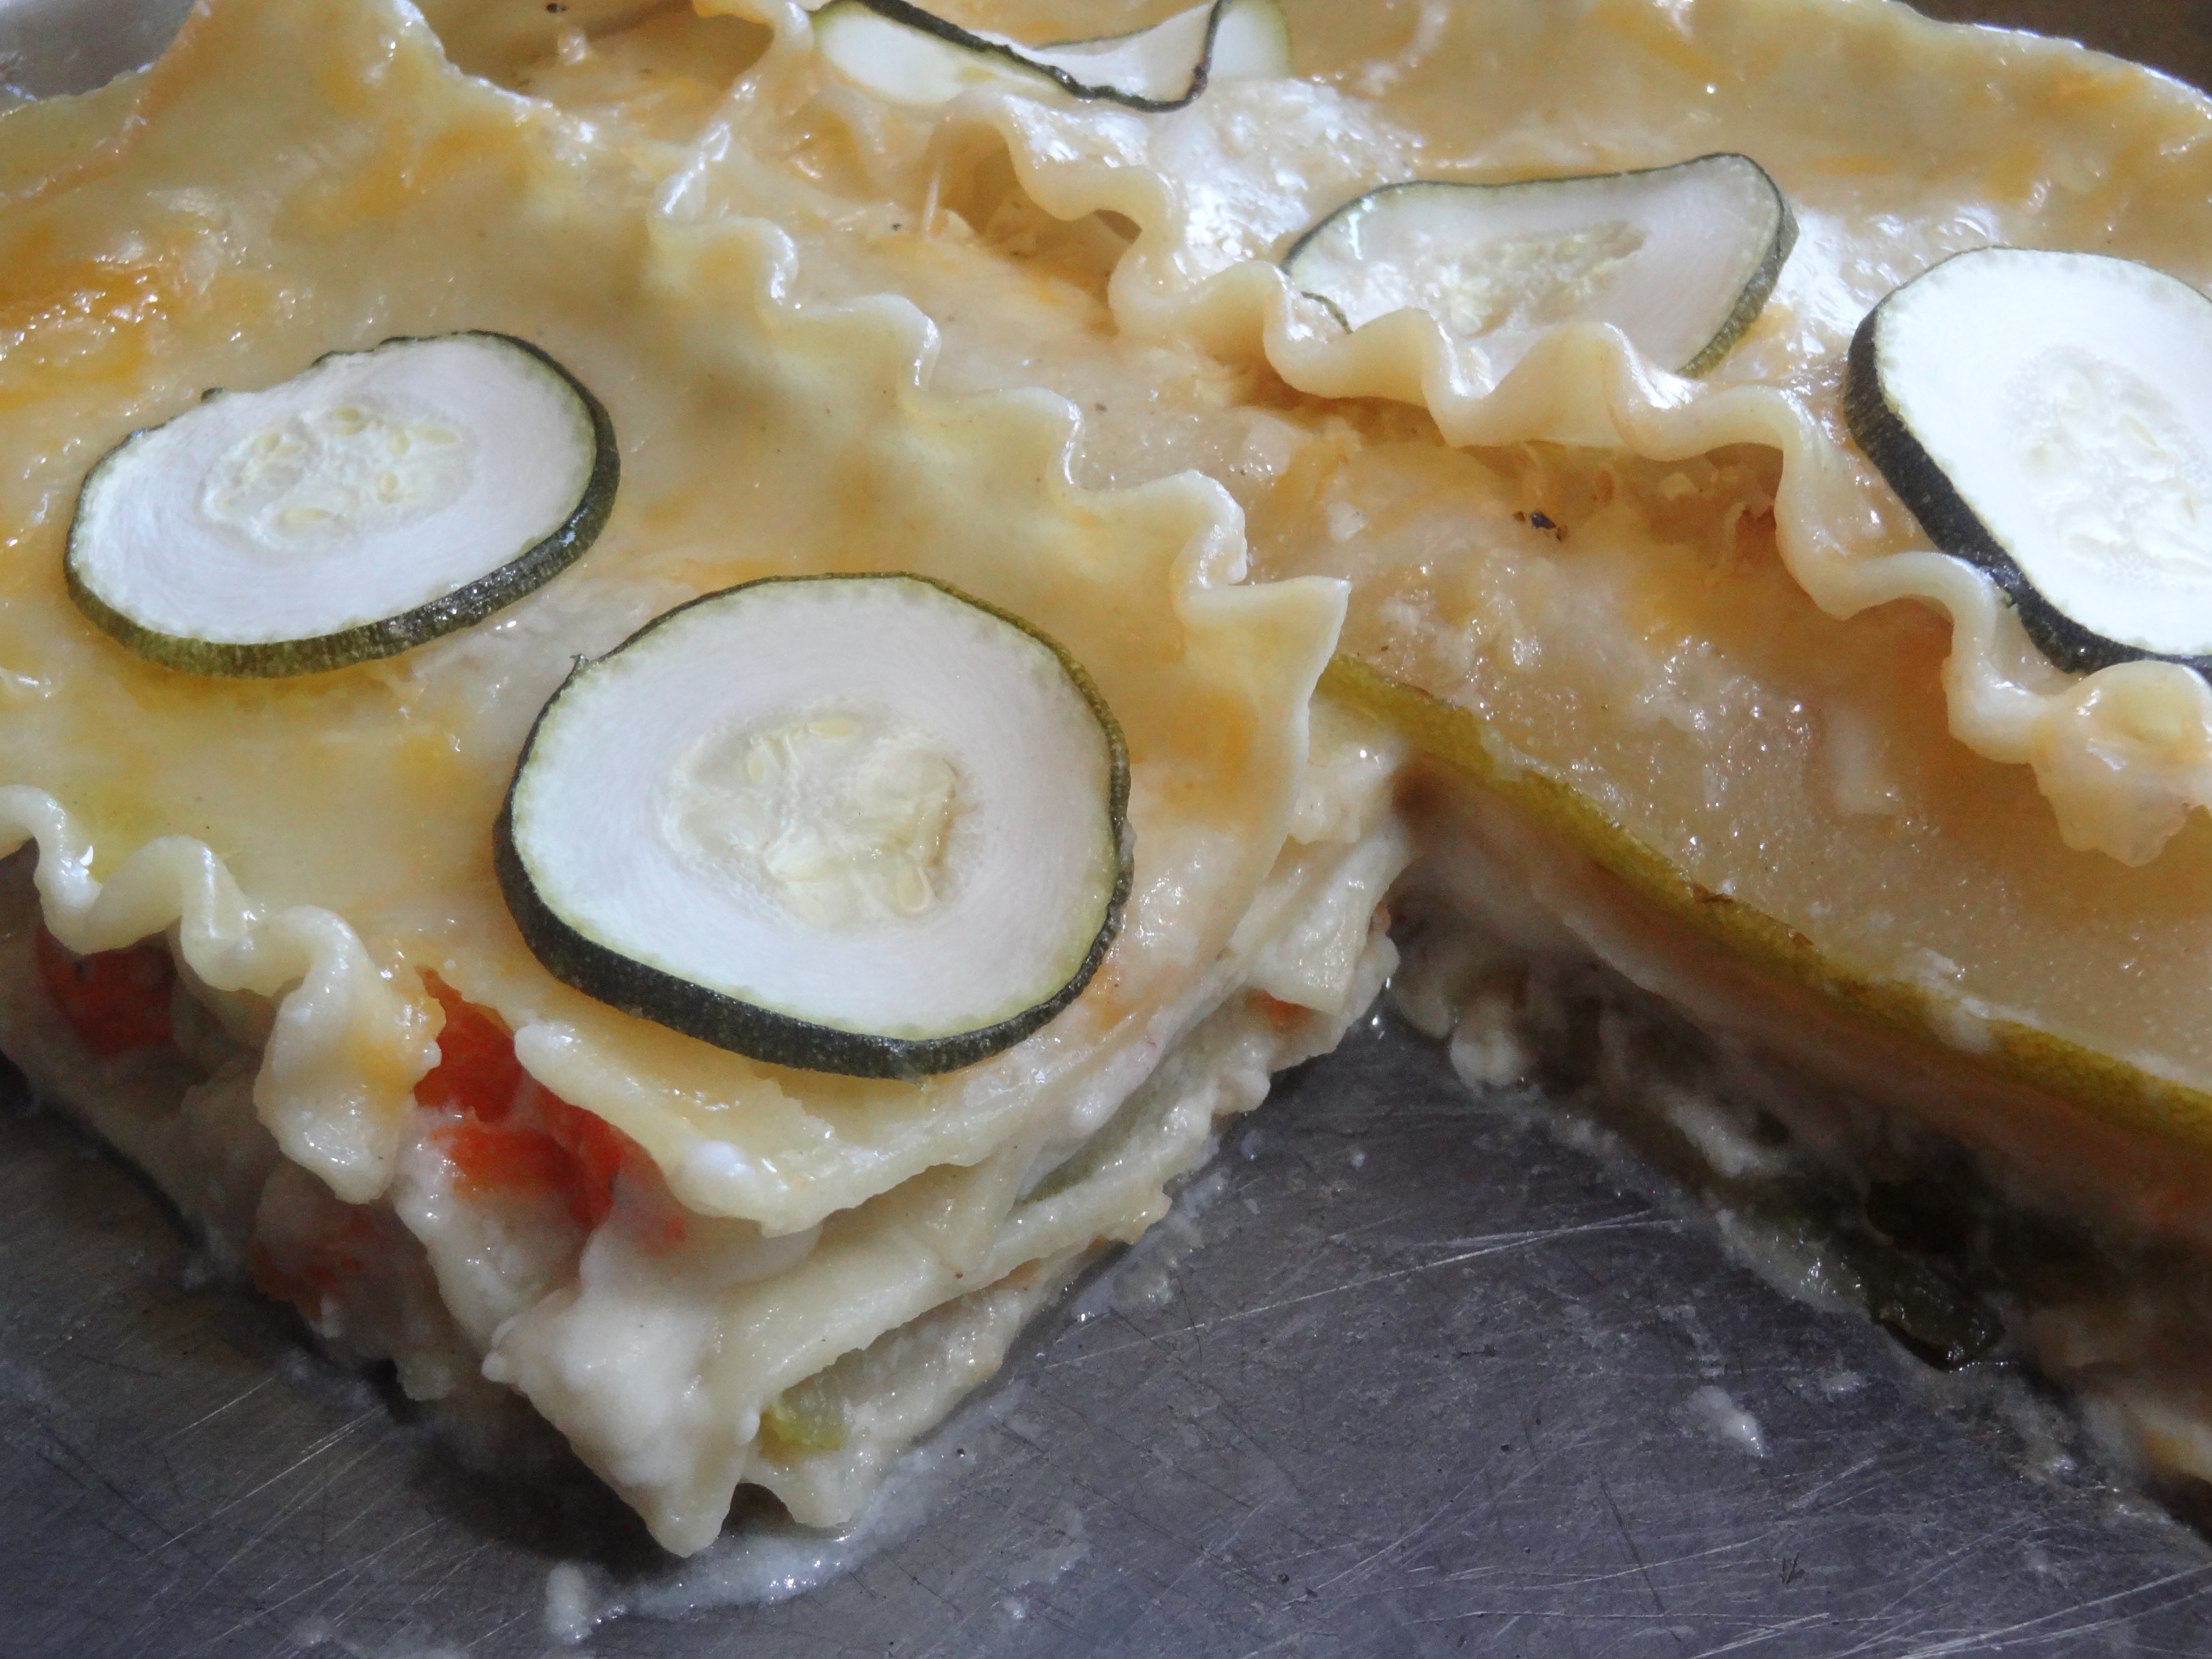
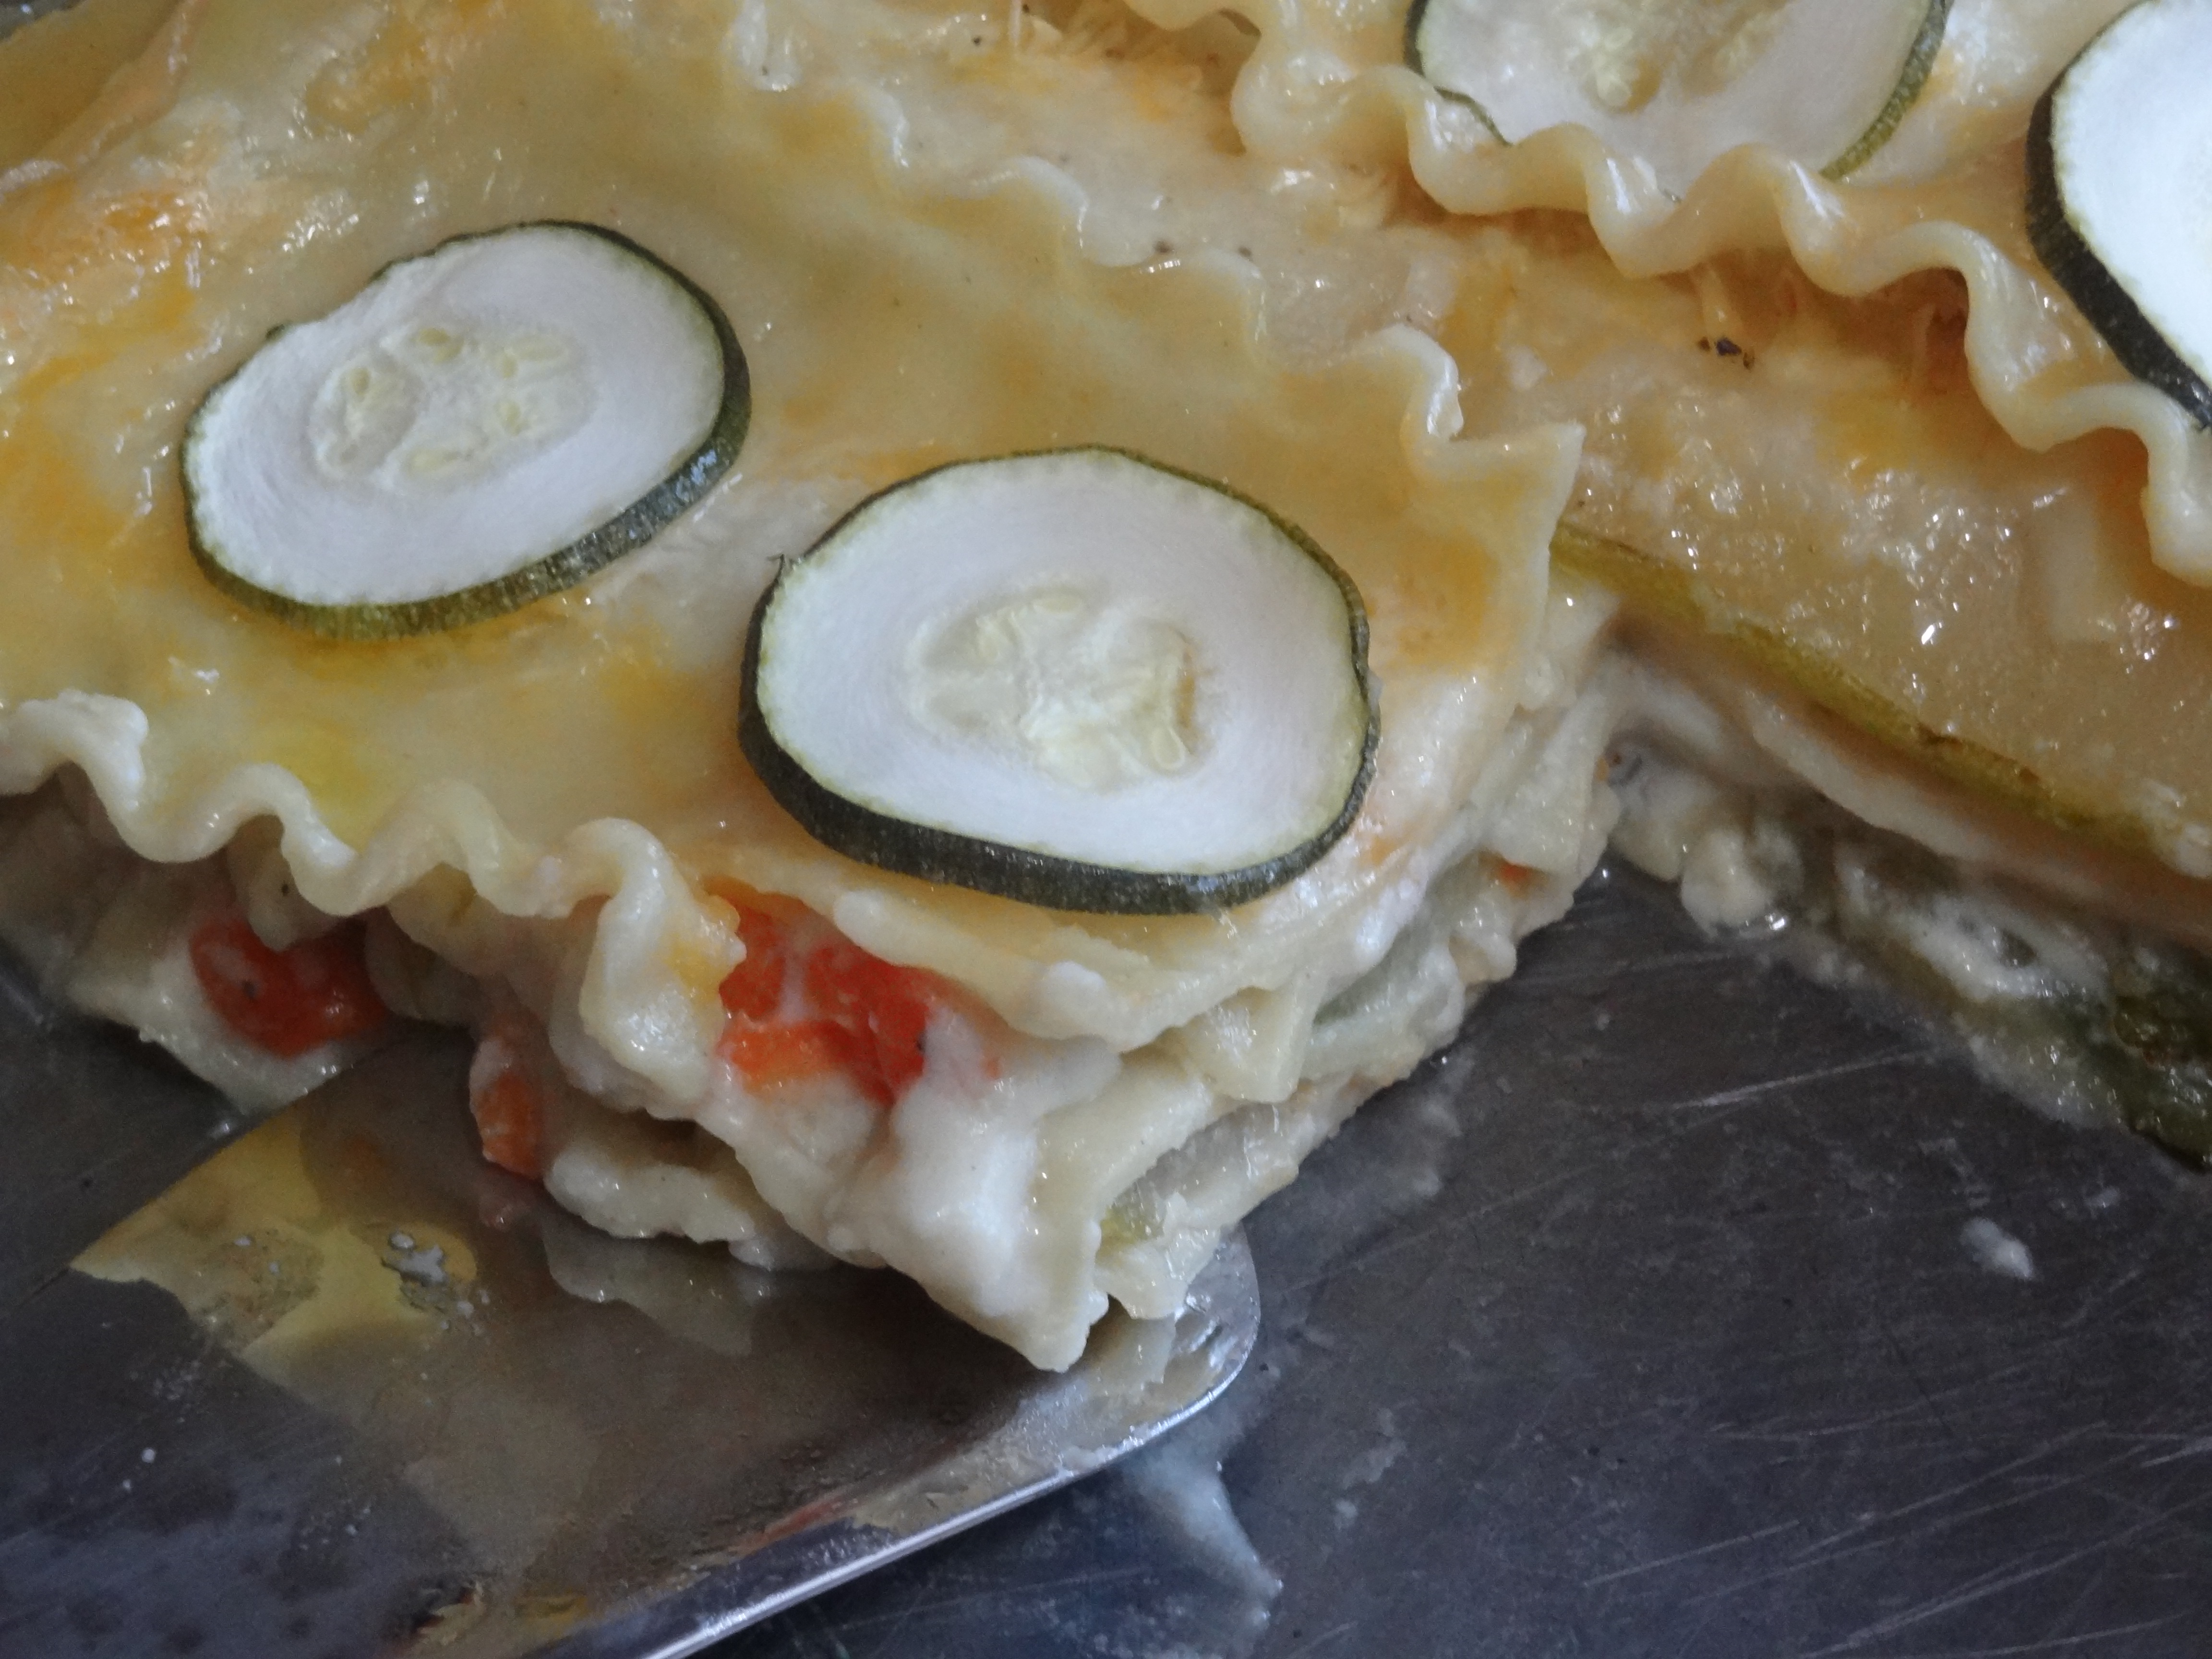
Lisa’s Portuguese Pot Roast

My daughter Lisa made Portuguese Pot Roast dinner on Sunday. It came out fabulous! This perfect pot roast is pure comfort food for the cold months. The sauce is so flavorful that you’ll want soak it all up, be sure you have a lot of fresh crusty bread on hand for dipping. Enjoy!
Ingredients:
1 (4) Pound Pot Roast
1 tablespoon salt
1 teaspoon pepper
1 tablespoon flour
4 tablespoons olive oil
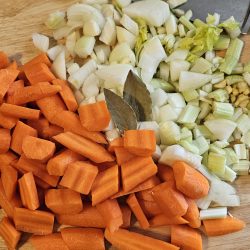
4 large carrots (cut into chunks)
4 stalks of celery(chopped)
2 onions (chopped)
5 garlic cloves (chopped)
1 can chopped tomatoes
1 and 1/2 cups beef broth
1 chicken bouillon cube
1 cup red wine
2 tablespoons Madeira wine or any Portuguese brandy
1 sprig rosemary
1 teaspoon oregano
1 teaspoon basil
1 teaspoon thyme
Instructions:
Preheat oven to 350 degrees.
Season the beef with salt and pepper, dredge in flour and sear both sides in 2 tablespoons of olive oil in an oven proof dutch oven. Remove meat and set aside.
To the same pan, add 2 tablespoons of olive oil, onions, celery, garlic and carrots and let cook for about 5 minutes.
Add the tomatoes, wine and brandy and cook for another 5 minutes. Add the broth, bouillion, remaining herbs and bring to a boil.
Add the meat back into the pan, cover and cook in oven for 2 hours.
Uncover, and cook for another 1 and 1/2 to 2 hours longer until meat is tender and falls apart.
Remove bay leaf and rosemary stem before serving.
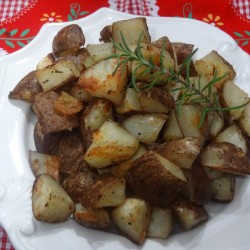
Place the potatoes in the oven during the last 1 hour of pot roast cooking.

Rosemary Potatoes:
2 pounds of potatoes (washed, scrubbed, and cut into cubes)
1 small onion
1 teaspoon salt
1 teaspoon rosemary (chopped)
2 tablespoons olive oil
1 teaspoon garlic powder
1 teaspoon pepper
Instructions:
Place all ingredients into a bowl and toss to coat well. Place the potatoes in a nonstick baking casserole dish or pan coated with cooking spray.
Cook for 1 hour tossing potatoes every 15 minutes.


 Now available in Canada – Amazon Canada
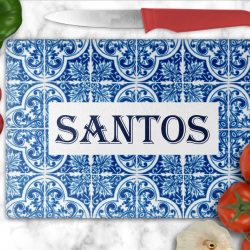
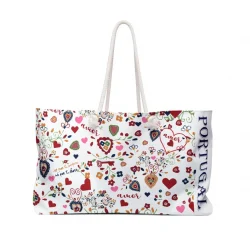
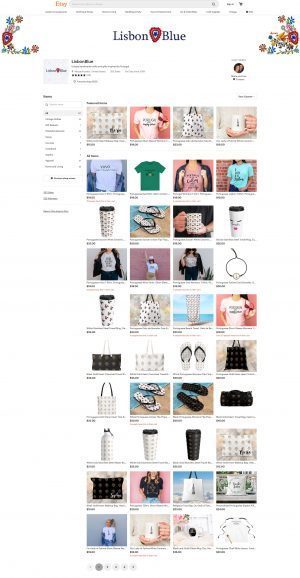
 LISBON BLUE ETSY SHOP
 My appearance on RTP Portuguese TV Notícias do Meu País
 No Kid Hungry | Share our Strength Help End Child Hunger in America


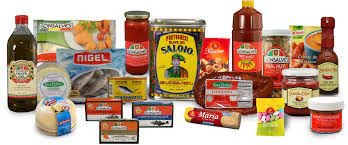
 GONSALVES FOODS