These mini pecan tarts are even better than Pecan Pie and easier to make. My daughter Lisa made these little tarts last weekend for Sunday dinner dessert and they were an absolute hit! Requests have already started for her to make them for our Christmas dessert table. In case you’re wondering pecan is translated to “noz-pecã” in Portuguese.
Enjoy!
Makes about 48 mini tarts
Ingredients:
2 sticks butter or margarine
6 ounces of soft cream cheese
2 cups flour
Filling:
2 eggs
1 and 1/2 cups of brown sugar
2 tablespoons melted butter
1/2 teaspoon vanilla
1 cup pecans (chopped)
pinch of salt
Mini tart pan (they hold 24 tarts)
Instructions:
Mix the margarine and cream cheese until creamy. Add the flour and mix very well. Scoop out dough into 48 portions using a teaspoon.
Roll into a ball and form small discs to fit the muffin tart pans. Press the dough into the bottom and up the sides.
Make filling:
In a medium bowl, mix eggs slightly, add sugar, margarine, salt, vanilla and pecans.
Mix the ingredients well and fill the tart shells about 3/4 full. Adjust the filling to fit all 48 tarts by scooping out those are too full.
Bake the tarts at 350 degrees for 25 minutes until they turn slightly browned.
Pasteis de Gila- Puff Pastry is made using a sweet jam filling made from the fiber of the spaghetti squash. You can make the jelly at home, or you can buy it in jars already made for you. Watch the video below for the demonstration of how to cook the squash! Enjoy!
Puff pastry sheets (get them at your local bakery or use Pepperidge Farm)
Gila
1 beaten egg
1 teaspoon water
Powdered Sugar
Assemble Pastry:
Cut the defrosted but very cold pastry sheets into 3 x 6 inch rectangles. Place 2 teaspoons of the Gila into the center and fold the dough over forming a square. Pinch the sides of the pastry together. Beat the egg with the water and brush the tops of the pastry. Line a cookie sheet with parchment paper, and place the pastries 2 inches apart on the sheet. Cook at 375 degrees for about 15 minutes or until lightly golden brown and cooked through.
Let cool and Sprinkle with powdered sugar if desired and serve. Enjoy!
Ingredients for Gila:
1 spaghetti squash about 2 pounds
2 cups water
1 pound sugar
1 cinnamon stick
1 piece of lemon peel
Directions:
Break the squash on the ground and break it up into pieces. Wash the squash, remove the seeds using you fingers. Place in a large pan and boil until the the skin falls apart from the fibers.
Drain the squash and place into an ice bath to cool. Separate any skin or seeds and discard them. Drain the remaining fibrous flesh and separate into threads. Rinse in cold water, drain and let it continue draining in colander for about 10 minutes.
image: tasteofbeirut.com
Cook the sugar and water in a medium pan until the sugar begins to thicken. Add the squash, cinnamon and lemon and cook for about 10 minutes until the squash mixture becomes very thick. Remove from pan and cool completely before storing in the refrigerator.
Watch this video for a demonstration on how to cook the gila:
This easy recipe requires not baking and makes an elegant dessert. Bolo de Bolacha Maria is traditionally made with butter, or sweetened condensed milk, but my version uses home made pastry cream which makes it lighter and uses less sugar. You’ll find that you have all the ingredients for this recipe in your pantry. If you don’t have Portuguese Maria Cookies, you can use the Mexican Maria Cookies found in most grocery stores as an option. Enjoy!
Makes 1 small cake or approximately 4 parfaits
Ingredients:
1 package of Bolacha Maria (Maria Cookies any brand)
1 or 2 cups of warm strong black coffee
2 cups of whole milk
3 large egg yolks
1/2 cup of sugar
1/4 cup of corn starch
1/2 teaspoon of vanilla extract
2 tablespoons of butter
pinch of salt
Whipped cream
Instructions for Pastry Cream:
In a small saucepan heat the milk, 1/4 cup of the sugar, vanilla and pinch of salt until scalding but not boiling and set aside.
Meanwhile mix the egg yolks with the remaining sugar and corn starch until smooth and creamy.
Slowly add the yolks to the milk beating as you pour. Cook the mixture on medium heat for two minutes until it thickens stirring constantly.
Pour the cream into a bowl and add the butter. Beat with a mixer for about 5 minutes until very smooth and creamy.
Cover the bowl and place in the refrigerator for at least 2 hours to cool completely and thicken.
Dip 1 cookie into the coffee for about 5 seconds and place into the bottom of parfait glass. The cookie shouldn’t fall apart, if you find it gets too soft dip the cookie for only a few seconds.
Spread pastry cream on top of the cookie and continuing layer to your desired height leaving the last layer with the cream on top.
Crumble a few cookies in a plastic bag and sprinkle on top.
If you want to make the cookie mold with ribbon it’s very easy to do.
Place whole cookies around the sides to form an even square. Wrap a ribbon around and make a bow. Add tiny flowers for a nice effect.
Store in the refrigerator for a few hours to set. When ready to serve top with fresh whipped cream and cookie crumbles.
You can also make this recipe as individual parfaits but don’t top with the cream until ready to serve.
Store in the refrigerator for up to 3 days. Enjoy!
“Sugar and Spice and Everything Nice, That’s What Little Girls are Made of”
Here’s the photos from my daughter in law Rebecca’s baby shower hosted by my daughter Lisa and I. We had the shower at the beautiful “Ludlow Country Golf Club” at 10:00 am, where a delicious breakfast buffet was served by caterers: Salt & Pepper.
Each table was decorated with pink and white linens where a photo frame stated the shower theme along with the photo of the babies ultrasound.
The table center pieces were hand made with vintage tea pots filled with fresh cut flowers from my sister Rose’s garden. She was up at 5 am that morning cutting the flowers and arrived at my house at 6 am. They came out beautiful! Salt and Pepper’s staff suggested we add mirrors under the tea pots which created a stunning affect.
At the end of the shower, we held a contest where the quest at each table with the closest birthday date to the babies due date won the centerpiece!
Two of my friends sitting at the same table were both born on the same day as the babies due date. We decided to award the prize to the one that was born earliest on that day.
To keep with the “Sugar and Spice” theme we served vanilla cupcakes with vanilla frosting. We topped the cupcakes with fresh babies breath and one rose bud also from Rose’s garden.
For the “sugar and spice” themed favors, we created a gift bag that had a vintage tea cup, a sachet of cinnamon spice tea and pure sugar cubes. Then we tied the bags with pink baby ribbon. The cupcakes were placed inside the tea cup to take home.
I made the “tutu” gift basket by simply sewing pink netting around a white basket.
We had a door prize raffle table for quests that brought a bag of diapers. There were 15 gift bags filled with goodies such as; spiced tea tins, cookies with vintage dessert plates, tea mugs, spiced muffin mixes, and tea pots.
Here’s a sample of the teas we had.
We passed around a “Pink Princess Piggy Bank” for guests to put in a “lucky penny”. I noticed that some guests were putting in dollar bills. What a great way to start the babies college fund!
We had a wonderful time and everyone is waiting for our beautiful baby girl!
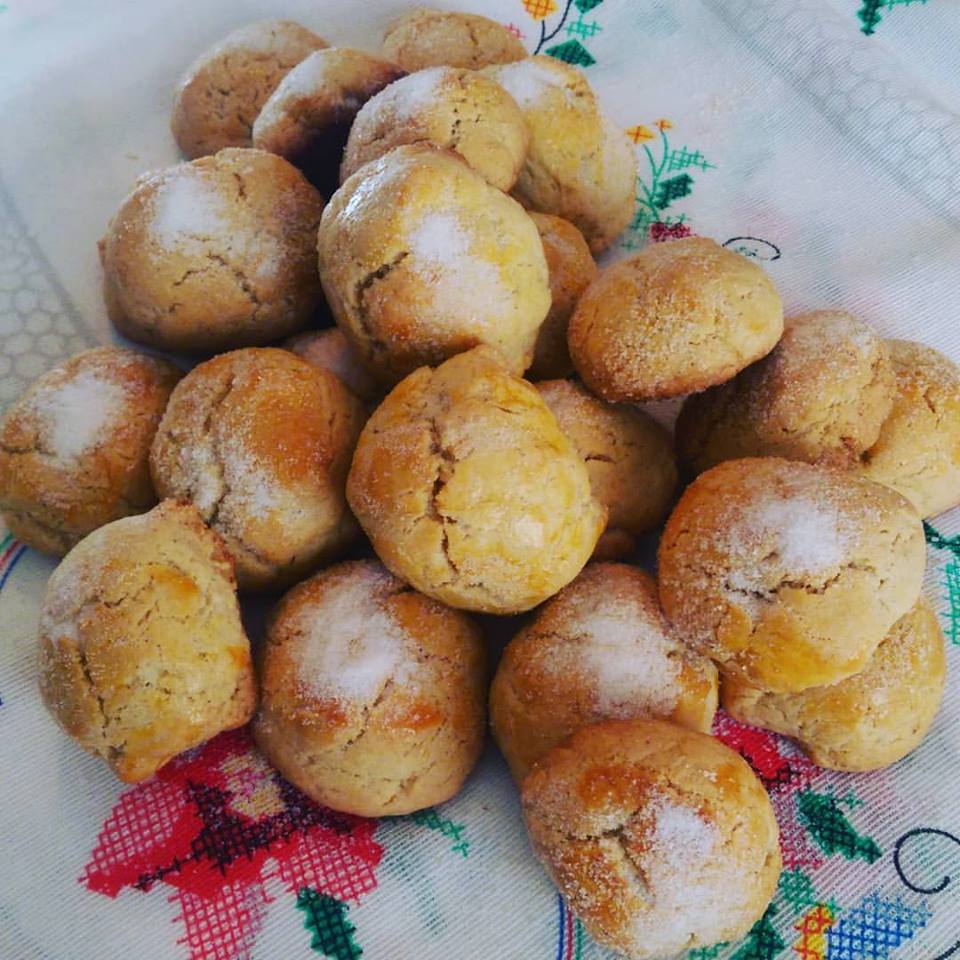
This recipe for simple biscuit cookies is one of my favorites. They’re perfect for breakfast or a snack any time of the day. Enjoy them!
Portuguese Biscuit Cookies:
Ingredients:
1 cup sugar
1/2 cup olive oil
2 eggs
3 cups of flour
1/4 cup milk
1/2 teaspoon of baking powder
1/2 teaspoon of cinnamon
2 teaspoons of whiskey (optional)
1/2 of a lemon zest
1 egg yolk for brushing tops
sugar for dusting
Instructions:
In a large bowl beat the eggs and sugar until frothy. Add the milk, lemon zest, oil, whiskey and cinnamon. Beat until well incorporated.
Add the baking soda and then the flour about 1 cup at a time until the batter becomes like cookie dough.
Form the batter into round balls about 2 inches wide and place on greased cookie sheet. Brush with egg yolk and sprinkle with a little sugar. Cook at 350 degrees until they turn golden brown. Release one cookie to check the bottom to be sure they don’t overcook after a few minutes. Let cool slightly and sprinkle on more sugar.
Make pie crust by stirring butter and sugar in a bowl. Add the egg yolk and stir. Add the flour and salt, and mix until crumbly. Press the dough into the bottom and up sides of a 9 in pie dish. Place in freezer for 20 minutes. Cook in a 375 degree oven for about 15 minutes and let it cool.
When ready to make the pie wash and dry the strawberries. Arrange 1/2 of them on the pie crust and save the remaining to make sauce.
To make filling:
Mash remaining berries and mix with sugar in a medium saucepan. Cook over medium heat and bring to a boil but keep stirring gently.
Mix the corn starch with the water in a small cup. Stir to dissolve and add to the strawberry sauce.
Cook the sauce on low heat for about 8-10 minutes until it thickens and becomes clear. Let the sauce cool before adding to the strawberries.
Chill the pie for at least two hours and serve with whipped cream.
This flourless chocolate cake is very simple to make. It’s very light and moist and I promise your guests will love it!
I adapted it from Sarah Carvey. Here’s the link to the video which is part of the Martha Stewart video collection. My daughter Lisa and I made it yesterday and we were very pleasantly surprised at how easy this is to make. We served with fresh strawberries and real whipped cream. Enjoy!
Ingredients:
6 tablespoons of unsalted butter
8 ounces dark chocolate chips (at least 50% cacao, the more the better)
6 large eggs (room temp and separated)
1/2 cup of granulated sugar
1 tablespoon of instant espresso (optional)
Pinch of salt
Sweetened whipped cream for serving
Chocolate shavings (optional)
strawberries (optional)
Directions:
Preheat oven to 275 degrees. Butter the bottom and sides of a 9-inch springform pan and set it aside.
Place the butter and chocolate in a large heatproof bowl over a pan of water on your stove on medium heat. Don’t let the water touch the bottom of the bowl.
Reduce the heat to simmer making sure the water does not boil. This is a slow process but be patient and keep stirring until completely melted.
Let the chocolate cool slightly and then whisk in egg yolks until completely absorbed into the chocolate.
Beat the egg whites in a large bowl until semi hard peaks form. Gradually add the sugar, and continue beating until stiff peaks form. Be careful not to over beat.
Whisk some of the egg whites into the chocolate and then fold in the remaining egg whites very gently.
You may notice some white streaks in the batter but that’s OK since you don’t want to over mix the egg whites which may make them collapse.
Pour the batter evenly into the prepared pan. Bake 50 minutes on the center oven rack until the cake pulls away from the sides of the pan.
Cool the cake completely and remove the sides of the spingform pan.
Let the cake sit for a few hours before serving because the chocolate gets richer as it sits. Serve with either dusted confectioners’ sugar or with whipped cream and strawberries as pictured below.
Lemon Raspberry Coconut Cake is perfect for your next Birthday Cake. I made it this weekend and it was a big hit! Enjoy!
Ingredients:
Cake:
1 Package of Lemon Cake mix
Ingredients as per package
Raspberry Filling:
1 and 1/2 cup of fresh or frozen Raspberries
2 tablespoons of sugar
1 teaspoon of corn starch
Frosting:
1 can of vanilla frosting
1 and 1/2 cups of flaked coconut
Instructions:
Preheat oven to 350 degrees. Prepare the cake mix per package directions and pour into 2 round cake pans.
Let the cake cool completely or leave it overnight before frosting.
Place the raspberries and sugar in a small saucepan and cook on medium heat for about 5 minutes until the raspberries have dissolved into a jelly consistency.
Add the corn starch and cook for another few minutes until the mixture thickens. Place the raspberries in the refrigerator until cold. They mixture should be thick like a jelly not too runny.
When the cake has cooled, spread the jelly over one layer and top with the other layer.
Spread the vanilla frosting over the cake and then top with the flaked coconut.
You won’t believe the magic that happens when you make this cake! It’s very easy to make and perfect for a party.
This cake is a Mexican recipe, but it has become very popular in the last few years because it’s like having two desserts; chocolate cake and caramel flan all in one bite!
You can use any cake batter such as vanilla, lemon etc. so be creative if you want!
Ingredients:
Cake:
1 Package of Devil’s Food chocolate cake mix
3 eggs
1 cup of water
1/3 cup of vegetable oil
Caramel sauce glaze:
1 cup of any jarred caramel sauce or make your own sauce (recipe below)
Flan:
1 can (14 oz) sweetened condensed milk
1 can (12 oz) evaporated milk
1/2 cup of cream or half and half
4 large eggs
1 teaspoon vanilla extract
Note: You will need an extra large bundt pan for this recipe
Preparation:
Prepare Caramel glaze first:
Place 1 to 2 cups sugar in a large heavy skillet. Continue stirring while cooking on med heat until the sugar melts and begins to turn caramel colored and thickens like corn syrup (probably 5-8 min depending on your burners). Note: if you smell a burnt smell, start over because the sauce has burned.
Pour 1/2 cup of the caramel topping evenly in bottom of bundt pan gently rotate the pan to coat bottom and up 1 to inches up the sides.
Flan preparation:
Mix all flan ingredients in a blender or in a mixer at high speed for about 45 seconds.
Cake Preparation:
Preheat oven to 350 degrees. Heavily grease a large 12 cup bunt pan with cooking spray or margarine.
Mix cake mix with water, oil and 3 eggs in a large bowl, with electric mixer for about 3 minutes on medium speed. Pour cake mix gently and evenly into the bundt pan covering the caramel sauce.
Slowly pour the flan mixture over the chocolate batter.
Note: The flan mixture will be very runny over the chocolate batter. Don’t worry if you think this is not right. Magic happens as the cake cooks the flan sinks to the bottom and the chocolate cake rises to the top.
Cover the cake with heavy foil that has been coated with cooking spray and place in a deep roasting pan big enough to hold the cake pan in 2 inches of water.
Special Note: I used my large Turkey roasting pan which was big enough to hold and cover the cake pan and it came out perfect! This is optional and you can use any deep roasting pan but be sure to cover the cake pan very tightly with the foil if you don’t use a roasting pan cover.
Bake the cake for about 1 hour and 10 minutes.
Here is what the cake will look like after it’s baked.
Place the cake still in the roasting pan on the counter and let it cool for at least 2 hours or more to completely cool.
When the cake is completely cooled gently loosen the sides with a thin knife. Place a large serving platter over the pan and invert the cake.
When you invert the cake, it will come out with the chocolate cake on the bottom and the flan on top.
Pour any remaining caramel from the pan over the flan.
If you want to serve the cake the next day, place it in the refrigerator overnight and invert the next day since this will keep the cake moister.
Add the remaining 1/2 cup of the caramel sauce and whipped cream before serving if desired.
"Join me! Lets' s share recipes, learn how to cook traditional Portuguese dishes, or chat about our cuisine, culture and traditions. I want to share these recipes to preserve our Portuguese passion for great food and pass them along to the next generation. So come along, Let's cook Portuguese!"
Support Tia Maria's Blog page to promote our Portuguese heritage. SCAN QR CODE:
ORDER SET OF 1 REGULAR AND 1 SPICY JAR - FREE SHIPPING IN USA
BUY NOW ON PAYAPAL OR SCAN QR CODE BELOW
TASTE PORTUGAL COOKS AVAILABLE ON AMAZON ALL AROUND THE WORLD: FREE Prime shipping in USA
COOK BOOKS ARE ALSO AVAILABLE ON AMAZON.CA (CANADA)
ORDER SET OF 2 TASTE PORTUGAL SEASONINGS ON PAYPAL OR SCAN QR CODE: FREE SHIPPING USA
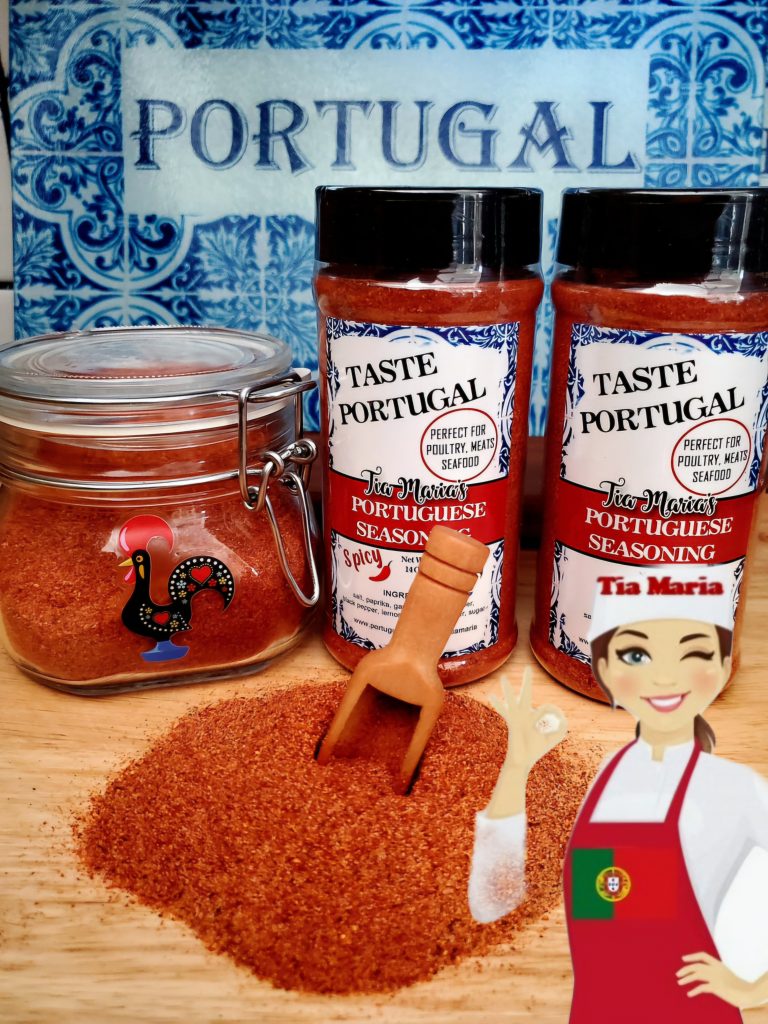
COOKING PORTUGUESE IS EASY WITH TIA MARIA’S TASTE PORTUGAL PORTUGUESE SEASONINGS
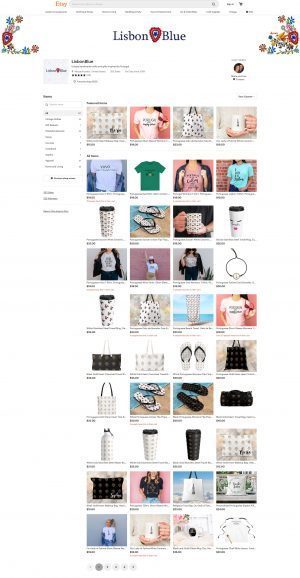
LISBON BLUE ETSY SHOP – FREE SHIPPING IN USA
Shop at Gaspars online for great Portuguese Products
Portuguese Linguica and Chourico
Gift Packs
Gaspars Sausage Company
For nearly a century Gaspar’s Sausage Co., Inc. Has been recognized as the largest manufacturer of Portuguese smoked sausage in the United States. Order today! www.gasparssausage.com or call us at 1-800-542-2038
MY TASTE PORTUGAL SEASONINGS DISTRIBUTOR - GONSALVES FOODS.COM
GONSALVES FOODS
GONSALVES FOODS
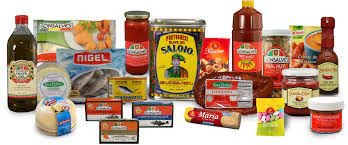
The taste of Portugal here in America Your source for authentic Portuguese products We’re proud to offer a wide selection of authentic Portuguese foods from our Gonsalves and Bom Petisco brands as well as the leading Portuguese brands like Saloio olive
0


")


")
")
")

")


")


 Now available in Canada – Amazon Canada
 LISBON BLUE ETSY SHOP
 My appearance on RTP Portuguese TV Notícias do Meu País
 No Kid Hungry | Share our Strength Help End Child Hunger in America


 GONSALVES FOODS